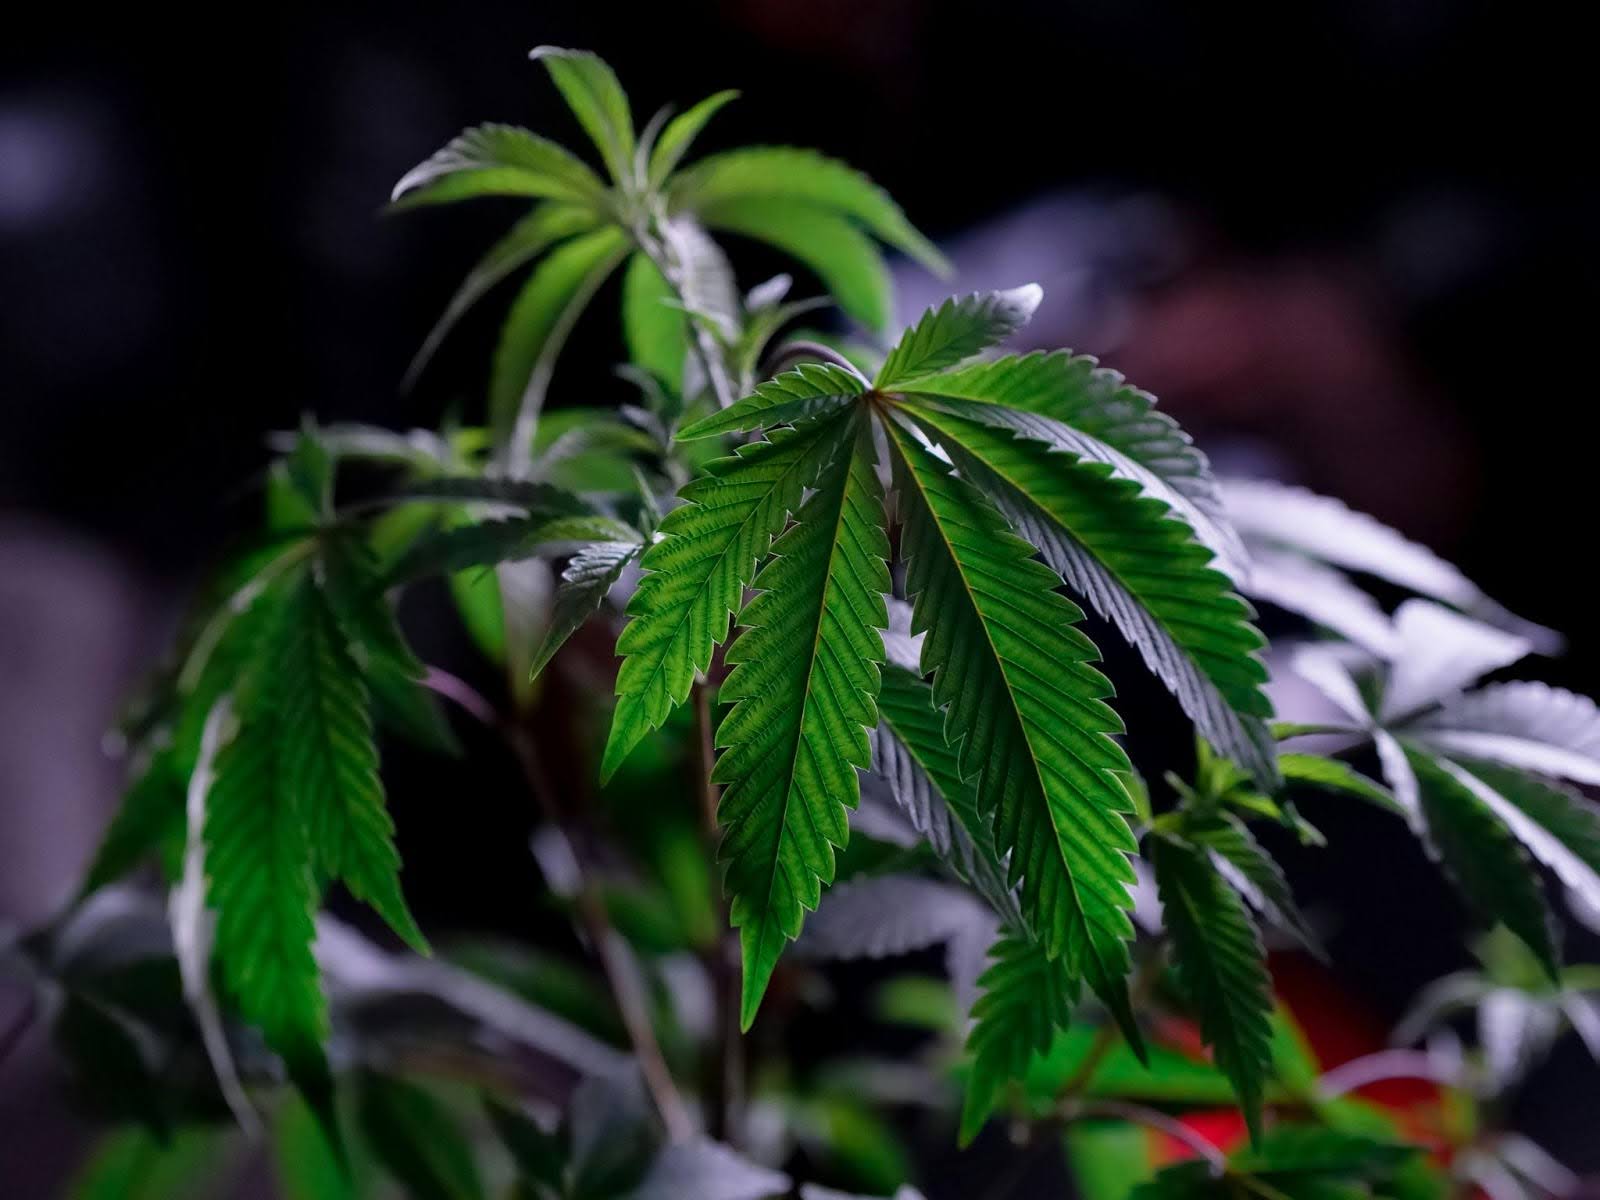
Have you noticed your cannabis plants showing signs of curling leaves? If you see cannabis leaves curling, fan leaves curling up at the edges, or cannabis leaf tips curling up, it’s likely that something is off in your growing environment.
Whether you’re a seasoned grower or just starting, understanding the underlying causes of leaf curl cannabis is essential for addressing the problem before it spreads and damages your plants.
No one wants to see their crop suffering, especially when it’s entirely preventable with the right knowledge. Let’s dive into the most common causes of weed leaf curling that compromise your cannabis harvest.
Common Causes of Weed Leaf Curling
Cannabis plants are highly sensitive to their environment, and even minor disruptions can lead to significant issues, such as curled leaves. Understanding the root causes of leaf curling is crucial for maintaining healthy plants and preventing further damage. Let’s explore the most common causes and how to address them to ensure your plants thrive.
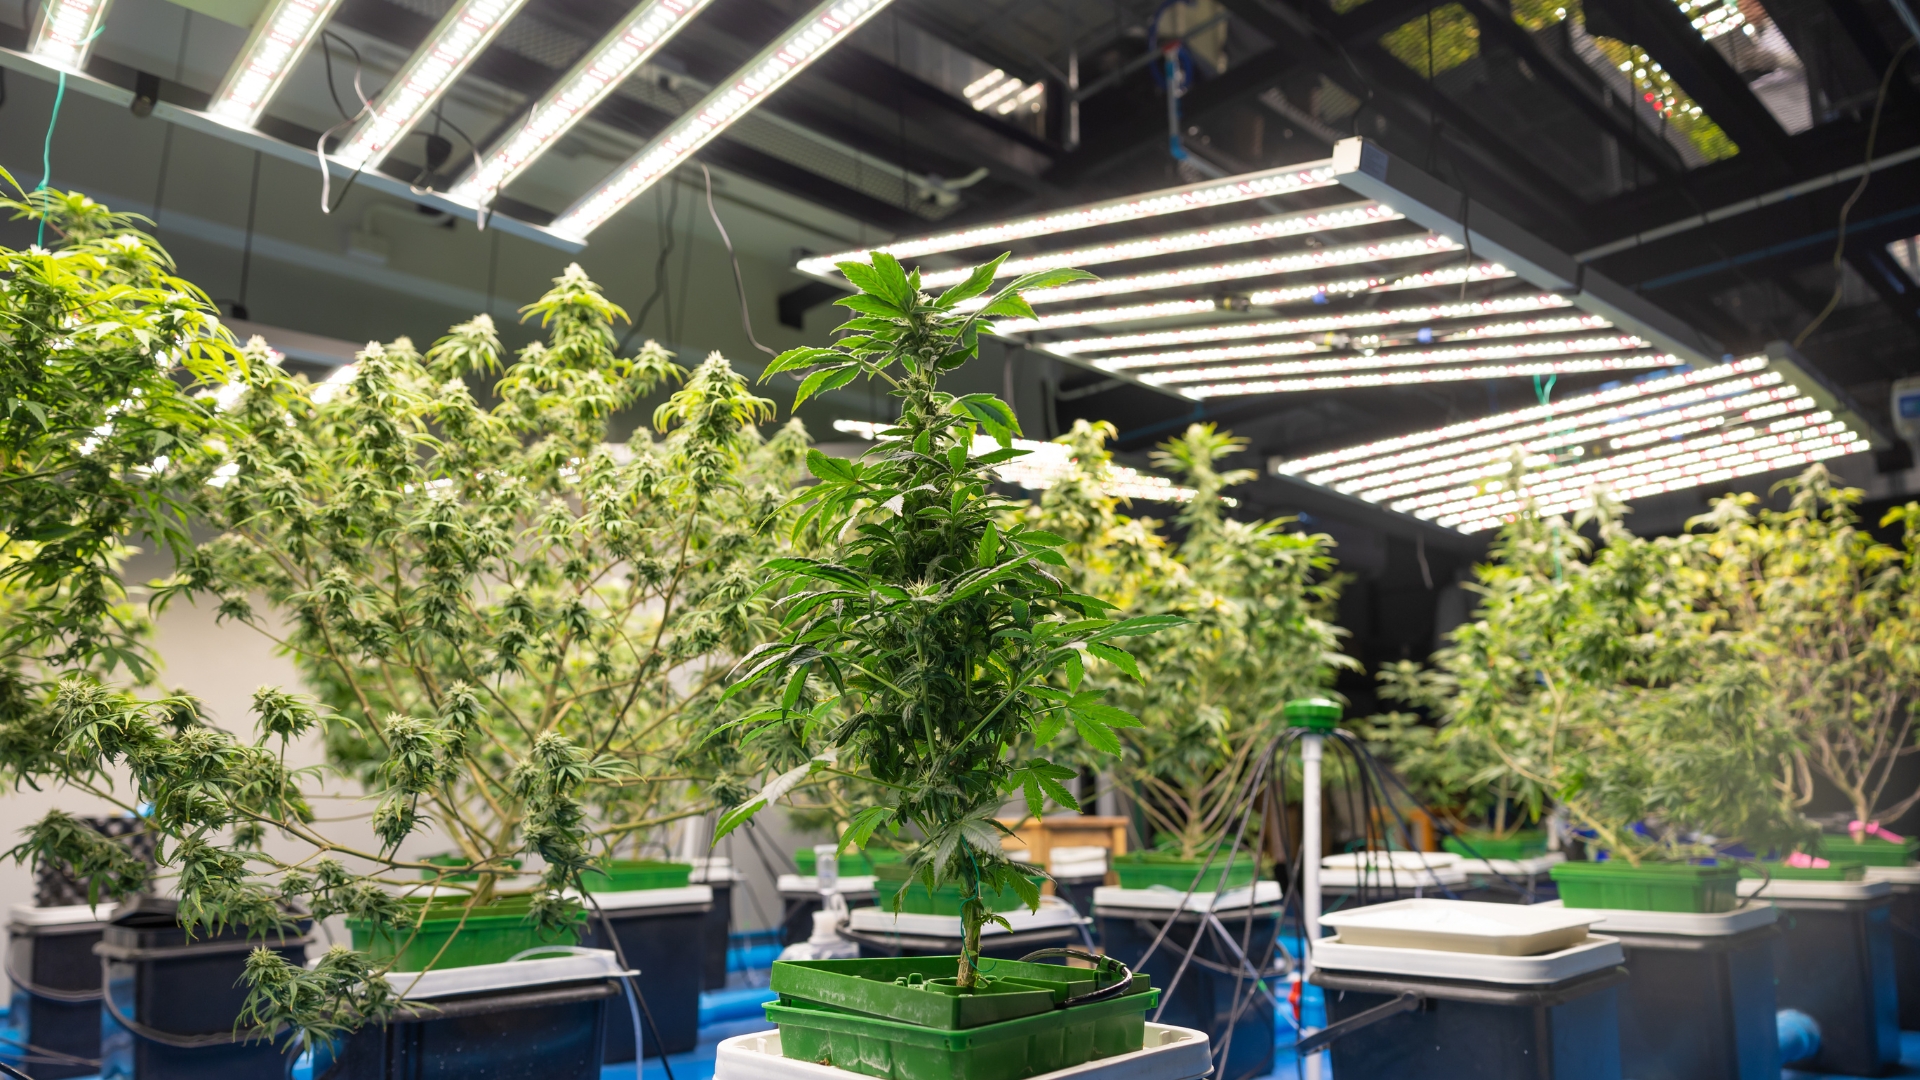
Environmental Stress
Cannabis plants are highly sensitive to their environment, and even minor disruptions can lead to significant issues like curled leaves. Understanding environmental stress factors is key to maintaining healthy plants.
- Temperature Stress: High temperatures cause leaves to curl upwards as the plant tries to conserve moisture. Poor ventilation can worsen heat stress, leading to wilting and slow growth.
Solution: Use fans, heaters, or air conditioning to maintain a consistent temperature range of 65-80°F (18-27°C). Monitor the temperature regularly with a thermometer to ensure stability, as prolonged exposure to extreme temperatures can severely impact plant metabolism.
- Low Humidity: Plants lose moisture rapidly when humidity is too low, causing leaves to curl inward in an attempt to retain water.
Solution: Keep humidity between 40-60% during the vegetative stage and around 40% during flowering. Use a hygrometer to measure levels and adjust with a humidifier or dehumidifier as needed.
- Excessive Light & Light Burn: Grow lights placed too close to stressed plants, leading to upward curling, yellowing, or burnt leaf edges. Intense light can also cause bleaching and dehydration.
Solution: Maintain a proper light distance (18-24 inches for LEDs/HIDs) and ensure a balanced light spectrum. Monitor plant response and adjust as needed to prevent damage.
- Nighttime Temperature Fluctuations: Temperature drops greater than 10°F (5°C) at night can stress plants, leading to curled leaves and slowed growth.
Solution: Use heaters or climate control to maintain nighttime temperatures between 65-75°F (18-24°C), ensuring stable conditions to avoid stress-related curling.
- Wind Stress: Strong winds or excessive airflow can dry out leaves, causing mechanical damage and curling. This is especially common when fans are set too high or directed straight at plants.
Solution: Ensure proper air circulation, but avoid direct drafts on plants. Position fans to create gentle airflow rather than strong gusts.
- Environmental Pollution: Pollutants like ozone, chlorine, or exhaust fumes can interfere with photosynthesis and nutrient uptake, leading to curling, discoloration, and overall poor health.
Solution: Use air purifiers or carbon filters for indoor grows and avoid high-pollution outdoor areas. Regularly check for signs of air quality issues.
Nutrient Deficiencies
Nutrient imbalances significantly impact plant health and can cause curled leaves. Identifying and correcting deficiencies is essential for strong growth.
- Nitrogen Deficiency: Causes the yellowing of lower leaves and stunted growth due to inadequate chlorophyll production.
Fix: Use nitrogen-rich fertilizers, especially during the vegetative stage, to support healthy foliage and vigorous development.
- Potassium Deficiency: This leads to leaf edge curling, yellowing, or brown spots, often resulting in weak stems and poor resistance to disease.
Fix: Apply potassium-based fertilizers to promote strong root and bud development, particularly during flowering.
- Magnesium Deficiency: Yellowing and curling along leaf edges, often in high-pH soils, as magnesium is essential for chlorophyll formation and photosynthesis.
Fix: Add Epsom salts or magnesium supplements to the soil or nutrient solution to correct imbalances and maintain proper leaf function.
- Calcium Deficiency: Deformed, curled, or necrotic leaf tips, mainly on older leaves, due to poor cell wall development.
Fix: Use calcium-rich fertilizers or supplements such as calcium nitrate or dolomite lime to strengthen plant structure and prevent tip burn.
- Phosphorus Deficiency: Dark green or purple older leaves with curled edges and slow growth are commonly seen in colder temperatures or highly acidic soils.
Fix: Increase phosphorus intake, especially in flowering stages, using bone meal, rock phosphate, or liquid phosphorus fertilizers to boost energy transfer and root development.
- Sulfur Deficiency: Yellowing between veins on old and new leaves, possible curling, and a weakened ability to produce essential enzymes and proteins.
Fix: Use sulfur-containing fertilizers like gypsum or potassium sulfate to aid protein synthesis and metabolic function.
- pH Imbalances: Incorrect pH disrupts nutrient absorption, leading to deficiencies and leaf curling. Nutrients become locked out when the pH is too high or too low.
Fix: Keep pH levels at 6.0-7.0 for soil and 5.5-6.5 for hydroponic grows, using pH meters and adjusting with pH up/down solutions as needed.
Pests & Diseases
Pests and diseases can weaken cannabis plants, leading to curling, discoloration, and stunted growth. Prevention and early detection are crucial.
- Pest Infestations: Common pests include spider mites, aphids, and thrips. These feed on plant sap and cause curling, discoloration, and stress.
Fix: Use organic pest control, such as neem oil, insecticidal soap, and beneficial insects (e.g., ladybugs). Employ yellow sticky traps for monitoring and take immediate action if pests appear.
- Fungal Diseases: Powdery mildew and botrytis (gray mold) cause distorted and curled leaves, often thriving in high humidity and poor airflow.
Fix: Ensure adequate air circulation, avoid overcrowding, and use sulfur or copper-based fungicides as a preventive measure.
- Bacterial Infections: These appear as dark, wet spots and cause leaf curling, often spreading through contaminated water or tools.
Fix: Maintain proper sanitation, remove infected material, and use organic bactericides. Keep foliage dry to prevent bacterial spread.
- Viral Infections: Viruses like Tobacco Mosaic Virus (TMV) lead to curled leaves with mosaic patterns and stunted growth. Unfortunately, viral infections have no cure.
Fix: Prevent spread by disinfecting tools and removing infected plants immediately to avoid contaminating the rest of the crop.
General Pest and Disease Management Tips
- Optimize Growing Conditions: Maintain proper humidity, temperature, and airflow to prevent mold, mildew, and pest infestations.
- Quarantine New Plants: Isolate new additions for a few weeks to prevent the introduction of pests or diseases.
- Use Resistant Strains: Select cannabis strains bred for disease and pest resistance to minimize problems.
- Rotate Pest Control Methods: Alternate between neem oil, diatomaceous earth, and soap sprays to prevent pest resistance.
- Monitor pH Levels: Keep soil or hydroponic pH balanced to ensure nutrient absorption and prevent stress-related issues like leaf curling. Tracking pH levels and other factors helps you spot patterns and make better decisions. PlanaCan generates detailed harvest reports, capturing data on every choice and its impact. Reviewing them helps you analyze trends, refine methods, and adjust pH to boost yields and profits.
Now, let us understand some of the early detection strategies and prevention techniques to stop leaf curling.
Prevention and Early Detection Strategies to Stop Leaf Curling
By actively monitoring your plants and maintaining the ideal growing conditions, you can prevent cannabis leaf curling before it becomes a significant issue. Here are detailed strategies for each critical aspect of plant health management:
1. Correct Environmental Conditions
- Strategy: Regularly use a thermometer and hygrometer to monitor the temperature and humidity levels in your grow space. Aim for temperatures between 65-80°F (18-27°C) and humidity between 40-60% during the vegetative stage, slightly reducing to 40-50% during flowering.
- Tip: If temperatures exceed 85°F (29°C), use fans or air conditioning to cool down the space. For humidity, use a humidifier to increase moisture in dry environments or a dehumidifier to reduce excess moisture during flowering.
2. Air Circulation and Ventilation:
- Strategy: Install proper ventilation with fans and intake/outtake systems to promote fresh air exchange. Aim for 1 fan for every 4-6 plants in your grow space to ensure even air circulation and prevent stagnant air, which can lead to mold, mildew, and pest issues.
- Tip: Position fans to circulate air around the plants’ base to strengthen stems and keep temperatures steady. Avoid placing them too close together to avoid wind stress.
3. Nutrient Management
- Strategy: Regularly feed your plants with the appropriate nutrient mix based on their growth stage (vegetative vs. flowering). Use a balanced, all-purpose fertilizer during the vegetative stage, and switch to one higher in phosphorus and potassium during flowering.
- Tip: To prevent nutrient burn or deficiencies, follow the recommended dosage on the fertilizer label and avoid overfeeding, which can lead to toxicity or imbalances.
4. Adjust Fertilizer Based on Growth Stage:
- Strategy: During the vegetative stage, focus on providing nitrogen-rich fertilizers to support leaf and stem growth. In the flowering phase, use a fertilizer with lower nitrogen and higher phosphorus and potassium to support bud development.
- Tip: If you notice symptoms like curling or yellowing leaves, check if your nutrient formula is appropriate for the plant’s current stage. Adjust the feeding schedule and monitor closely for improvement.
5. Regular Monitoring
- Strategy: Inspect your plants every 2-3 days for signs of nutrient deficiencies, pests, or environmental stress. Look closely for unusual leaf curls, color changes, or pests. Catching issues early will allow for quicker intervention.
- Tip: Always check both the upper and underside of leaves for pests or webbing from spider mites. Also, note any discoloration or spots, as they can indicate nutritional problems or disease.
6. Record Keeping:
- Strategy: Maintain a growth journal where you track your watering schedule, nutrient feedings, light cycles, and any issues that arise (e.g., leaf curling or pest activity). This will help you spot patterns and make informed adjustments.
- Tip: Document any changes you make to the growing environment, such as temperature adjustments, pH balancing, or pest treatments. Keeping a detailed record will help identify what works best for your specific setup.
With tools like PlanaCan, growers can take this a step further by generating detailed reports for each harvest, capturing data on all cultivation decisions and their impact on the final yield. By organizing this information in a single location, PlanaCan makes it easier to analyze trends, refine processes, and continuously improve yields and profitability.
Best Cultivation Practices
1. Soil Management:
- Strategy: Use high-quality, well-draining soil or a soil-less medium (like coco coir) that allows for proper oxygen flow to the roots. Ensure the pH of your soil stays between 6.0 and 7.0 for optimal nutrient uptake.
- Tip: Use perlite or vermiculite to improve drainage if you're using soil. Avoid over-watering by checking soil moisture levels before rehydrating.
2. Proper Pot Size:
- Strategy: Choose appropriately sized pots for your plant's growth stage. Small pots (2-4 liters) are fine for young plants. As they mature, transfer them into larger pots (5-7 liters) to avoid root restriction.
- Tip: To prevent overwatering, select pots with good drainage and ensure they have enough space to allow the roots to grow freely. This will prevent root-bound issues, which can lead to curling leaves.
3. Light Management
- Strategy: Maintain the correct distance between your light source and plant canopy. For LED lights, keep them around 18-24 inches away, and for HID lights, about 24-30 inches. If you notice the leaves curling up or turning brown, your lights might be too close or too intense.
- Tip: Adjust the light height regularly as your plants grow to maintain optimal light levels without causing heat stress. Invest in dimmable lights or adjustable fixtures to easily control intensity.
4. Light Cycle Control:
- Strategy: Keep your light cycles consistent -18 hours of light and 6 hours of darkness during the vegetative stage and 12 hours of light and 12 hours of darkness during the flowering stage. Any irregularities in light cycles can stress your plants and lead to issues like leaf curling or hermaphroditism.
- Tip: Use a timer to ensure consistent light exposure. Avoid changing the light cycle abruptly, as it can confuse the plants and disrupt their growth patterns.
5. Stress Reduction
- Strategy: Avoid excessive handling of your plants. Physical stress like bending, twisting, or moving them too often can damage the leaves and stems, contributing to leaf curling. Handle your plants gently, especially during the early vegetative stages when they are more vulnerable.
- Tip: When pruning or training your plants, use soft ties and avoid over-manipulating the stems. This will reduce stress and prevent issues like leaf damage or curling.
6. Support Structures:
- Strategy: Provide support for taller plants or heavy buds by using stakes, trellises, or netting. This will prevent the plant from bending or breaking, which can cause stress and curling.
- Tip: As your plants begin to flower, they may require additional support for the weight of the buds. Use gentle, non-invasive support systems to ensure they grow without additional stress.
Conclusion
Catching cannabis leaf curling early can make all the difference in keeping your plants healthy and maximizing your yield. Environmental stress, nutrient imbalances, watering issues, pests, and pH fluctuations can all cause problems, but with the right approach, you can prevent long-term damage. By fine-tuning your growing conditions, balancing nutrients, and staying ahead of pests and diseases, you’ll set your plants up for success.
Managing growth efficiently requires more than troubleshooting—it requires a well-structured system. PlanaCan makes this easy and helps you keep your cultivation organized. You can create customizable task templates to ensure consistency from planting to harvest, then schedule them with just a few clicks. It also helps you plan months ahead while tracking daily tasks; real-time adjustments keep everything flexible. With a centralized system, you’ll never miss a step.
With the right tools and knowledge, you can take full control of your growth and optimize every cultivation stage. Schedule a free call today to see how PlanaCan can help you streamline your workflow and boost your yields.