Cannabis cultivation is an art that requires not only careful nurturing during its growth stages but also proper handling and processing after harvest. One critical aspect of post-harvest production is the drying and curing of cannabis. While often overlooked by novice growers, these two steps are vital in maximizing the potency, flavor, and overall quality of your cannabis flower. In this comprehensive guide, we will explore various tips and techniques for drying cannabis, ensuring that you achieve the best results every time.
What is the Reason for Drying Cannabis?
Before we dive into the specifics, let's understand why drying cannabis is necessary. When cannabis plants reach maturity, they contain a high moisture content, making them susceptible to mold and other harmful microorganisms. By reducing the moisture levels, we not only ensure the preservation of the delicate compounds in the flower but also prevent the growth of bacteria and fungi. Additionally, drying cannabis promotes a smoother smoking experience by eliminating the harshness often associated with fresh, uncured buds.
Drying Cannabis
Properly drying cannabis involves carefully controlling temperature, humidity, and air circulation. One common and effective method is to hang the freshly trimmed plants upside down in a dark and well-ventilated room. This allows for even drying of the flower while reducing the risk of mold growth. It is advisable to keep the temperature around 60-70°F (15-21°C) and maintain a humidity level between 45-55% during this stage.
When drying cannabis, it is essential to monitor the environment closely. Use a hygrometer to measure humidity levels and a thermometer to ensure an optimal drying temperature. Remember, slow and steady drying is key to preserving the therapeutic and aromatic qualities of the plant. Rushing the drying process can lead to a subpar end product.
Curing Cannabis
While drying removes the majority of the moisture from the buds, curing takes the process a step further by allowing for a gradual release of remaining moisture. Curing also enhances the flavors and smoothness of the cannabis flower, making it more enjoyable to consume.
To cure cannabis, place the dried buds into airtight containers, such as glass jars. Make sure not to pack them tightly to avoid stagnant air pockets. Open the jars once a day for 10-15 minutes to release any excess moisture and replenish the air supply. This process helps balance the humidity levels and promotes a slow, gentle curing process.
Drying vs. Curing Cannabis Flower: What's the Difference?
While often used interchangeably, it's important to differentiate between the drying and curing stages when it comes to cannabis flower. Drying focuses on removing the bulk of the moisture content, while curing allows for the gradual release of any residual moisture and further develops the complex chemical profile of the flower. Both stages are crucial for achieving a high-quality end product.
Why Drying and Curing Your Cannabis is So Important
Properly drying and curing cannabis is critical in maximizing the potency and overall quality of your harvest. Here are some key reasons why you should take these post-harvest steps seriously:
- Preservation of cannabinoids: Drying and curing cannabis helps preserve the valuable cannabinoids, such as THC and CBD, which are responsible for the plant's therapeutic properties.
- Development of flavors: Curing allows the flower to develop more complex flavors and aromas. Proper drying and curing can transform a bland-tasting bud into a delicious and fragrant experience.
- Smooth smoking experience: By removing excess moisture through drying and gradual curing, the harshness often associated with fresh buds is significantly reduced, resulting in a smoother and more enjoyable smoking experience.
- Prevention of mold and bacteria growth: Adequately drying and curing cannabis inhibits the growth of mold, bacteria, and other harmful microorganisms. This is crucial for maintaining the safety and integrity of the final product.
A Guide on Properly Drying Cannabis
Now that we understand the importance of drying and curing, let's delve into the specifics of properly drying cannabis flower. Consider the following tips and techniques:
How to Dry Cannabis When Dry Trimming
Dry trimming involves leaving the leaves intact during the drying process and trimming them after the flowers have reached an optimal dryness. This method helps retain moisture in the buds, which can enhance the overall taste and improve the curing process. Ensure that the drying environment is clean and free from dust and debris to avoid contamination during this stage.
Wet Trimming and Drying Cannabis
Wet trimming involves removing the larger leaves immediately after harvest. This practice allows for improved air circulation during the drying process. While wet trimming may result in slightly faster drying times, it also increases the risk of moisture loss and can potentially impact the final flavor profile of the buds. It is often recommended to trim after drying for more controlled results.
Cannabis Drying Temperature
The temperature at which cannabis dries can significantly impact the end product. A temperature range of 60-70°F (15-21°C) is ideal for avoiding excessive drying or uneven moisture removal. Higher temperatures can lead to rapid drying, resulting in harsh-tasting buds, while lower temperatures may prolong the drying process and increase the risk of mold growth.
Cannabis Drying Humidity Requirements
Monitoring and maintaining humidity levels during the drying process is crucial for achieving optimal results. Aim for a humidity range of 45-55% to prevent over-drying and minimize the risk of mold. Using a dehumidifier or humidifier can help control humidity levels, depending on environmental conditions.
How Long to Dry Cannabis
The duration of the drying process varies depending on factors such as humidity levels, temperature, and plant density. On average, it takes about 7-14 days for cannabis to dry properly, but this can vary. It is essential to monitor the drying progress by inspecting the buds' texture and using your senses to determine when they are ready for the next stage.
How to Prevent Rapid Drying
Rapid drying can result in subpar buds with reduced potency and harsh flavors. To prevent rapid drying, ensure the drying environment has proper air circulation and avoid direct exposure to heat sources. Additionally, sealing the drying space off from external airflow can help maintain consistent humidity levels and prevent overly fast moisture loss.
How to Cure Cannabis
Now that your cannabis flower is dry, it's time to move on to the crucial curing stage. Follow these steps for optimal results:
Timeline for Curing Cannabis
Curing cannabis typically takes anywhere from two to eight weeks, depending on personal preference and the desired flavor profile. During the initial stages of curing, open the jars once a day for 10-15 minutes to allow the release of any excess moisture. As the curing progresses, you can begin to reduce the frequency of jar burping to once every few days.
How to Know When Curing is Done
The telltale signs that your cannabis is fully cured include a pleasant aroma, balanced flavors, and a smooth smoking experience. Cured buds should feel dry to the touch but retain a slight springiness when squeezed. Take your time and regularly check the progress to ensure the best results.
Maintaining Cleanliness in Post-Harvest Production
During both the drying and curing stages, it is crucial to maintain cleanliness and hygiene to avoid contamination. Wash your hands thoroughly before handling the plants, clean all drying equipment, and ensure a dust-free environment to prevent unwanted particles from interfering with the drying process.
Tools and Equipment for Drying and Curing
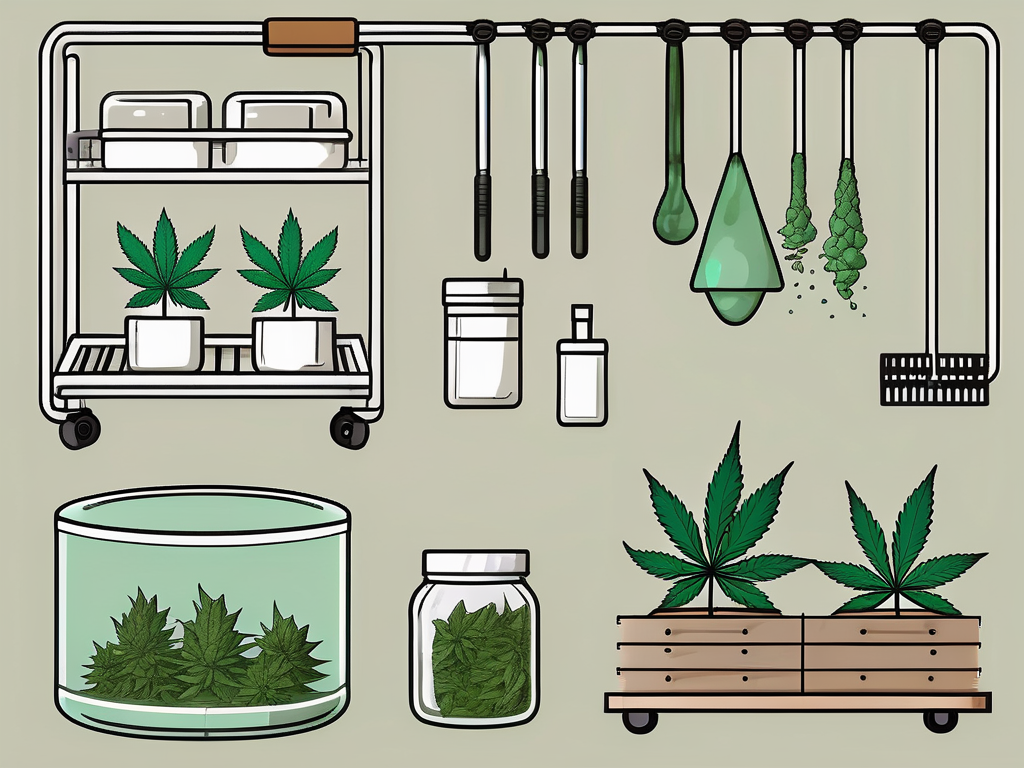
To achieve optimal drying and curing results, consider investing in the following tools and equipment:
- Drying racks or hangers: These provide proper airflow around the buds for even drying.
- Hygrometer: Essential for monitoring and maintaining humidity levels.
- Thermometer: Helps ensure an optimal drying and curing temperature range.
- Glass jars or airtight containers: Ideal for curing and storing dried buds.
- Humidifier or dehumidifier: Enables precise control of humidity levels in the drying and curing space.
Common Issues During the Curing Stage
The curing stage can present its fair share of challenges. Here are some common issues and how to address them:
- Mold: If you notice any signs of mold during the curing process, immediately discard the affected buds to prevent further contamination.
- Overly Dry Buds: If your cannabis is over-dry, you can reintroduce moisture by placing fresh orange peels or humidifier packs in the curing jars. Monitor the humidity closely to prevent over-humidification.
- Inconsistent Moisture Levels: Fluctuating moisture levels in the buds can be caused by improper jar burping or an unstable drying environment. Ensure consistent measures are taken during the curing process to promote even moisture distribution.
Drying Cannabis at Scale - Best Techniques
f you are drying cannabis on a larger scale, investing in commercial-scale drying racks, dehumidifiers, and environmental controls can significantly improve efficiency and consistency. Proper planning, adequate spacing, and adherence to optimal temperature and humidity ranges are key factors to consider when drying cannabis at scale.
Mastering the art of drying and curing cannabis takes time and practice, but the rewards are well worth the effort. By following the tips and techniques outlined in this guide, you can achieve exceptional results, producing cannabis flower of the highest quality, potency, and flavor.
Remember, each step of the post-harvest process is essential in preserving the hard work and dedication you put into your cannabis plants. So take your time, be patient, and savor the rewards of a well-dried and expertly cured cannabis harvest.


