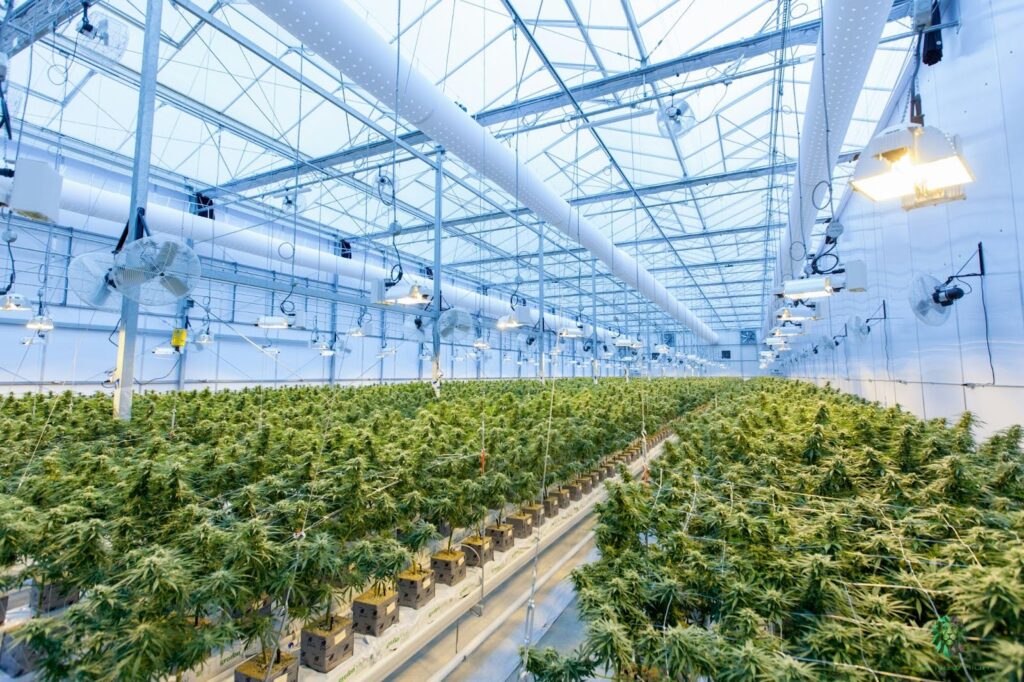
Are your cannabis crops struggling with yellowing leaves, stunted growth, or slow development? Overwatering might be the cause.
Many growers face this problem, especially when trying to balance moisture levels in their plants. It's frustrating to invest time and care in your crop only to see it falter due to something as simple as poor water management. The good news is that it can be solved with one simple step: flushing.
Flushing helps clear out excess nutrients and salts, resetting your crops’ health and enabling them to absorb what they truly need. It’s a straightforward process that, if done correctly, can prevent long-term damage.
This article will guide you through the steps to flush your cannabis plants properly, without the risk of overwatering. We’ll cover when to flush, the importance of enzymes, and how to care for your plants post-flushing to ensure they bounce back stronger than ever and stay healthy throughout their growth cycle.
What is Flushing and Overwatering?
Flushing and overwatering are two concepts often intertwined, but are crucially different in how they impact the health of your cannabis crops.
Flushing involves passing plain, pH-balanced water through the soil or growing medium to eliminate the accumulation of excess nutrients, salts, and minerals that have built up over time. Think of it as giving your plants a much-needed cleanse. When you flush your crops, you’re essentially resetting the soil, providing a fresh slate for the plants to absorb nutrients more efficiently.
The aim is to eliminate the buildup that can hinder nutrient absorption, preventing issues like nutrient burn, which can stunt growth and decrease the quality of your harvest. A good flush prepares your plants for the final stages of growth, enhancing the overall yield and flavor profile.
On the other hand, overwatering occurs when plants are given more water than they can handle, leading to stagnant soil conditions and poor oxygen circulation around the roots. It’s one of the most common mistakes growers make.
Overwatering essentially drowns the plant’s root system, preventing it from absorbing the necessary nutrients. The roots suffocate, and the plant becomes stressed, resulting in yellowing leaves, slowed growth, and, in severe cases, root rot.
Overwatering is particularly damaging in large-scale operations where water retention can lead to fungal growth or root rot. It often goes hand-in-hand with poor drainage or watering schedules, where excess moisture lingers too long in the growing medium.
Now that we’ve covered the flushing process, let’s dive into why it’s crucial for your plants' health and the quality of your harvest.
Why Should You Flush Your Cannabis Crops?
Over time, excess nutrients and salts can accumulate in the soil, preventing your plants from absorbing what they need and negatively impacting the quality of your harvest. Flushing helps clear this buildup, providing numerous benefits for your plants:
- Improves Flavor and Smoothness: Excess nutrients can leave a harsh taste in your buds. Flushing removes these residues, ensuring a smoother, more enjoyable smoke.
- Prevents Nutrient Burn: Excessive nutrients can cause nutrient burn, resulting in yellow or burned leaves. Flushing removes this excess, helping your plants stay healthy.
- Corrects Nutrient Lockout: Flushing helps remove salt build-up, enabling your plants to absorb the essential nutrients more effectively.
- Enhances Bud Quality: By removing excess minerals, flushing helps your plants focus on producing dense, high-quality buds, improving both the yield and potency.
- Balances Soil Health: Flushing ensures your growing medium stays clean and balanced, promoting better overall plant health and long-term growth.
Flushing is a simple yet vital step to ensure your cannabis crops are free of excess nutrients, helping them thrive and deliver a higher-quality harvest.
With the benefits clear, it’s time to walk through how to flush your cannabis properly to maximize your yield.
How to Properly Flush Your Cannabis Crops for Maximum Yield?
One of the biggest challenges growers face during the flushing process is overwatering. While flushing is necessary to remove excess nutrients, excessive water can result in root damage, poor oxygen circulation, and ultimately, weak plants. Knowing how to flush properly—without overwatering—is key to promoting healthier growth and ensuring a smoother, more potent final product. Here’s how to do it effectively for maximum yield.
Tools and Supplies You’ll Need:
To make the flushing process more efficient, here’s a list of tools and supplies you’ll need for a smooth operation:
- pH Meter: To ensure water is within the ideal pH range (6.0-6.8 for soil-grown cannabis).
- Garden Hose or Water Pump: For large-scale irrigation setups to deliver water evenly across plants.
- Automatic Sprayer Nozzle: Helps cover the soil evenly while flushing.
- Buckets: At least two 5-gallon buckets for holding runoff water.
- Reverse Osmosis (RO) Water or pH-Balanced Water: For the purest flush without introducing unwanted minerals.
- TDS Meter (Total Dissolved Solids): To measure the purity of the runoff water and ensure proper flushing.
- Drip Irrigation System (optional): For efficient and consistent water distribution, especially in larger grow setups.
Step-by-Step Process to Flush Your Cannabis Crops
Step 1: Monitor the Plant’s Growth Stage:
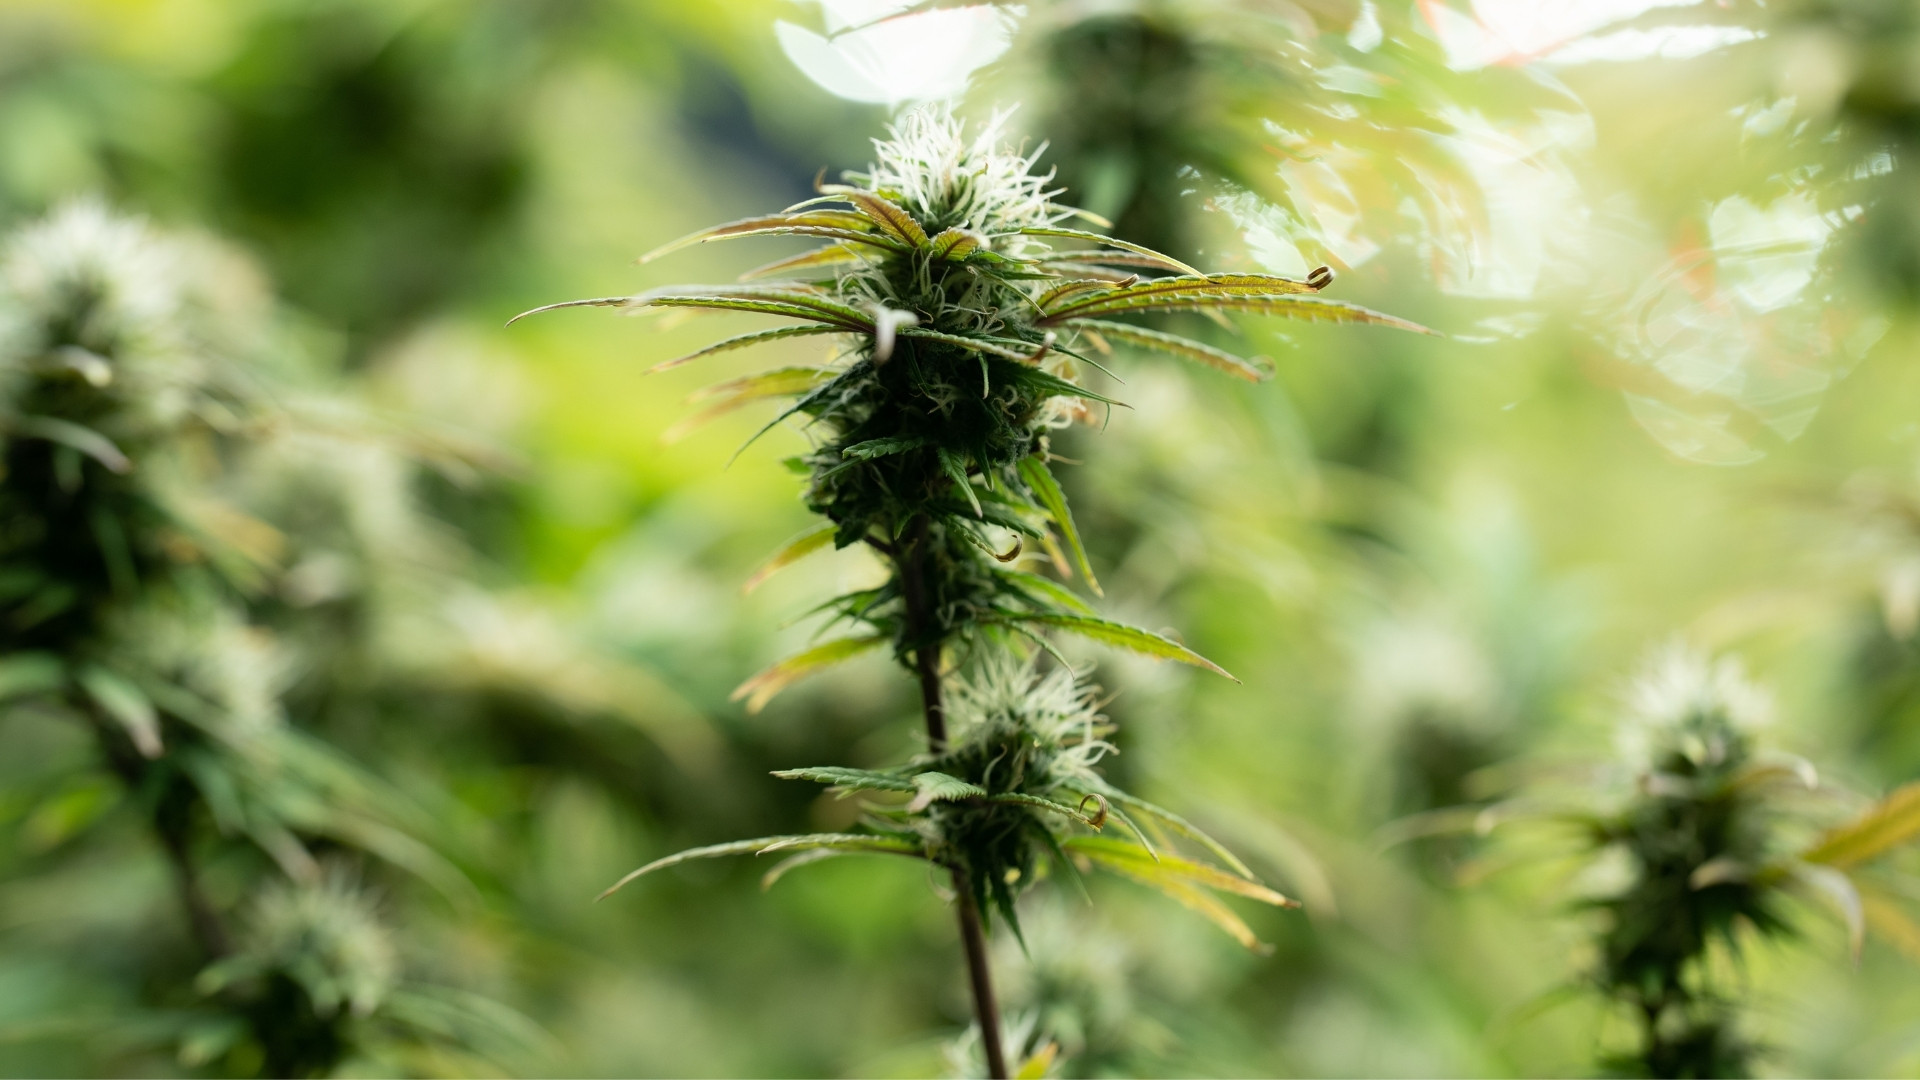
Flushing is typically done 1-2 weeks before harvest during the late flowering stage. The best time to begin is when pistils recede and trichomes turn mostly milky. This indicates the plants are near maturity and will benefit from a proper flush.
Step 2: Prepare and Test Your Water
To flush your plants properly, make sure that the water you’re using is pH-balanced. Reverse Osmosis (RO) water is ideal because it removes unwanted salts and impurities that could affect the flushing process. If you don’t have access to RO water, you can use tap water, but it’s essential to test it with a pH meter.
A pH meter will help ensure the water’s pH is within the optimal range of 6.0-6.8 for soil-grown plants. This step is crucial as maintaining the correct pH ensures your plants can efficiently absorb nutrients, which is key to their overall health and the quality of your harvest.
Step 3: Flood the Soil with Water
Slowly pour the pH-balanced water into the soil, ensuring it is evenly distributed without overwatering. For larger grow setups, use a water pump or drip irrigation system to ensure even coverage. The goal is to saturate the medium and allow excess nutrients to drain from the bottom of the container.
Step 4: Flush Until Runoff is Clear and Properly Balanced
Continue flushing until the runoff water is significantly lighter than the initial water, indicating that excess nutrients and salts have been flushed out. During this process:
- Monitor Runoff Clarity: Initially, the runoff will be dark, but as you continue flushing, it should become lighter and clearer.
- Check pH and TDS: Measure the pH of the runoff to ensure it falls within the optimal range of 6.0-6.8 for soil-grown cannabis. Use a TDS meter to check that the Total Dissolved Solids (TDS) level is below 50 ppm. This indicates that the soil is free from excess nutrients and salts.
Step 5: Allow the Soil to Rest and Plants to Dry
After flushing, let the soil rest for 30 minutes to an hour. This gives the plant time to absorb the water and ensures any remaining nutrients are flushed out.
In addition, allow the plants to dry out for 1-2 days before harvesting. This ensures that the plants have used up the remaining nutrients, preparing them for a clean harvest. Do not water during this drying phase.
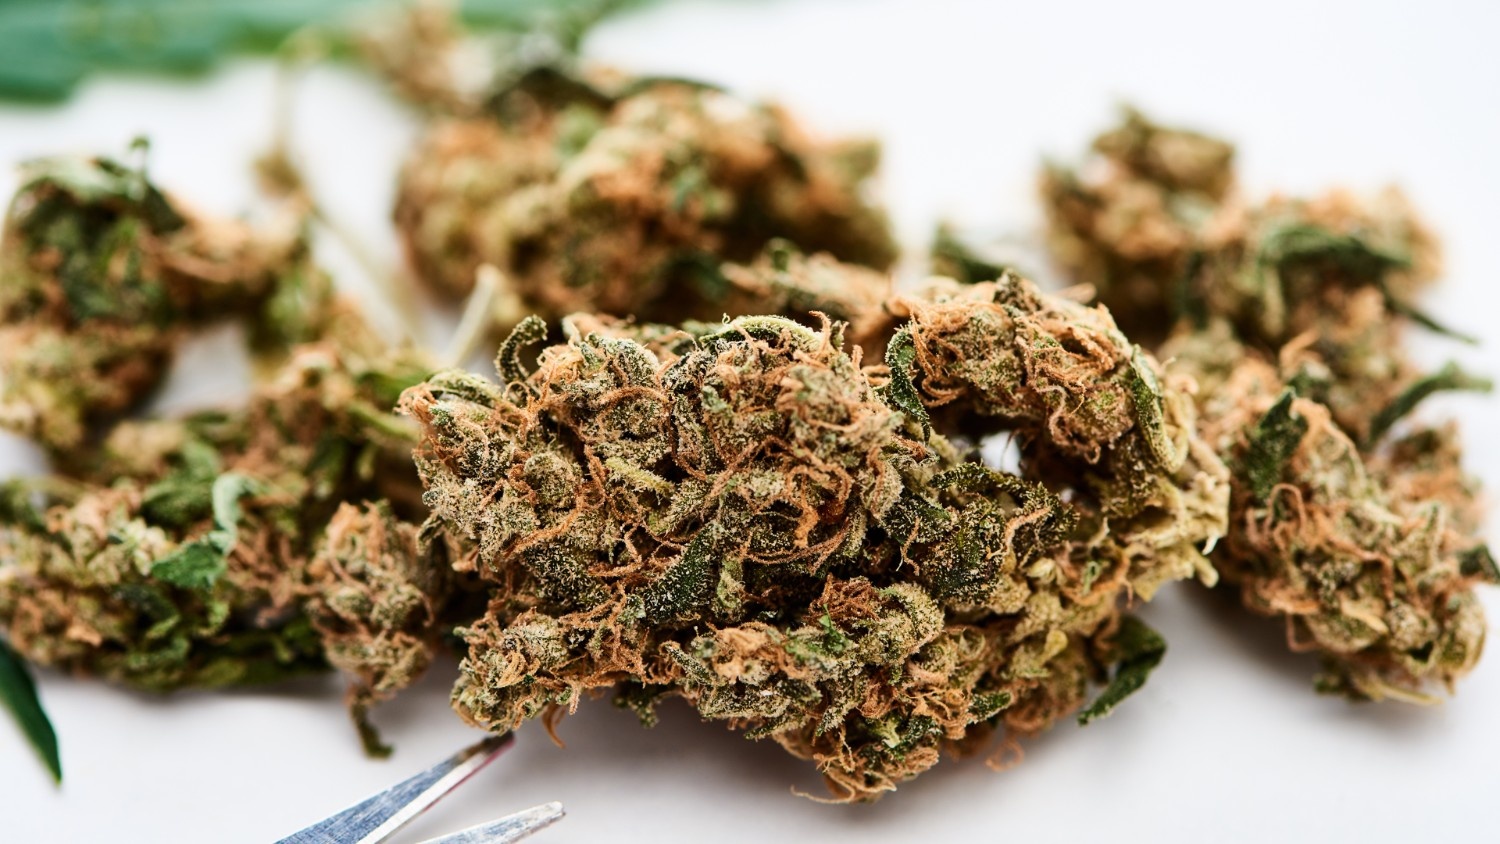
Step 6: Harvest Time
After flushing and drying, inspect the trichomes and pistils to determine the best time for harvest. Once the plants are ready, proceed with harvesting. To maintain the quality of the final product, ensure that no nutrients are added after the flushing process.
Are you struggling to stay on top of your flushing schedule or cultivation tasks? PlanaCan’s interactive calendar and task management tools help you stay organized, ensuring nothing is missed and your plants are always on track for a successful harvest.
Now that you know how to flush, let’s discuss the optimal timing to ensure your plants get the most out of the process.
When is the Best Time to Flush Cannabis?
Knowing when to flush your cannabis plants is key to achieving a clean, smooth, and potent final product. Flushing isn't just a pre-harvest task—it can also be useful throughout the plant's lifecycle to prevent nutrient imbalances and improve overall plant health. Here are the key times to flush your cannabis plants:
1. Pre-Harvest Flushing
Flushing 1-2 weeks before harvest is a standard practice to remove any excess nutrients left in the soil. During this period, the pistils will recede, and the trichomes will turn milky—a sign the plants are almost ready for harvest.
This process helps to enhance the smoothness and flavor of your buds by removing residual nutrients that could contribute to a harsh taste or chemical aftertaste.
By flushing, you allow the plant to use the remaining stored nutrients, improving the quality of the final product.
2. Nutrient Imbalances or Over-Fertilization
If your plants exhibit symptoms of nutrient burn, such as yellowing leaves or scorched tips, it may be a sign of overfertilization. Excess nutrients can stress the plants and negatively impact their health.
Flushing is the most effective way to eliminate excess and restore balance to the growing medium. By doing so, you help your plants recover and prevent further nutrient imbalances that could affect growth or flavor.
3. Nutrient Lockout
Nutrient lockout occurs when excess nutrients, particularly salts, accumulate in the soil, preventing the plant from absorbing the necessary nutrients. This can be caused by overfeeding or improper pH levels.
Flushing is the most effective solution to clear out the excess salts and reset the soil. This allows your plants to once again absorb the necessary nutrients and continue their growth.
4. pH Imbalances
If the soil’s pH is not within the ideal range (6.0-6.8 for soil-grown cannabis), it can cause nutrient lockout and hinder the plant’s ability to take up essential nutrients.
Flushing with pH-balanced water helps reset the soil's pH balance, allowing your plants to absorb the essential nutrients for healthy growth properly and preventing problems such as nutrient deficiencies.
5. Nutrient Cycle Changes
As cannabis progresses through its growth stages, its nutrient requirements change. In the vegetative stage, cannabis needs high nitrogen to support leaf and stem growth. During the flowering stage, the plant’s needs shift to phosphorus and potassium for flower development.
Flushing helps reset the soil between these stages, ensuring that old nutrients are cleared out and the soil is prepared for the new nutrients required during the flowering phase.
After flushing, there’s still important care to be done. Let’s discuss what comes next to keep your plants healthy.
Post-Flushing Plant Care: What You Need to Know?
Flushing is an essential part of preparing your cannabis plants for harvest, but it's just the beginning. Post-flushing care is just as important to ensure your plants remain healthy and ready for the final stages. Here’s what you need to know to maintain your plants after flushing:
- Allow the Soil to Rest: After flushing, give the soil some time to absorb the water and rest. This helps to reset the growing medium, allowing any excess moisture to drain. Avoid overwatering during this phase to prevent root stress.
- Monitor Plant Health: After flushing, keep an eye on your plants for any signs of stress. Look out for yellowing leaves, wilting, or signs of nutrient deficiencies. While some yellowing is normal, excessive yellowing may indicate a need to adjust your care routine.
- Maintain a Regular Light Schedule: Continue with your normal light schedule, ensuring your plants get the appropriate amount of light during their final growth stages. Flushing doesn’t mean you should neglect their light needs.
- Avoid Adding Nutrients: After flushing, refrain from adding any additional nutrients to your plants. Allow them to use up any remaining nutrients in the soil. Over-fertilizing at this stage can lead to nutrient overload and negatively impact your harvest.
- Check for Signs of Overwatering: Since you’ve just flushed the plants, be mindful not to overwater them. The soil should feel moist but not soggy. Excessive moisture can suffocate the roots and invite the growth of mold or mildew.
- Set Up Ventilation System: Ensure your ventilation system is working properly, preventing humidity buildup and promoting air circulation. This helps your plants dry properly and minimizes the risk of mold or mildew developing, particularly when moisture levels are higher after flushing.
Do you need help managing your entire cultivation process seamlessly? PlanaCan’s interactive calendar, task scheduling, and team management tools can help you streamline every step, from flushing to harvest. Ensure no task is missed and maintain a steady workflow, so you can focus on what really matters: improving your yield.
While post-flushing care is vital, preventing overwatering in the first place is just as important. Here are the best practices to help you avoid it.
Best Practices to Prevent Overwatering
Overwatering can lead to problems like root rot and nutrient deficiencies, making it essential to regulate watering carefully. Here are six essential practices to help you avoid overwatering:
- Check Soil Moisture Before Watering: Make sure to check the soil moisture levels before watering. The top few inches should be dry. For larger pots, ensure the soil is dry all the way to the bottom to prevent stagnant water.
- Water Deeply, but Less Frequently: Water deeply to ensure the roots get enough moisture, but make sure the soil dries out completely between waterings. This promotes deep root development and helps avoid waterlogging.
- Ensure Proper Drainage: Ensure your containers have adequate drainage holes to allow excess water to drain out. This will help avoid the buildup of stagnant water, which can suffocate roots and promote rot.
- Avoid Standing Water in Sauces: After watering, never leave your pots sitting in water. Ensure any excess water drains out completely to avoid the risk of root rot.
- Monitor Environmental Conditions: Monitor the temperature and humidity levels in your growing space. Elevated humidity can delay the drying process, raising the risk of overwatering. Maintain a good balance of airflow.
- Adjust Watering Based on Plant Size: Larger plants require more water, while smaller ones need less. As your plants grow, adjust your watering amount accordingly to ensure you're not over-saturating the soil.
With overwatering under control, let’s now explore when flushing might actually do more harm than good.
When to Avoid Flushing?
Flushing is a helpful tool, but it’s not always the right solution. Avoid flushing if you're growing in amended organic soil, as it can disrupt the delicate ecosystem of beneficial microorganisms that help nourish your plants.
It’s also best to skip flushing if your plants are already stressed from overwatering, pests, or diseases—flushing at this point can exacerbate the problem by adding more moisture and stress.
Additionally, during sensitive stages, such as early vegetative growth or immediately after transplanting, flushing can disrupt the plant’s stability and slow its recovery. In such cases, a more measured and gentle approach to plant care is a better choice.
Conclusion
Flushing your cannabis plants at the right time is critical to enhancing the quality and potency of your harvest. By flushing properly, you can remove excess nutrients, improve flavor, and ensure smoother, cleaner buds. Timing and execution are key—flush at the appropriate growth stage to achieve the best results for your plants.
To simplify and optimize your entire cultivation process, PlanaCan offers tools that help you stay on track and maximize your yields. With features like automated task scheduling, detailed harvest analysis, and customizable cultivation templates, you can streamline your grow operation from start to finish.
PlanaCan’s visual calendar lets you plan, track, and adjust tasks as needed, ensuring a consistent workflow and keeping all team members aligned. With everything in one place, you'll never miss a task, making the cultivation process more efficient and manageable.
Schedule a free call today to see how PlanaCan can help you take your cannabis cultivation to the next level.