As a cannabis grower, you know the effort it takes to get from seed to harvest. You’ve nurtured your plants, managed light cycles, kept pests in check, and dialed in nutrients with care. So it’s frustrating when all that work leads to a final product that’s dry, bland, or burns too hot.
Here’s the thing: it’s not just about how you grow your weed but how you finish it. Curing is what transforms your buds from decent to premium. And curing pot in jars is the tried and true method to lock in potency, preserve terpenes, and smooth out that smoke.
Let’s explore how a solid jar curing method tailored for growers who care about quality can elevate your harvest.
What Is Drying and Curing Cannabis?
Drying and curing are two essential post-harvest steps that directly affect the quality, potency, and shelf life of your cannabis. They preserve terpenes, enhance flavor, and improve the overall smoking or vaping experience.
What Is Drying?
The first step after harvest is drying. This removes the majority of moisture from buds so they don’t mold or rot.
- Why It Matters: Drying too quickly can cause harsh smoke and reduce aroma, while drying too slowly can lead to mold.
- What You Do: Hang your trimmed or whole plants upside down in a controlled environment. Ideal conditions are around 60°F to 70°F with 50% to 60% humidity.
- How Long It Takes: It typically takes 7 to 10 days, depending on bud size, density, and environmental conditions.
What Is Curing?
Curing is the slow aging process that happens after drying. It helps break down sugars and leftover chlorophyll, making your buds smoother and more flavorful.
- Why It Matters: Proper curing improves taste, aroma, potency, and overall quality. It also increases shelf life.
- What You Do: Place your dried buds in airtight glass jars. During the first couple of weeks, open the jars daily (called "burping") to release excess moisture.
- How Long It Takes: A minimum of 2 weeks is needed, but many growers cure for 4 to 8 weeks for the best results.
Now, let us understand the difference between drying and curing briefly.
Difference between Drying and Curing
Here is the difference between drying and curing:
Aspect
Drying
Curing
Purpose
Removes most of the moisture to prevent mold
Enhances flavor, potency, smoothness, and shelf life
Timing
Immediately after harvest
After drying is complete
Duration
7 to 10 days (on average)
2 to 8 weeks (or longer for best results)
Environment
Cool, dark, 50–60% humidity
Airtight jars stored in a cool, dark place
Process
Hang whole plants or trimmed buds to air dry
Store buds in jars and “burp” them regularly
Key Goal
Prevent mold and prepare buds for storage
Improve quality, aroma, taste, and smoothness
Risk of Skipping
Moldy or harsh buds
Poor taste, lower potency, reduced shelf life
Step-by-Step Guide to Drying and Curing Cannabis Buds in Glass Jars
Drying and curing your buds properly can make the difference between average results and top-shelf quality. If you rush the process or store your buds incorrectly, you risk losing potency, flavor, and aroma. Let us walk you through the exact steps to dry and cure cannabis in glass jars so you can preserve cannabinoids, enhance potency, and get the most out of your harvest.
1. Harvesting the Cannabis
You can’t cure what isn’t ready. So, before thinking about jars, you must ensure your plants are fully mature and primed for harvest. The quality of your cure begins at this very stage. Here's what to look for:
- Trichome development: Use a magnifier to check the trichomes on your buds. Clear trichomes mean the plant isn’t ready yet. When they turn cloudy or milky, THC levels are reaching their peak. Amber trichomes indicate a more sedative, couch-lock effect, which some growers prefer. A mix of milky and amber is usually the sweet spot.
- Pistil appearance: Look for pistils that have darkened and curled inward. They should no longer be standing straight and white. This is another reliable sign that your plant is maturing properly. Around 70 to 90 percent of the pistils should have changed color before harvest.
- Overall bud structure: The buds should be dense, sticky, and aromatic. If they’re still airy or light, your plant may need more time to mature. Also, check that the plant has stopped producing new white pistils, which signals it’s no longer in active flowering.
- Fan leaf condition: Toward the end of the flowering stage, many of the larger fan leaves will begin to yellow and die off naturally. This is a sign your plant is focusing energy on the buds and nearing the end of its life cycle.
- Flush timing: If you’ve been flushing your plants (removing nutrients with plain water), the harvest window should align with the end of your flush. This prevents harsh chemical tastes in your final product.
- Strain-specific traits: Know the typical flowering time for your strain. Indicas, sativas, and hybrids each have unique growth patterns, and some might take longer to ripen than others.
Once you confirm maturity, harvest your plants carefully. Use clean scissors or pruning shears to cut branches without damaging the buds. Handle everything gently. The trichomes are fragile, and you want to preserve as many as possible before drying and curing.
2. Drying Process
This is where your harvested buds begin transitioning from fresh plant material into something smokeable and worth preserving. If you get this part wrong, you risk losing aroma, potency, and the chance at a smooth burn.
Here’s how to nail the drying phase:
- Hang the buds upside down: Use string, wire, or a drying rack. Keep them in a completely dark space, well ventilated, and away from fluctuating conditions. Light degrades cannabinoids and terpenes, so keep it out.
- Control your climate: Maintain a steady temperature between 60 and 70 degrees Fahrenheit. Keep humidity levels between 45 and 55 percent. If it’s too dry, your buds will crisp too fast and trap chlorophyll inside. Too moist, and you’re inviting mold.
- Ensure proper airflow: Place a fan in the room, but don’t point it directly at your buds. You want a gentle circulation that moves the air evenly. Stagnant conditions breed mold, and you definitely don’t want that after all the work you've put in.
- Drying time: Most growers find the sweet spot between 7 and 10 days. You’ll know they’re ready when the small stems snap instead of bend, and the outer part of the bud feels dry, but the inside still has a bit of stickiness.
- Avoid overdrying: Buds that are too crispy before curing will never fully recover. If you’re unsure, err on the side of a bit of underdrying, since the curing process will continue to wick moisture from the center of the buds.
Once your buds pass the snap test and feel ready, you can move on to jar curing. This is the transition point where your harvest starts turning into true craft cannabis.
3. Preparing for Jar Curing
Once the buds are dry to the touch and pass the snap test, it's time to clean them up and prep for the curing stage. This step sets the stage for terpene preservation, smooth smoke, and long-term storage.
Here’s how to get your buds ready for the jars:
- Trim excess plant material: Carefully snip away any sugar leaves and remaining stems. This not only improves the look of your buds but also enhances airflow inside the jar and reduces the risk of mold.
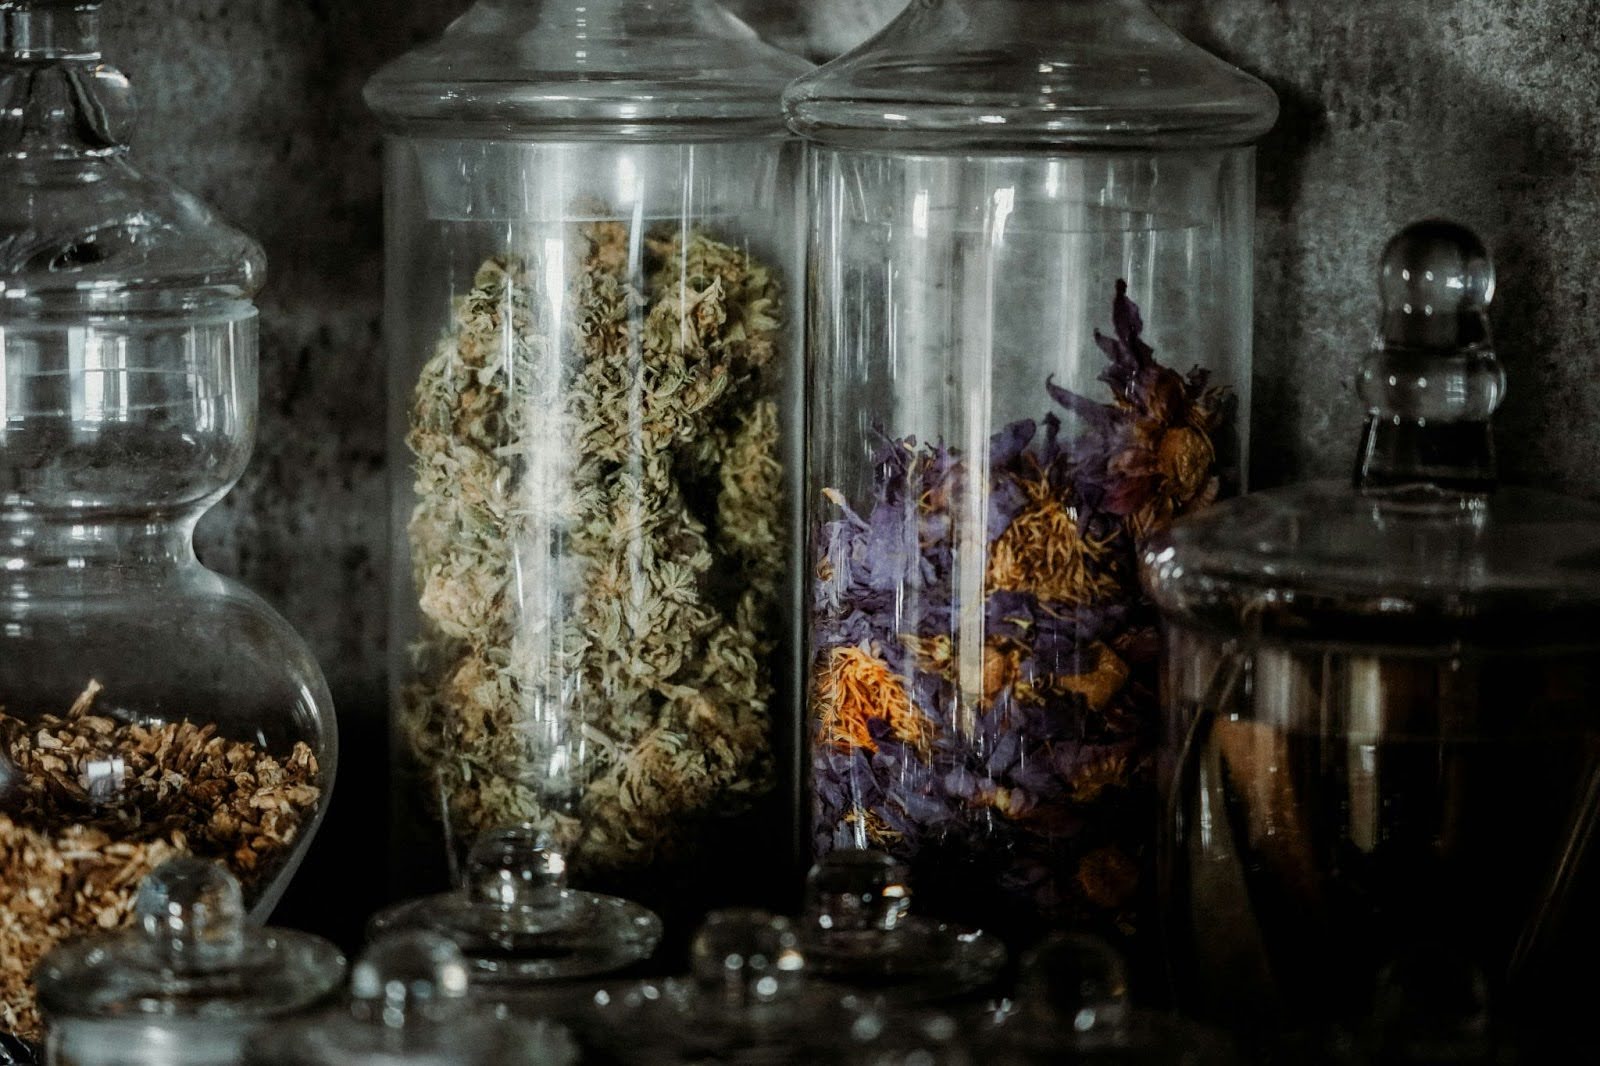
- Choose the right jars: Use clean, airtight glass jars. Mason jars are ideal because they don’t hold odors or leach chemicals into your product. Avoid plastic containers - they can degrade terpenes and affect flavor.
- Don’t overpack: Fill each jar about 70 to 80 percent full. This gives your buds room to breathe and allows moisture to distribute evenly. Overfilling increases the chances of trapped humidity and mold.
- Label your jars: If you’re curing multiple strains or batches, label each jar with the strain name and harvest date. This helps you track curing time and know what’s inside without opening them unnecessarily.
- Pick the correct storage location: Store your jars in a cool, dark, and dry space. A closet, drawer, or cabinet works well. Avoid placing them near windows, heaters, or anything that could introduce light or heat, which degrade cannabinoids and terpenes.
Getting this part right sets up the entire curing process for success. From here on, it’s all about balance and patience.
4. Jar Curing Process
Now that your buds are in jars, the real curing begins. This stage fine-tunes your cannabis, enhancing flavor, potency, and burn quality. For the first few weeks, you’ll want to be hands-on with daily care.
- Burping the jars: Open each jar once a day during the first two weeks. This process, known as burping, lets out trapped moisture and brings in fresh air, reducing the risk of mold. Leave the jar open for 5 to 10 minutes each time. You can gently move the buds around to help distribute moisture more evenly.
- Use a hygrometer: Place a mini digital hygrometer inside each jar to monitor relative humidity. Aim to keep it in the 58 to 65 percent range.
- If the humidity is above 70 percent, your buds are too moist and at risk of mold. Leave the jar open longer or even take the buds out for a few hours.
- If it drops below 55 percent, your buds might overdry. Add a humidity pack to help rehydrate and stabilize the environment.
- Watch for signs of mold: Musty smells, fuzzy patches, or overly wet buds are warning signs. If you catch any of these early, you can salvage the batch.
- Reduce burping frequency over time: After two weeks, start burping every two or three days. Your buds are stabilizing by this point. The goal is to gradually let them acclimate to a sealed environment without sealing in excess moisture.
- Use your senses: Besides hygrometers, trust your nose and touch. A healthy cure will develop a deeper, richer aroma, and the buds will feel springy yet dry to the touch.
This is where your weed starts to reach its final form - aromatic, flavorful, and potent. A proper jar cure brings everything together. Don't rush it, and your patience will pay off with smooth, slow-burning cannabis.
5. Monitoring and Patience
Curing cannabis is a slow and steady process. One that rewards patience and attentiveness. Here's how to make the most of this critical final stage:
- Minimum curing time: Plan for at least 2 to 4 weeks in jars. This is the bare minimum needed to bring out smoother smoke and better flavor.
- Extended curing: For premium results, cure for 6 to 8 weeks or even longer. Over time, the chlorophyll continues to break down and terpene profiles mature, giving your cannabis a richer aroma and more balanced effects.
- Daily inspections: Especially in the early weeks, open each jar once a day. Gently squeeze a bud. If it feels springy but not damp, you're on the right track. Keeping up is easier with a solid system. PlanaCan offers a clear timeline to plan and track tasks, schedule work ahead, and adjust as needed. With everything in one place, your team always knows what's next.
- Red flags to catch early:
- Too moist: Buds feel wet or spongy? Open the jar for longer or remove the buds temporarily to dry further.
- Strange smells: A musty or ammonia-like odor could mean mold. Isolate that jar and inspect it closely.
You must not rush this part. Like aging cheese or wine, the goal is slow transformation. Over time, flavors deepen, textures improve, and harshness fades away. Give your buds time to fully develop.
6. Long-Term Storage Preparation
Once your buds are fully cured, they’re ready for the next phase: long-term storage. This step preserves all the quality you worked so hard to achieve during growing, harvesting, drying, and curing.
- Choose airtight, non-reactive containers: Stick with glass jars, preferably dark or opaque to block light. Avoid plastic containers, as they can leach chemicals and degrade terpenes over time.
- Store in a cool, dark, stable environment: Ideal storage temperatures fall between 60 and 70°F, with humidity levels at 55 to 62 percent. Keep containers away from heat sources, direct sunlight, and any area prone to temperature swings.
- Minimize oxygen exposure: Once fully cured, you don’t need to open the jars regularly. Doing so allows oxygen, which speeds up degradation. Seal them tight and only open when you're ready to use them.
- Use humidity control packs: These help maintain the optimal environment inside the jar without daily checks. They prevent both overdrying and mold risk.
- Label for clarity: Include strain name, harvest date, and curing completion date. This helps you track how long each batch has been stored and ensures rotation if you work with multiple jars.
- Keep jars upright: Store your jars upright. This reduces the chance of trichomes getting crushed or sticking to the sides or lid and helps maintain the buds’ shape.
- Check monthly: Even in long-term storage, inspect your jars at least once a month for any signs of moisture, mold, or terpene loss. A quick visual and aroma check will keep you ahead of any problems. PlanaCan supports this by offering a clear timeline to plan and track cultivation tasks. You can schedule ahead, adjust daily work, and stay on top of storage and operations. With centralized info, everyone knows what needs doing, so nothing gets missed.
- Use dim light during checks: If you need to inspect or sample buds, use soft or dim light to avoid UV exposure. Even brief bursts of intense light can degrade cannabinoids over time.
- Consider vacuum sealing for very long storage: If you’re storing for over a year, vacuum sealing (in mylar bags with humidity packs) can slow degradation further. Just make sure buds are fully cured before sealing to avoid trapped moisture.
- Avoid freezing unless necessary: Freezing cannabis is controversial—it can preserve potency but risks trichome damage. Only freeze if buds are 100% dry and sealed airtight.
Proper storage locks in flavor, aroma, and potency. Done right, your cannabis can stay fresh for up to a year or more without losing its quality.
Conclusion
Curing pot in jars is the final step in bringing out the best in your cannabis. You’ve put in the hard work from seed to harvest, and now you’re shaping the aroma, flavor, and potency that make your flower stand out. Whether you're curing for a month or extending the process for premium quality, patience and consistency pay off.
With PlanaCan, you can streamline every part of your grow operation and make the most of your efforts. Automated work scheduling helps you set up each cultivation phase with customizable templates. Every task gets mapped out from planting to harvest, so you stay organized and efficient. Scheduling becomes simple with a few clicks, and your entire team stays aligned.
It also gives you a clear visual overview of your workflow. Plan months ahead or adjust day-to-day activities as needed. Everyone involved can track tasks in real time, so your team is aligned and focus on all drying and curing schedules.
If you're ready to improve yields and manage your grow like a pro, Schedule a free call today.


