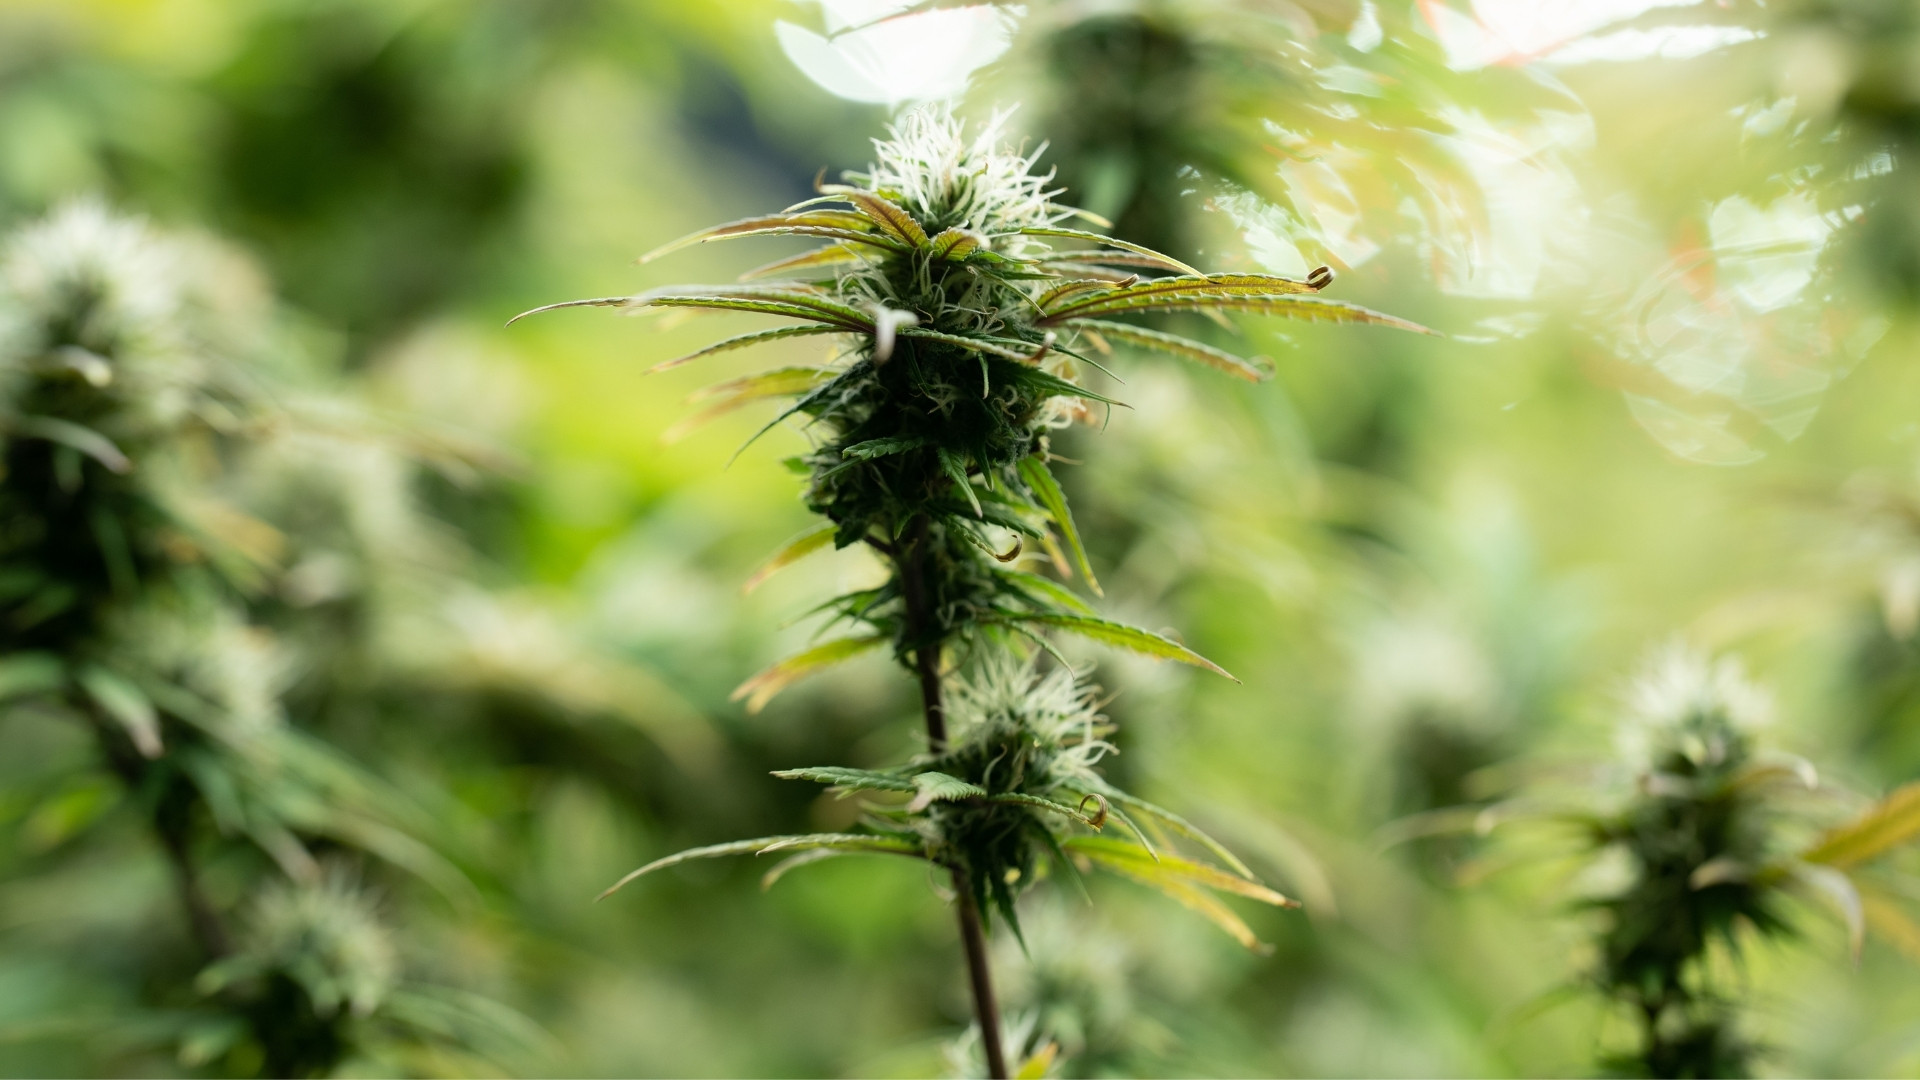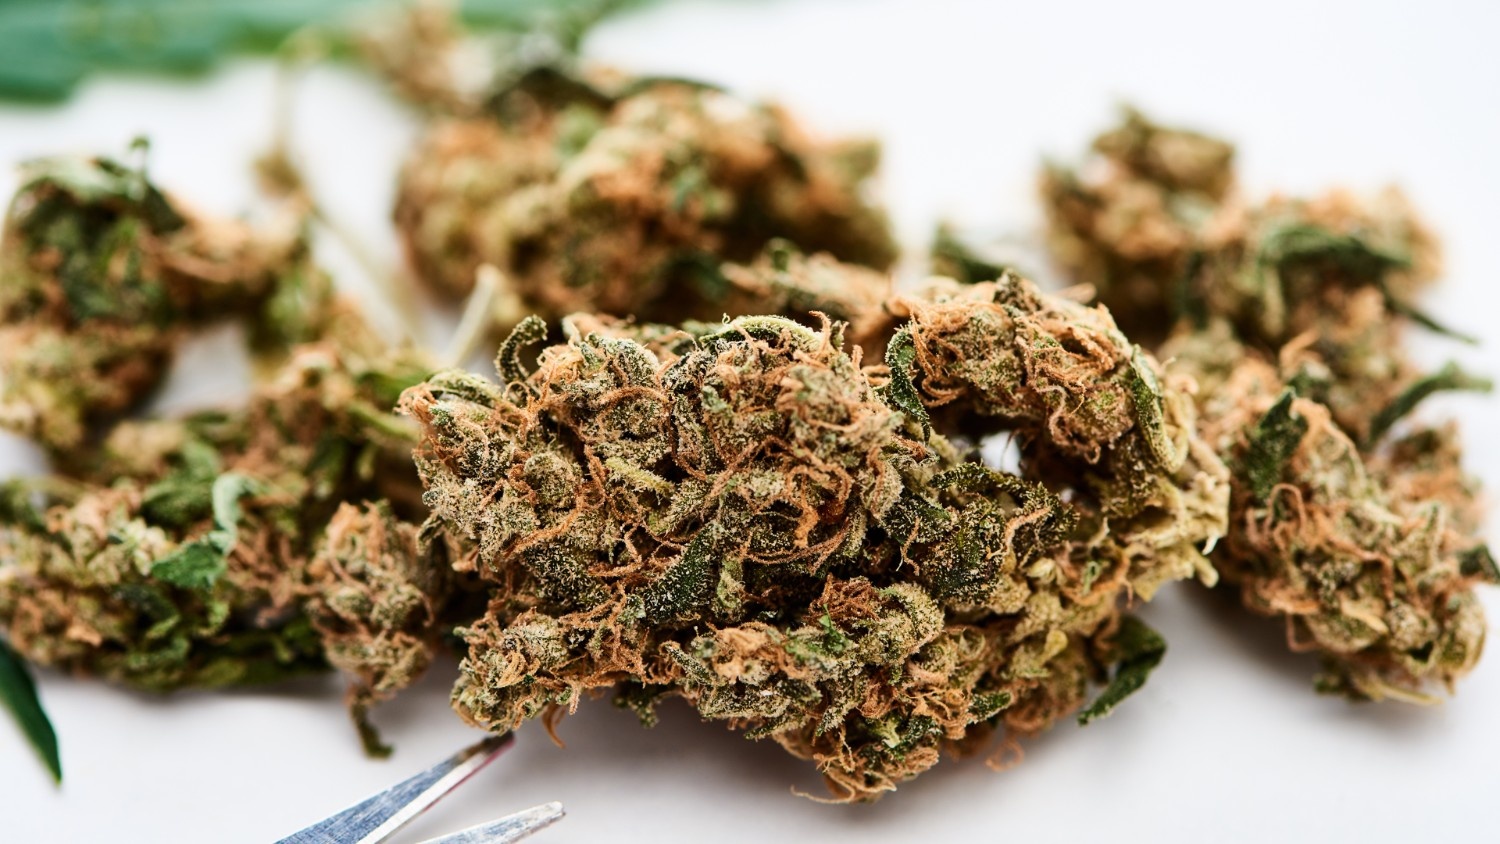
Have you ever wondered why some cannabis is smooth, flavorful, and potent while others are harsh and lackluster? The secret often lies in the curing process. Curing is one of the most important steps for retaining the best qualities of the cannabis long after harvest. If cannabis isn't cured properly, it will likely burn too fast, taste poorly, and degrade in potency.
Curing allows cannabinoids and terpenes to mature properly, making the product more potent and aromatic. It also breaks down unwanted byproducts like chlorophyll, which can impart bitter flavors. Curing not only improves the quality of cannabis but also extends its shelf life, preserving potency and flavor for months or even years.
This guide will explain why curing is important, how to do it right, and the best techniques for maintaining optimal conditions. Understanding curing will help you get the most out of your cannabis as a cultivator or consumer.
Why Curing is Critical for Cannabis
Drying is just one part of the curing process, which helps preserve the flavors, aromas, and cannabinoids in the buds. Curing removes excess moisture slowly to prevent degradation. Without proper curing, cannabis becomes harsh, bitter, and less potent, resulting in an unpleasant experience. Therefore, curing is essential for maintaining the best cannabis experience, let’s understand it in detail:
Why is Curing Essential?
- Prevents Premature Degradation: Freshly harvested cannabis contains moisture, which can cause mold and degradation of cannabinoids if it is not handled correctly.
- Promises Chemical Stability: Curing cannabinoids, including THC and CBD, allows for stabilization for a consistent and effective product.
- Preserve Terpenes and Flavors: Terpenes break down easily with oxygen, heat, and light exposure, but proper curing helps preserve the complexity and intensity.
- Curing Optimizes Moisture Content: Cannabis that is too wet risks molding, while cannabis that is too dry loses potency and becomes harsh. Curing optimizes moisture content for the best quality.
- Promotes Even Combustion: Well-cured cannabis burns evenly and consistently, reducing the chances of harsh smoke or an unpleasant aftertaste.
- Enhances Extraction Yield: Properly cured cannabis ensures better cannabinoid and terpene retention, leading to a more effective final product for those making concentrates or edibles.
- Ensures Consistency in Batches: A standardized curing process allows growers to produce a reliably high-quality product every time, ensuring customer satisfaction and product consistency.
Now, let us understand the curing process of cannabis below.
The Curing Process For Cannabis
Curing starts immediately after drying is complete. It is the last step in turning freshly harvested cannabis into a final product. The main objective of curing is to fine-tune the moisture content of the buds so that they have the perfect balance before being sealed in airtight containers for long-term storage.
The curing process includes:
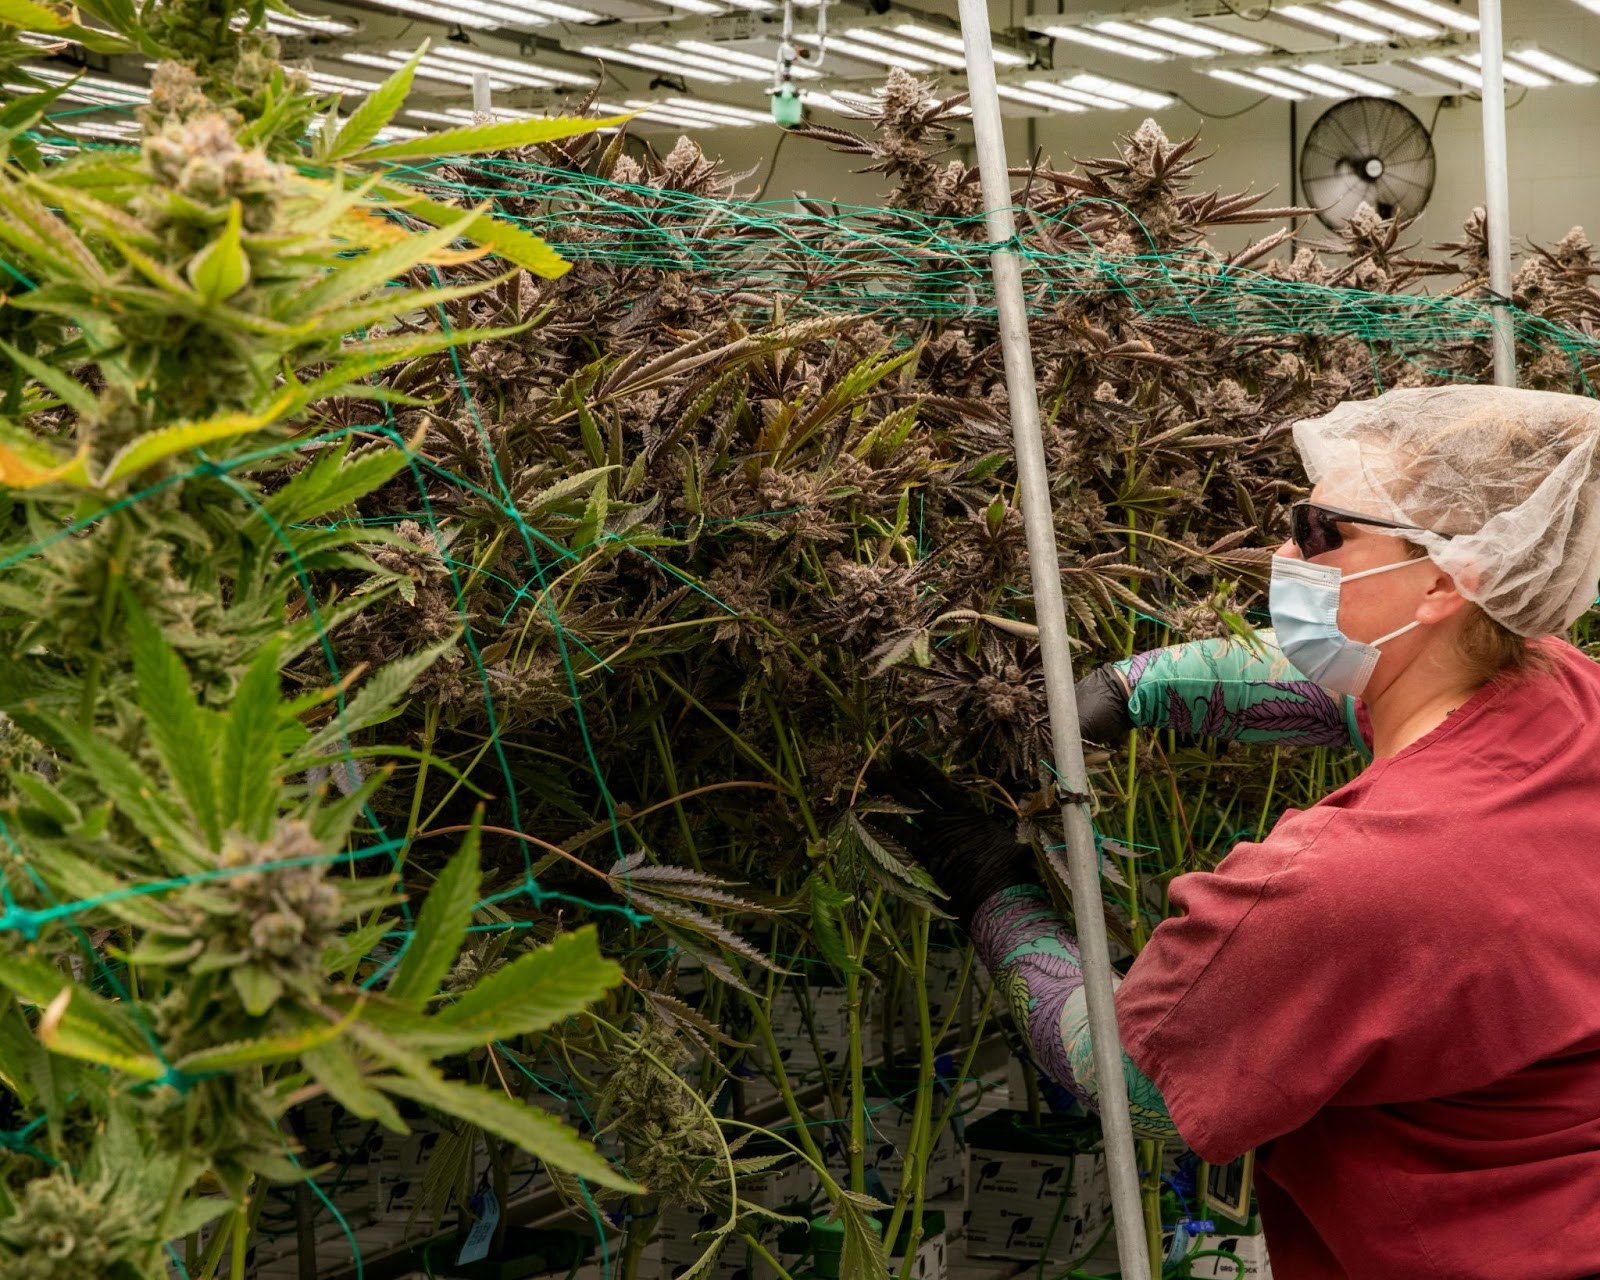
- Transitioning from drying to curing: After drying cannabis for about a week, it should have enough moisture left to prevent brittleness but not so much that it feels damp. This balance is crucial for a successful cure. If buds are too dry, they can become harsh and brittle. If they hold too much moisture, they are at risk of mold. Finding the sweet spot ensures that the curing process enhances potency and smoothness.
- Using a dark, airtight environment: Light degrades cannabinoids over time, so storing cannabis in a dark space preserves its potency. Airtight containers prevent excessive oxygen exposure, slowing the breakdown of valuable compounds. Mason jars are popular because they create a stable microclimate that keeps moisture levels consistent.
- Regularly ‘burping’ the containers: Opening containers daily for the first week releases excess moisture, prevents mold growth, and ensures even freshness curing.
During the entire curing process, burping can be done once every few days and discontinued as soon as the humidity of the burps stabilizes. During this period, it is important to pay attention to condensation or any appearance of mold. - Using humidity packs for consistency: Adding humidity control packs to curing jars can help maintain an optimal moisture balance. These packs release or absorb moisture as needed, preventing fluctuations that could impact the curing process.
- Longer curing for superior results: While a standard cure time is two to eight weeks, some cannabis growers extend the process to three or even six months for a smoother, more refined experience.
So, what are the ideal conditions required to cure cannabis? Let us understand.
Ideal Conditions for Curing
In the curing of cannabis, a controlled environment is necessary. Proper conditions not only help prevent mold and other issues but are also crucial for maximizing the overall quality of the buds.
Curing can be jeopardized without control over temperature, humidity, and airflow, leading to undesirable outcomes such as harsh smoke, reduced potency, or even spoilage.
Here are the optimal conditions for curing cannabis:
- Humidity Range: The ideal humidity for curing cannabis is between 45% and 65%. Below 45% humidity causes buds to dry too quickly, and above this point, humidity increases the chances of mold.
Tip: Use a hygrometer to monitor the humidity inside your curing jars to maintain the balance.
- Temperature Control: A steady temperature of 60-70°F (15-20°C) ensures the preserved cannabinoids and terpenes in your cannabis plants. These develop the aroma and effect of your cannabis.
- Stability is the Key: Variations in temperature and humidity can simultaneously abort the curing process. A consistent environment ensures a steady cure and allows your buds to reach their full potential in flavor, aroma, and potency.
- Air Circulation Matters: Like with stale conditions, preventing stagnant conditions altogether is crucial to preventing mold from growing. Yes, proper curing requires good airflow, but directly exposing buds to air soon after placing them in curing containers can degrade their quality. Instead, buds should be stored in airtight containers with small openings or vents allowing controlled airflow. This helps maintain a stable environment, preventing moisture buildup while still promoting proper curing.
- Avoid Excessive Light Exposure: Light can degrade THC and other cannabinoids. To preserve the potency and flavor, keep your cannabis jars in a dark environment, only opening them briefly for regular burping (releasing trapped gases) during the curing process.
- Monitor for Mold and Condensation: Check your buds regularly for mold or moisture accumulation. If condensation is present inside the jars, the humidity is too high, and the buds must stay dry for a bit longer before curing.
- Use Proper Containers: Glass jars with airtight seals are the best option for curing, as they preserve the integrity of the buds and prevent contamination. Avoid plastic containers, which can damage trichomes and alter the flavor.
- Avoid Overcrowding: Ensure enough space inside your jars for proper airflow. Overcrowding can restrict airflow and cause uneven curing, increasing the likelihood of mold growth.
- Curing Time: The longer cannabis cures, the better the flavor and aroma. While a minimum of two weeks is possible, 4-6 weeks make the difference in quality. PlanaCan's Interactive Calendar helps you plan and track tasks to manage the curing process and maintain optimal conditions.
- Proper Handling: During the curing period, gently and carefully handle the buds, as they can damage the trichomes responsible for potency and flavor. Use your hands less or wear gloves to prevent contamination.
Now, let us discuss the curing techniques used for cannabis in detail.
Cannabis Curing Techniques
The way you store cannabis during curing determines the final quality of your product. Here are some key tips to ensure you achieve the best results:
1. Use Airtight Glass, Ceramic, or Metal Containers
Store your cannabis in glass, ceramic, or metal. These materials prevent oxygen penetration and maintain constant humidity levels. Glass jars are the most popular choice because they maintain the optimal curing environment.
2. Monitor Internal Humidity
Use hygrometers to track the humidity in your curing containers. This will ensure that the containers' moisture remains between 55% and 65%. Modify accordingly if it rises or falls too much.
3. Avoid Plastic Bags
Plastic bags should be avoided for curing as they can generate static electricity, which pulls trichomes away from the buds. Additionally, plastic allows oxygen exchange, speeding up degradation and affecting quality.
4. Layer the Buds Properly
Avoid overpacking your jars to allow for proper air circulation. Loosely layering the buds prevents them from being crushed and prevents uneven curing. Proper airflow is crucial for uniform drying and curing.
5. Rotate and Inspect Buds Regularly
Rotate the buds occasionally for uniform curing and inspect regularly for mold or moisture issues. Monitoring closely helps catch potential problems early. Use PlanaCan to streamline your cultivation process. It offers a visual timeline to plan and manage daily tasks, ensuring nothing is overlooked and everyone stays aligned for optimal curing conditions.
6. Use Desiccants if Necessary
If humidity levels exceed the optimal range, consider adding a desiccant like silica gel to absorb excess moisture and prevent mold growth. This helps maintain the perfect balance during the curing process.
7. Cure at a Consistent Temperature
Keep the curing containers in a cool, dark place at 60-70°F (15-21°C). Heat can cause the buds to dry too quickly, potentially damaging cannabinoids and terpenes. Consistency in temperature ensures a slow, even cure.
8. Cure in Small Batches
It's best to cure cannabis in small batches. This allows for better control over humidity and airflow, which helps ensure that each bud is properly cured. Smaller batches also allow for easier inspection and rotation.
9. Burp the Jars Periodically
For the first few weeks, open the jars once or twice daily for a few minutes to release built-up moisture and introduce fresh air. This process, known as "burping," helps prevent mold and mildew and allows the buds to breathe, promoting an even cure.
10. Avoid Light Exposure
Store the curing jars in a dark place, as light can degrade THC and other cannabinoids, affecting the quality of your cannabis. Keeping the jars in a light-free environment preserves the potency and flavor of the buds.
11. Do Not Rush the Drying Process
Make sure the buds are dried properly before curing. Drying should be done in a controlled environment at moderate temperature and humidity for 7-10 days. In this way, the buds can hold their essential oils and cannabinoids well, which helps in a better overall cure.
When everything’s done, you need to store your cannabis properly to ensure maintaining its quality. Here’s how to ensure proper storage for your cannabis.
Storage After Curing
Once curing is complete, proper storage is essential to maintain your cannabis's freshness and quality. Without the right conditions, even the best-cured cannabis can lose its potency, flavor, and aroma. Effective storage helps preserve its shelf life, ensuring it stays at its best for longer.
- Keep it in a cool, dark place: Exposure to heat and light accelerates degradation, so storing cannabis in a stable environment preserves its quality.
- Use long-term storage solutions: Vacuum sealing or nitrogen sealing provides extra protection for those looking to store cannabis for extended periods.
- Label your strains: If you have multiple strains, keeping them labeled ensures easy identification and prevents mix-ups.
- Store in airtight containers: Keeping cannabis in airtight glass jars helps maintain its freshness by minimizing exposure to oxygen.
- Monitor humidity levels: Use humidity control packs in storage containers to maintain the ideal moisture balance. PlanaCan simplifies scheduling by automating cultivation tasks with customizable templates, letting you outline steps from planting to harvest and schedule them easily. This streamlines your workflow and supports proper humidity and quality control.
- Avoid strong odors: Cannabis can absorb strong smells from its surroundings, which may alter its aroma and flavor profile.
- Avoid frequent opening: Repeated exposure to air can accelerate degradation, so only open the storage containers when necessary.
Conclusion
Curing is not just an extra step—it is a crucial part of the process that turns good cannabis into great cannabis. It enhances taste, preserves potency, and extends shelf life. Skipping or rushing curing leads to a harsher, less flavorful product that degrades quickly. Taking the time to do it right ensures a high-quality experience with every use. Patience and careful monitoring make all the difference.
To further optimize your cultivation process, PlanaCan provides powerful tools to maximize your yields and efficiently manage your cannabis crops. You can define and automate cultivation processes using customizable templates, ensuring a seamless workflow from planting to harvest. It also gives you a clear visual timeline to plan months while effortlessly managing daily tasks. These features help you stay on schedule, maintain consistency, and achieve the best possible results.
Schedule a free call today to see how PlanaCan can revolutionize your cannabis cultivation process.