Are there droopy, yellowed, or brittle leaves on your cannabis? These aren't randomly occurring events. Your plants give you signals for the fundamental problems that require your attention.
The cannabis plant is fragile and sensitive to changes in its surrounding environment. It primarily uses its leaves to express any issues that arise. Most of those issues will be solved and easy to identify if attended promptly.
Whether you’re a new grower or an experienced cultivator, dealing with pot plant problems can feel overwhelming. Are your plants getting the proper nutrients? Is your watering schedule on point? Are pests wreaking havoc on your leaves? These are common questions, and finding the correct answers is crucial for maintaining healthy plants.
Cannabis growing problems range from simple watering mistakes to more complex issues like nutrient deficiencies, pest infestations, or environmental stress. And when these problems do not get solved, they can seriously impact your plant's growth, yield, and quality.
This guide will help you navigate the most common cannabis plant symptoms, from discoloration and curling to spotting and drooping.
Understanding Cannabis Leaf Symptoms
Cannabis leaves are the primary channel of communication for your plant, and they can be very indicative of its health. They react to changes in the environment, nutrient levels, water availability, and pest activity.
If your leaves have changed in appearance or texture, you may be receiving a signal that something is amiss, and your attention is necessary. Every grower must know the signs and meanings to monitor their plants better. Identification and interpretation of these symptoms would also help in the early cure of such problems so as not to let minor issues evolve into full-blown setbacks. These include:
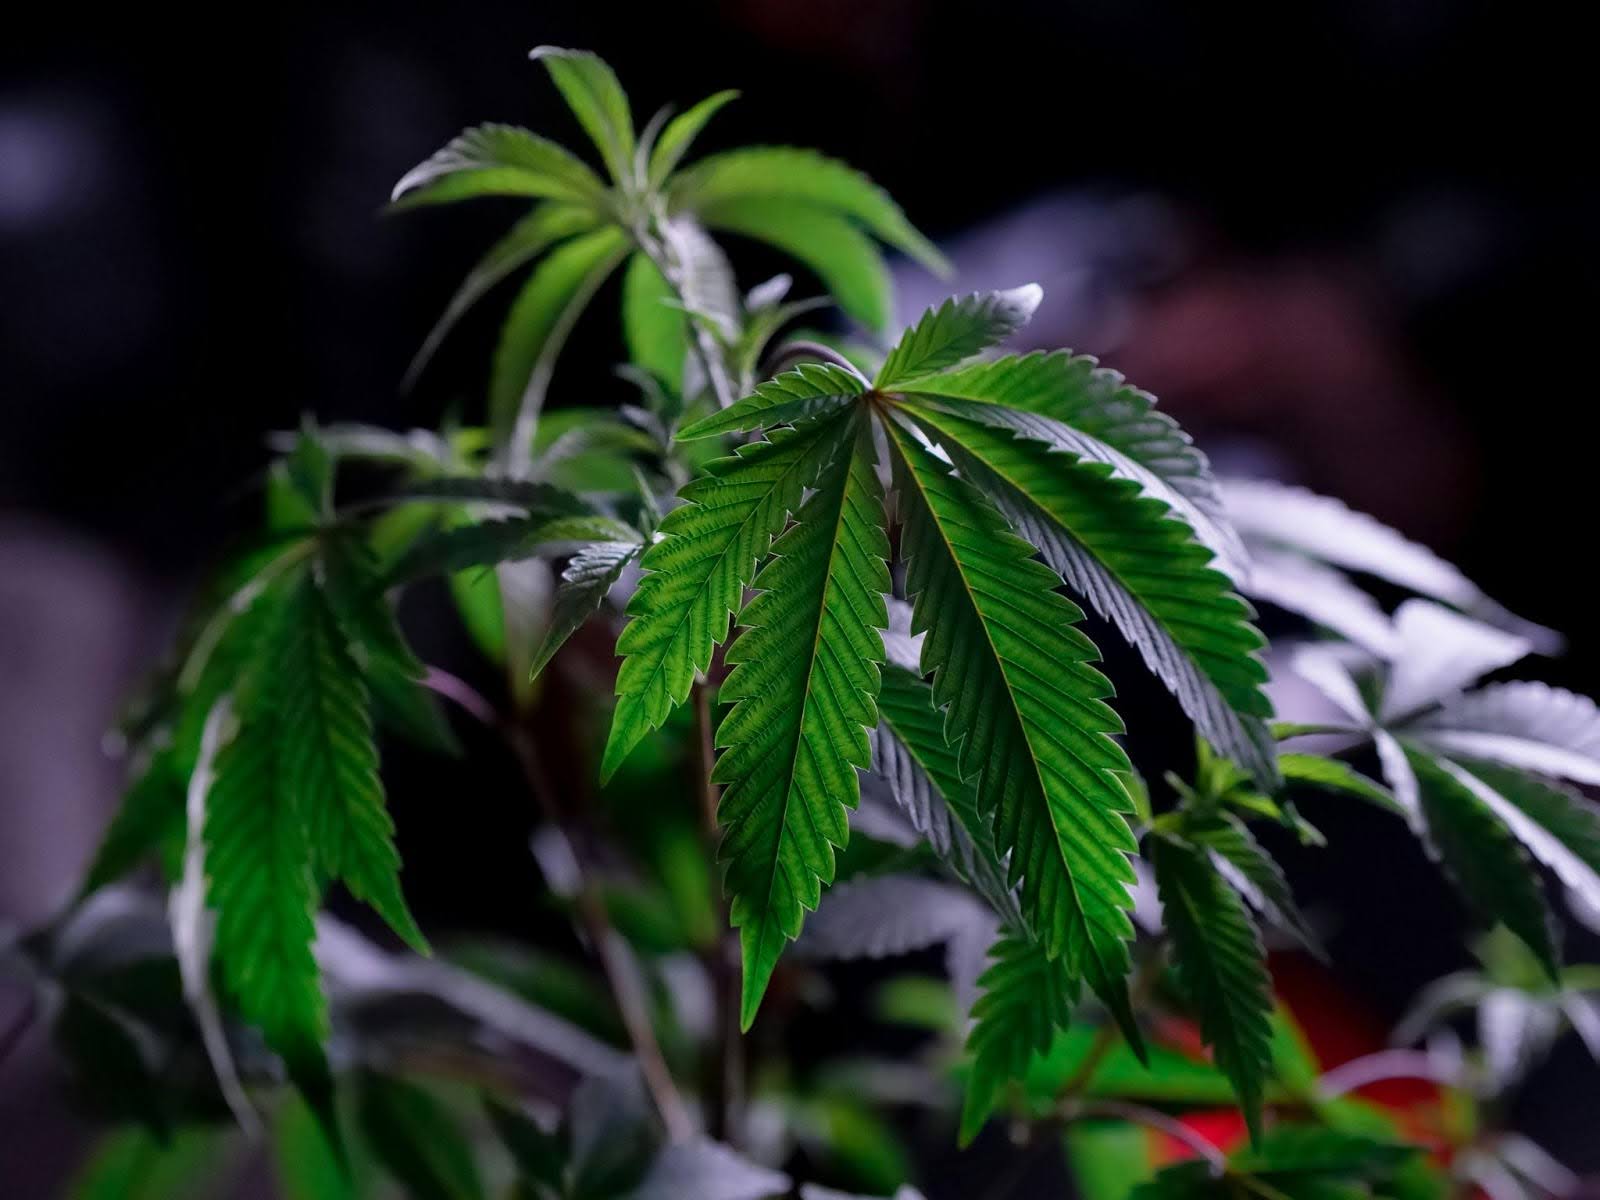
What Healthy Cannabis Leaves Look Like:
Healthy cannabis leaves are:
- Deep green: A rich, vibrant green color indicates proper chlorophyll production.
- Firm and strong: Leaves should feel sturdy to the touch, not brittle or limp.
- Symmetrical and balanced: Healthy leaves will be natural and not curled, cupped, or twisted.
What Unhealthy Cannabis Leaves Look Like
Unhealthy leaves often show signs that point to what is wrong:
- Discoloration: Yellowing, browning, or purpling often indicate nutrient deficiencies or stress from the environment.
- Curling or drooping: Such a sign may indicate over-watering, underwatering, or light stress.
- Spotting or patches: Brown or black spots often indicate pests or fungal infections.
- Thin or brittle texture: Leaves that crumble easily may indicate dehydration or excessive heat.
Why Early Detection Matters
Catching weed leaf problems early gives you time to make adjustments before they cause long-term damage. Here's why early intervention is so critical:
- Prevents stunted growth: Addressing issues quickly keeps your plants growing at their optimal rate.
- Maintains yield quality and quantity: Healthy leaves are essential for photosynthesis, which drives flower and resin production.
- Reduces the spreading of pests and diseases: Early action will ensure that infestations or infections don't worsen.
Key Signs to Monitor
Look out for these key signs in your cannabis leaves to keep your plants healthy:
- Changes in color: Have the leaves become yellow, purple, or brown?
- Textural changes: Do they feel thin, crispy, or are they soft to the touch?
- Shape changes: Are they curling up or curling down? Are they cupping or folding?
- Presence of pests: Do you see tiny insects, webs, or holes in the leaves?
By regularly monitoring these signs, you can stay ahead of potential cannabis leaf problems.
The next step is to understand how these symptoms relate to specific issues, such as watering errors, pest infestations, or nutrient deficiencies. Let's explore these common cannabis problems in detail.
Common Cannabis Leaf Problems
Cannabis plants are sensitive to their environment. Both overwatering and underwatering can cause serious issues. These two problems are among the most frequent causes of cannabis leaf symptoms, but they are easy to diagnose and resolve with the right approach. Moreover, here are some other common problems that occur in your cannabis plant:
1. Overwatered Plants
Overwatering is a common mistake, especially for new growers eager to give their plants extra care. However, too much water deprives the roots of oxygen, leading to root suffocation and unhealthy plants. When the roots can't breathe, the entire plant suffers.
Symptoms of Overwatering
- Drooping or wilting leaves: Leaves look heavy and limp, as though weighed down by excess moisture.
- Yellowing starts at the bottom of the leaves. Low oxygen inhibits nutrient absorption, causing color changes.
- Soil always seems waterlogged: The root might also start rotting and smell bad.
- Stem enlargement: You could even observe that overwatered stems are somewhat inflated
How to Correct Overwatering
- Let soil dry: Reach out your finger into the soil in the upper several inches-if the soil still feels damp, wait a bit longer to water.
- Improve drainage: Use pots with sufficient drainage holes, and consider adding perlite or coco coir to your soil mix for better aeration.
- Water less frequently: Stick to a schedule based on the specific needs of your plant and growing environment.
- Elevate the pots: If you’re growing in a tray or saucer, make sure water isn’t pooling at the base of the pot.
Preventive Tips
- Do not water on a schedule. Instead, water should be used according to the soil's dryness and the plant's needs.
- Observe the size of the plant and growth stage; younger plants will require less water than mature ones.
2. Drought-Stricken Plants
Underwatering can be just as destructive, leaving your plants dehydrated and stressed. Without water, plants cannot carry out photosynthesis and transport nutrients, leading to brittle, weak leaves.
Symptoms of Underwatering
- Brittle, dry leaves: Leaves have a crispy texture and crumble easily upon touching.
- Lifeless-looking leaves that wilt: Unlike overwatered plants, underwatered leaves appear limp and wrinkly.
- Soil is pulling away from the pot edges: This is a sure sign that the soil has dried out too much.
- Slowed growth: Underwatered plants grow more slowly due to a lack of available resources.
How to Correct Underwatering
- Water thoroughly: Provide enough water to fully saturate the soil, ensuring it reaches the root zone.
- Monitor soil moisture levels: Use a moisture meter or simply check the soil with your finger. Aim to keep it evenly moist, not soaked.
- Adjust your watering schedule: Increase watering frequency slightly, especially during hot or dry conditions.
Preventive Tips
- Water consistently, but don’t overcompensate by drowning the plant.
- Adjust watering based on such factors as temperature, humidity, and plant size.
- Apply a covering of mulch over the soil surface in order to preserve moisture in outdoor grow spaces.
Are you struggling with droopy or discolored cannabis leaves? Cultivation can be challenging, whether it's due to watering issues, pests, or nutrient deficiencies. PlanaCan's interactive calendar makes it easy to plan yields, manage tasks, and adjust schedules. Keep your plants thriving by tackling issues proactively and staying organized!
Moving on, let's consider how pests affect cannabis plants and what you can do about it.
Pests Affecting Cannabis Pot Problems
Pests are the most common and destructive issue affecting cannabis growers. These unwelcome visitors feed on your plants, interrupting their growth and deteriorating their health. They leave telltale signs such as bites, discoloration, sticky residues, or even infestations visible. Early detection and intervention are essential in ensuring pests do not overrun the grow area.
Here's a closer look at the most common pests affecting cannabis, how to identify them, and the best strategies for control.
Aphids and Thrips
Aphids and thrips are tiny insects that feed on the sap of the cannabis plant. Though they are small, their impact is quite significant. Aphids are usually found on the undersides of leaves and new growth, excreting a sticky substance called honeydew. Thrips scrape away at the surface of the leaf, creating silvery or bronzed spots.
How to Identify Aphids and Thrips
- Aphids: Check for aggregation of small, pear-shaped insects on the leaf and stem. The insect might be green, black, or yellow.
- Thrips: Look for long yellowish or brown insects; besides, check for symptoms such as silvery whitish discoloration.
Damage Caused
- Leaves curled and yellow or distorted in shape.
- The presence of honeydew, created by aphids, attracts fungi and other insect pests.
How to Control Aphid and Thrip Infestation
- Neem Oil: Spray neem oil on the affected plants, especially on the undersides of the leaves where these pests hide.
- Insecticidal Soap: Organic insecticidal soap suffocates the insects. Apply as necessary.
- Beneficial Insects: Introduce ladybugs or lacewings to help control pest populations naturally.
Spider Mites and Whiteflies
Spider mites and whiteflies are two of the most common pests that can severely weaken cannabis plants. Spider mites are extremely small and often not noticed until they have caused a significant problem, spinning delicate webs on the undersides of leaves. Whiteflies are small, white moth-like insects that are easier to spot but equally destructive.
How to Identify Spider Mites and Whiteflies
- Spider Mites: Tiny yellow or white speckles on leaves and fine webbing underneath.
- Whiteflies: Gently shake the plant—whiteflies will take flight for a few seconds before landing again.
Damage Caused
- The leaves can turn pale or develop spots or wilt.
- Both spider mites and whiteflies drain energy from the plant, making it slow down its growth.
Controlling Spider Mites and Whiteflies
- Natural Pesticides: Spray insecticidal liquids that are nontoxic to cannabis plants. Spray again each week until the pests disappear.
- Horticultural Oils: Drown these insects using horticultural oil. Examples include neem and mineral oil.
- Enhance Air Flow: Raise ventilation to make it harder for them by introducing lesser-friendly environments.
Caterpillars and Leafhoppers
These are notorious cannabis pests causing visible immediate harm. Caterpillars literally leave big holes in the cannabis leaves. The latter leaves behind curled or yellow leaves after sucking sap through them.
How to Identify Caterpillars and Leafhoppers
- Caterpillar: These are usually apparent larvae, frass droppings from the insect, or badly torn cannabis leaves, as indicated by their biting marks.
- Leafhoppers: Observe tiny jumping insects that leap when disturbed.
Damage Caused
- Chewed or torn fragments of leaves with a decreased rate of photosynthesis.
- Fluid loss through sap leads to stress, along with visible curling and yellowing.
Controlling Caterpillars and Leafhoppers
- Hand-Picking Caterpillars: Inspect your plants frequently and pick caterpillars by hand. Dispose of them as far away from your growth area as possible.
- Organic Chemicals: Bacillus thuringiensis (Bt) is a beneficial bacterium that naturally attacks specific caterpillars.
- Sticky Traps: Place traps around the plants to catch leafhoppers.
- Diatomaceous Earth: Sprinkle this natural powder around the base of the plants to repel crawling pests.
Preventive Measures for Pest Control
Preventing pests is more manageable and less stressful than eliminating them. Use these strategies to keep your grow space pest-free:
- Cleanliness: Maintain a clean grow area free from debris, which can harbor pests.
- Inspection: Regularly inspect your plants for signs of infestation, especially during peak growing stages.
- Companion Planting: Grow pest-repellent plants such as marigolds or basil near cannabis to keep the harmful insects away.
- Barriers: Use physical barriers like mesh screens to keep pests away from your plants.
- Rotation: Rotate crops or change the location of your grow area to avoid recurring pest problems.
Early pest detection and effective control are essential for healthy cannabis growth. But how far can you go? PlanaCan goes a step further by enabling real-time yield monitoring, which helps you track decisions, avoid mistakes, and refine processes for healthier crops and higher profits.
Now, let's see how nutrient deficiencies and imbalances affect your plants and what you can do to address these issues.
Nutrient Deficiencies and Imbalances
Cannabis plants require an accurate combination of nutrients to grow and flourish. Any nutrient deficiency or overabundance leads to cannabis leaf symptoms and, ultimately, impacts plant health and productivity. Learning how to identify nutrient imbalances can help you address problems in your plants ahead of time, ensuring they get the nutrients they need.
Nutrient Deficiency Symptoms
Nutrient deficiencies arise when a cannabis plant lacks a particular element that it needs for its growth. Every nutrient plays a different role in the plant's growth. Deficiencies, therefore, will always present differently.
Here's how to identify and correct common deficiencies:
1. Nitrogen Deficiency
- Symptoms: Older leaves are yellow and wilt, and if left untreated, they may fall off. Growth is slow, and the plant looks stunted.
- Role of Nitrogen: Necessary for chlorophyll synthesis, which fuels photosynthesis and green growth.
- Solution:
- Feed with a nitrogen-rich fertilizer or nutrient mix.
- Organic alternatives include blood meal or fish emulsion to create a natural nitrogen-feeding program.
2. Phosphorus Deficiency
- Symptoms: Purplish stems, dark patches on the leaves, and delayed flowering
- Phosphorus Role: Facilitates root development, flowering, and overall energy transfer throughout the plant
- Solution:
- Apply phosphorus-heavy fertilizers.
- Check pH levels; acidic conditions reduce phosphorus availability
3. Potassium Deficiency
- Symptoms: Yellowing or browning at the edges of leaves, brown spots, and weak stems.
- Role of Potassium: It helps regulate water, strengthen cell walls, and induce flower and resin production.
- Solution:
- Apply a potassium-rich fertilizer or organic sources like wood ash or kelp meal.
- Make sure your soil or nutrient solution is at the right pH for potassium uptake.
4. Calcium Deficiency
- Symptoms: Brown spots, curled leaf tips, and weak stems. New growth may appear distorted.
- Role of Calcium: Provides strength to cell walls and helps enzymes.
- Solution:
- Add calcium supplements such as calcium nitrate or dolomite lime.
- Avoid overwatering that could impede the uptake of calcium.
5. Magnesium Deficiency
- Symptoms: Yellowing between leaf veins (interveinal chlorosis) on older leaves with possible dropping.
- Role of Magnesium: It is at the heart of chlorophyll production and photosynthesis.
- Solution:
- Use Epsom salts magnesium sulfate dissolved in water
- Keep the pH of the soil within an optimal range that can increase the availability of magnesium.
Overfeeding Consequences
While nutrient deficiencies are rampant, overfeeding your cannabis plants can be equally destructive. Too much of any good thing can lead to a condition known as nutrient burn, where the tips of the leaves will brown and become crispy. Left uncorrected, this can severely damage roots and stunt growth significantly.
Nutrient Burn Signs
- Brown or yellow leaf tips, which usually tend to progress inward.
- Curled or clawed leaves which are also usually dry to the touch.
- Stunted growth and overall stress in the plant.
How to Correct Overfeeding
- Flush the Growing Medium: Use clean, pH-balanced water to flush out excess nutrients. Ensure proper drainage during the flush.
- Resume Feeding Cautiously: After flushing, restart your feeding schedule with a lower concentration of nutrients. Gradually increase as the plant recovers.
Correcting pH Issues
Cannabis plants absorb nutrients best in a specific pH range. If the soil or nutrient solution pH is too high or too low, it can lock out some nutrients, resulting in symptoms similar to deficiencies.
Optimal pH Levels
- Soil: 6.0–7.0
- Hydroponics or Coco Coir: 5.5–6.5
Testing and Adjusting pH
- Test Often
- Use a pH meter or pH test strips to check the pH levels of the growing medium.
- Check both the water and runoff to obtain correct readings
- Adjust as Necessary
- If the pH is too high, use a pH-down solution made with phosphoric or citric acid.
- If the pH is too low, use a pH-up solution containing potassium hydroxide.
- Maintain Balance
Use a buffering agent, such as dolomite lime for soil or pre-buffered coco coir for hydroponic set-ups.
Key Tips for Managing Nutrient Deficiencies and Imbalances
Nutrient deficiencies are often overlooked issues that can lead to fatigue, weakened immunity, and other health concerns. The good news is that with the right strategies, you can effectively identify and address these gaps.
Let's explore key tips for managing nutrient deficiencies and restoring balance for a healthier, more vibrant you.
- Use High-Quality Fertilizers: Using nutrient blends that are prepared specifically for cannabis can keep away common deficiencies.
- Follow Feeding Schedules: Irregular feeding is the general reason for overfeeding or underfeeding. Stick to the planned schedule.
- Track Growth Stages: Nutrient needs vary during the vegetative and flowering phases. Adjust your feeding strategy accordingly.
- Combine Visual and Analytical Diagnosis: Look for symptoms on leaves while testing the soil, water, and runoff for pH and nutrient levels.
Want to track your cannabis yield in real time? PlanaCan tracks every harvest and helps you adjust feeding strategies during vegetative and flowering phases. All data is in one place, so you can optimize methods, avoid past mistakes, and boost yields and profits.
Next, we will examine how environmental stress factors like light, temperature, and humidity can impact plants.
Environmental Stress Factors
Cannabis plants are sensitive to their environment, and constant stable growing conditions are vital for the health and productivity of the plant. Stress caused by environmental factors leads to visible symptoms like yellowing, curling leaves, or stunted growth. Knowledge of how light, temperature, and humidity affect your plants will help you create an ideal growing environment and reduce stress.
Light Stress
Light is necessary for the growth of cannabis, but too much or too little light can damage your plants. Overexposure to intense light can burn leaves, turning yellow or rusty spots. In contrast, insufficient light causes weak, drooping plants with stretched stems as they try to reach enough light.
Signs of Light Stress
Overexposure:
- Yellowing of leaves, especially near the top of the plant closest to the light.
- Light burn causes rusted or bleached spots.
- Leaves can curl upward, which is referred to as "tacoing."
Underexposure
- Droopy or drooping leaves
- Stretched stems with more significant gaps between nodes
- Weak and pale growth overall
How to Prevent and Fix Light Stress
- Position Grow Lights Appropriately: Place grow lights at the manufacturer's suggested distance from the canopy. Typically, LED lights are placed 12–18 inches away from the canopy, whereas HPS lights require a farther distance.
- Use Timers: Maintain consistent light cycles—18 hours of light for the vegetative stage and 12 hours for flowering.
- Check Light Intensity: Use a light meter to measure the intensity reaching the canopy, ensuring it’s within the optimal range for cannabis growth.
Pro Tip: If you’re growing outdoors, provide partial shade during peak sunlight hours in particularly hot or sunny climates to protect plants from overexposure.
Temperature and Humidity Concerns
Cannabis is sensitive to specific temperature and humidity levels. When this threshold is exceeded, the plants are stressed, leading to stunted growth, symptoms in the leaves, or crop failure.
Ideal Conditions
Temperature:
- Day: 70–85°F (21–29°C).
- Night: slightly cooler, between 60–70°F (15–21°C).
Humidity:
- Seedlings and early vegetative growth: 60–70%.
- Late vegetative and flowering: 40–50%.
Temperature Stress Symptoms
Too Much Heat:
- Cupping or brittleness and dryness in leaves.
- Yellowing or browning at the edges.
- Heat stress can cause "foxtailing," where buds grow elongated and less dense.
Low Temperatures:
- Leaves droop and may turn purplish due to slowed metabolism.
- Growth stagnates, and plants may look weak.
Signs of Humidity Stress
High Humidity:
- Increased chances of mold, mildew, or bud rot.
- Leaves appear swollen or soft.
Low Humidity:
- Leaves lose water too fast and become brittle.
- Growth slows as the plant conserves water.
How to Control Temperature and Humidity
Control Temperature:
- Make use of heaters or cooling systems to keep the range right.
- Place fans in such locations that will enhance airflow and help dissipate heat from grow lights.
Adjust Humidity:
- In the seedling and initial vegetative stages, apply humidifiers.
- In the flowering stage, use dehumidifiers to prevent bud rot as well as mold.
Regular Monitoring: Install a thermometer and hygrometer within your grow area to regularly monitor environmental conditions.
Want to monitor your cannabis yield in real time? With PlanaCan, every harvest is tracked, and your nutrient strategies are adjusted during both the vegetative and flowering phases. All your data in one place allows you to refine your methods for increased yields and higher profits.
Additional Environmental Factors
While light, temperature, and humidity are the main considerations, other environmental factors can come into play when growing cannabis:
- Airflow: Good air circulation prevents stagnant air pockets and reduces the risk of mold or pest infestations. Use oscillating fans to keep air moving evenly through the growing space.
- CO₂ Levels: In sealed grow rooms, supplementing CO₂ can enhance growth during the vegetative phase. It is not needed for most small-scale grows.
- Watering Practices: Environmental conditions like high heat or low humidity can cause plants to require more frequent watering. Adjust your irrigation schedule accordingly.
Creating a stable environment and monitoring conditions closely will reduce stress and allow your plants to thrive. Next, let's explore how diseases such as powdery mildew and root rot can affect cannabis plants and what you can do to protect your crop.
Disease Diagnosis in Cannabis Plants
Cannabis plants, like any living organism, are prone to diseases that can slow growth, reduce yield, and, if left unchecked, destroy your crop. The most common offenders are fungal infections and root diseases.
It is essential to identify and treat these diseases early to keep your plants healthy and productive.
Here's how to identify and manage two of the most common cannabis plant diseases: powdery mildew and root rot:
Powdery Mildew and Bud Rot
Powdery mildew
Powdery mildew is a fungal disease that manifests as white, powdery patches on leaves, stems, or buds. It grows in high humidity and low airflow and spreads quickly if the conditions are right. This disease interferes with photosynthesis and weakens the plants, significantly lowering their yield potential.
Symptoms of Powdery Mildew
- White, powdery patches on leaves, stems or buds.
- Curled leaves that turn yellowish dropped.
- Growth may be slowed as the plant will become less efficient at photosynthesis.
Bud Rot
Grey mold or bud rot is the second significant fungal disease found on dense cannabis buds, destroying the insides of buds working outward. The outer areas may be mushy and grey before disintegrating completely. Typically, bud rot develops in those conditions when moisture becomes confined to thick flowers.
Symptoms of Bud Rot
- Brown or grey mushy spots on buds.
- Affected buds break easily and have a musty smell.
- Mold growth inside the flower when opened up.
How to Manage and Prevent Powdery Mildew and Bud Rot
- Increase Air Circulation: Use oscillating fans to increase airflow, which reduces humidity surrounding the plants.
- Control Humidity Levels: When the plants are in flowering stages, maintain humidity levels below 50%. If necessary, use a dehumidifier.
- Remove Infected Parts: Cut away and dispose of any infected leaves or buds immediately. Do not compost such parts, as the spores will spread.
- Apply Fungicides: Use organic fungicides such as potassium bicarbonate or sulfur-based sprays. Never apply fungicides directly on the buds near harvest time.
- Space Plants Properly: Never overcrowd plants to allow adequate airflow towards all parts of the plant.
Preventive Tip: Powdery mildew spores can survive in the grow environment. After every harvest, clean and sanitize your grow space thoroughly before planting a new crop.
Root Rot
Overwatering, combined with poor drainage, makes the environment conducive to the presence of harmful fungi, such as Pythium. These pathogens cause the roots of the plant to rot and prevent the uptake of nutrients, killing the plant if left untreated.
Symptoms of Root Rot
- The leaves droop or wilt even when the soil feels moist.
- The leaves turn yellow and fall off prematurely.
- The root zone has an offensive odor.
- Brown, slimy, or mushy roots instead of firm, white, healthy roots.
How to Control and Prevent Root Rot
- Never Overwater: Water when the top inch of the soil feels dry. The root rot is caused mainly by overwatering.
- Provide the Right Drainage: Plant it in a pot that allows for proper drainage. Add perlite or coco coir to improve the aeration in the growing medium.
- Apply Beneficial Bacteria: Inoculate the root zone with beneficial microbes like Trichoderma or mycorrhizal fungi, which protect the roots from pathogens.
- Use Fungicides: To kill pathogens, treat the roots with an organic fungicide, such as hydrogen peroxide diluted in water.
- Monitor Water Temperature: Hydroponic systems should keep water temperatures between 65–70°F (18–21°C). Warmer water encourages fungal growth.
Additional Disease Prevention Tips
- Sanitize Your Equipment: Clean tools pots, and grow room surfaces regularly to avoid the spread of pathogens.
- Quarantine New Plants: When introducing new plants to your grow space, isolate them for a week to ensure they are disease-free.
- Inspect Plants Regularly: During routine inspections, inspect the roots, stems, and leaves for early signs of disease.
- Control Growing Conditions: Maintain humidity, temperature, and watering schedules within optimal ranges to minimize stress on plants. Stressed plants are more vulnerable to diseases.
Diseases such as powdery mildew and root rot can be extremely devastating if not caught in time for a cannabis crop. If you monitor your plants and maintain proper environmental conditions, the symptoms will indeed be controlled, and your crops will be saved.
Lastly, we will discuss how routine monitoring and preventive measures can keep your plants in good health and prevent problems from occurring.
Monitoring Cannabis and Preventive Measures
Prevention is the backbone of a successful cannabis grow. Vigilance and early identification of potential issues prevent costly setbacks and keep plants healthy throughout their growth cycle. Monitoring and proactive maintenance enable you to catch problems before they get out of hand, saving time, resources, and frustration.
Regular Monitoring
Daily monitoring helps detect early signs of pests, diseases, or environmental stress. A quick glance can reveal minor symptoms that, if overlooked, could become major problems for cannabis growers.
Want to monitor your cannabis yield so it stays healthy? PlanaCan helps you track every harvest and detect early signs of pests, diseases, or stress. With all your data in one place, you can spot minor issues before they escalate, refine your methods, and boost yields and profits.
What to Check During Daily Monitoring
- Leaf Discoloration or Spotting:
Yellowish, brownish, or purplish tints may be symptoms of nutrient deficiency or environmental stress. Spotting or patches might indicate fungal infections or pest damage.
- Pest Activity:
Check for webs on leaves, sticky residue on leaves or small, moving insects that resemble a pinhead (spider mites, aphids). Examine the undersides of leaves for thrips and whiteflies.
- Soil Moisture Levels:
Test for moisture in the top inch of soil as an indication of the need to water
Check for waterlogging or stagnated water as an indication of too much water.
- Structural Health:
Examine the stems and branches for weak points, bending, or discolored areas that can be a sign of nutrient deficiency or disease
- Growth Patterns:
Observe overall plant health, ensuring even growth without signs of stretching, drooping, or stunted development.
Tools to Ease Monitoring
- Magnifying Glass: Helps spot tiny pests like mites or thrips.
- Moisture Meter: This measure gives accurate soil moisture measurements.
- Yellow Sticky Traps: Capture flying insects to monitor pest activity.
- Digital Sensors: Track temperature, humidity, and light levels in your growing space.
Maintenance of Healthy Plants
Healthy plants emerge from regular care, sanitation, and an optimal growth environment. Through simple but effective techniques, you can considerably minimize the risks of cannabis leaf problems.
Common Strategies for Plant Health Management
- Keep your grow space clean and sterile
- Remove decaying leaves, dead plants, and debris to deter pests and diseases.
- Sanitize tools, pots, and trays after each application.
- Sterilize the growing space between crop cycles to eradicate any remaining pathogens.
- Crop Rotation
- Change the placement of plants or grow new crops in other areas to interrupt pest life cycles.
- Use cover crops or companion plants such as marigolds or basil to repel pests organically.
- Use High-Quality Soil and Nutrients
- Begin with nutrient-dense, well-aerated soil specifically designed for growing cannabis.
- Do not reuse the same old soil without first sterilizing it, which may harbor pests or diseases.
- Feed your plants with a balanced nutrient mix appropriate for their growth stage.
- Optimize Environmental Conditions
- Maintain stable temperature and humidity levels to reduce stress.
- Ensure proper airflow with oscillating fans to prevent mold and mildew.
- Use grow lights and timers to provide consistent light cycles.
- Practice Integrated Pest Management (IPM)
- Combine cultural, physical, biological, and chemical controls to manage pests sustainably.
- Release beneficial insects like ladybugs or predatory mites to control pest populations naturally.
- Use organic sprays or barriers as a first line of defense.
- Document Your Observations
- Keep a grow journal to track plant health, nutrient schedules, and environmental changes.
- Note symptoms and interventions to identify patterns and improve your future growth.
Long-Term Preventive Measures
To avoid recurring problems and maximize yields, incorporate these preventive strategies into your long-term cannabis care plan:
- Invest in Quality Genetics: Start with disease-resistant seeds or clones to reduce susceptibility to common issues.
- Maintain Consistent Watering Practices: Adjust your watering schedule according to the plant's life stage, environmental conditions, and growing medium.
- Control Access: To eliminate pest and/or pathogen introduction from external sources, limit entry to your grow area.
- Inspect New Plants: Before introducing new plants or clones, quarantine them for a week to ensure they are pest—and disease-free before adding them to your main grow area.
Conclusion
With proper knowledge and equipment, the challenges of managing a cannabis crop can be well managed and its yield maximized. Understanding the symptoms of cannabis leaf, solving deficiencies, controlling pests, and establishing the proper environmental conditions for maximum yield will set the plant on the right path to growing healthy, thriving plants.
However, success in cannabis cultivation does not stop at diagnosing problems. Streamlining processes and ensuring consistency are also important. That is where PlanaCan comes in, offering growers a holistic solution to manage and optimize their cannabis operations.
PlanaCan enhances cannabis growing by having customizable templates with an interactive calendar that enables a workflow from planting to harvest. Every step can be automated and tailored to strains or cycles, thus having a uniform and efficient process. It offers a timeline in which planning is carried out for months ahead but allows the daily activities to be managed.
With the flexibility to adapt current tasks and centralized information accessible to the whole team, PlanaCan helps growers stay organized, fulfil dynamic needs, and avoid errors, thus boosting productivity and ensuring smooth operations.
Combine knowledge with innovative tools like PlanaCan and take your cannabis cultivation to the next level. Maximize yields, stay organized, and focus on what matters most—growing high-quality plants.
Schedule a free call today to see how PlanaCan can transform your cultivation process!


