Are cold temperatures creeping in right before your cannabis harvest? This is one of the most frustrating and high-stakes moments for growers. You’ve spent months dialling the right nutrients, lights, and care routines. The finish line is in sight, but suddenly, the weather throws you a curveball. Cold snaps can hit fast and hard, threatening to undo all your work at the most critical time.
When temps start dropping, it’s not just an inconvenience. It can stunt growth, ruin potency, and even kill your plants if you don’t act fast. With the right moves, you can protect your crop and maybe even use the cold to improve your final product. Let’s break down exactly what you must do to stay ahead of the chill and produce a successful, high-quality harvest.
Understanding The Impact Of Cold Temperatures on Cannabis
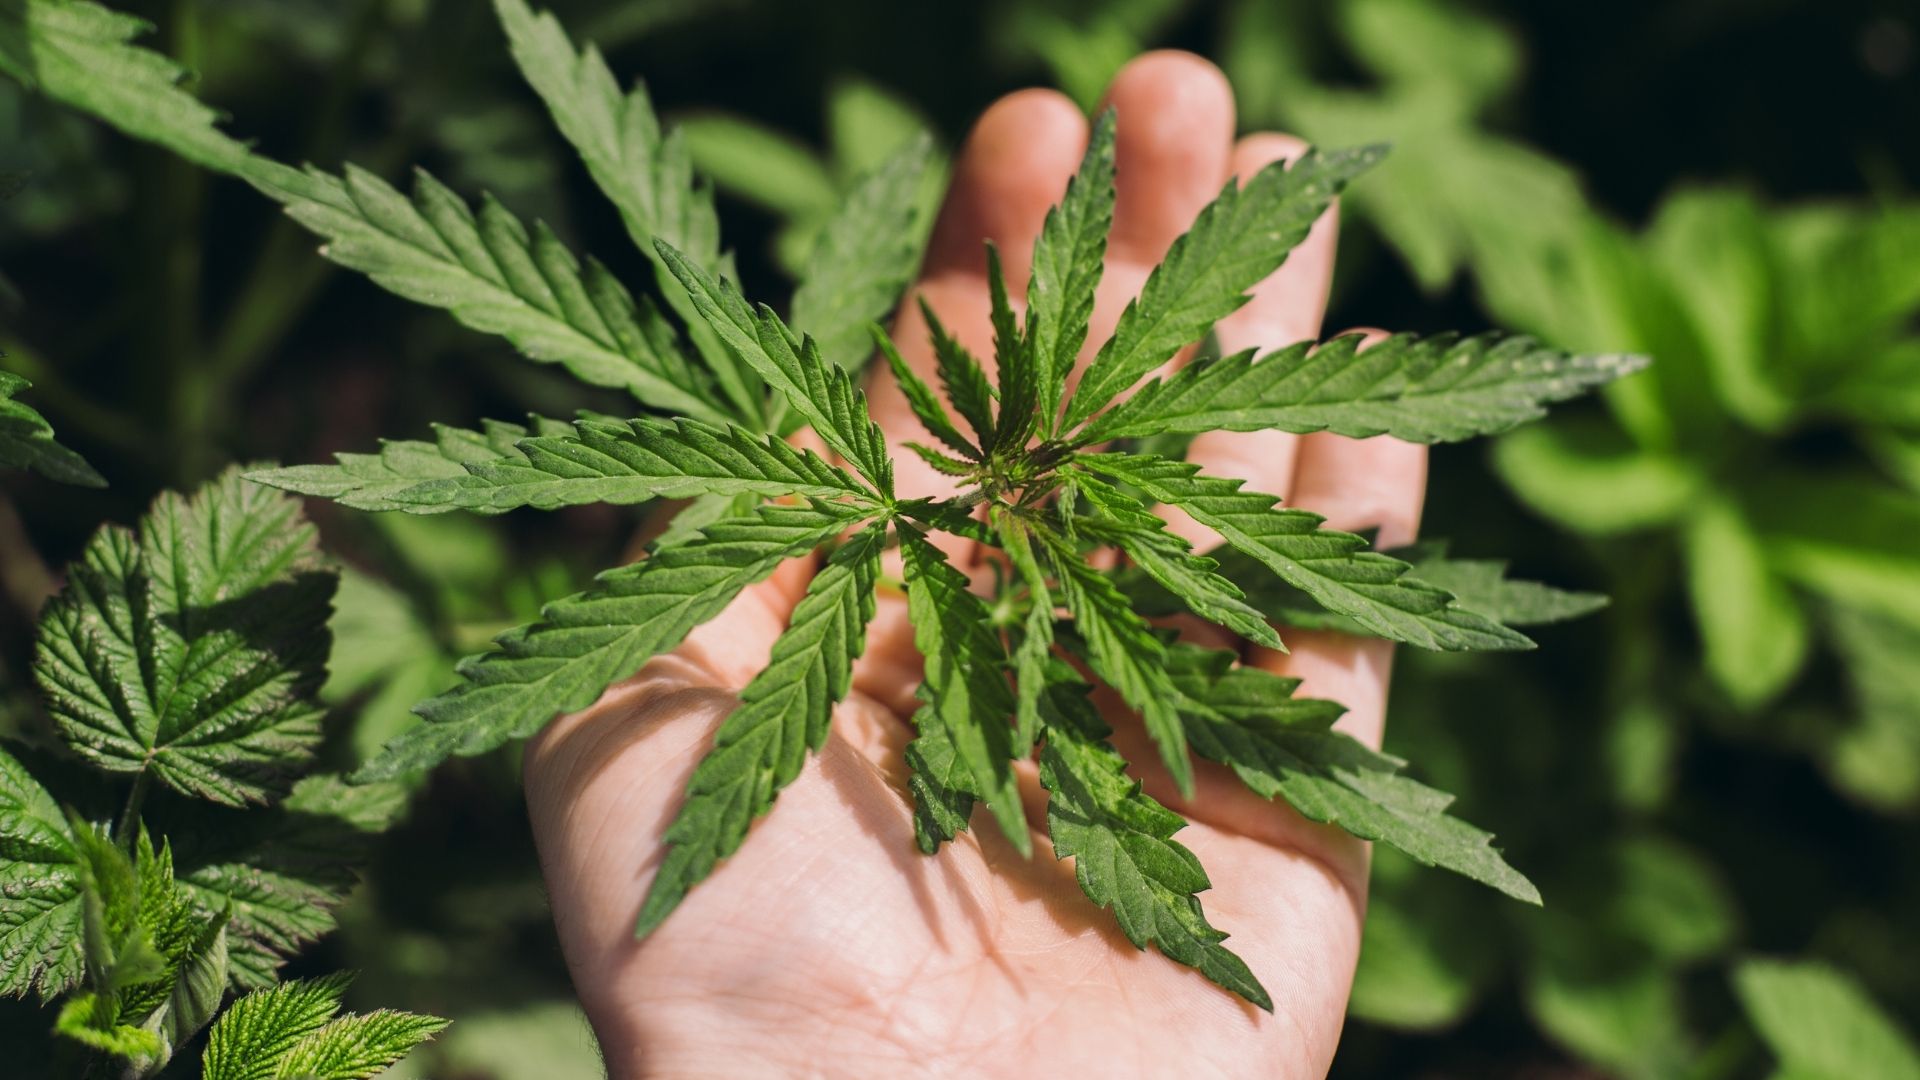
Cold can hit hard and fast, but its impact isn’t one-size-fits-all. Each cannabis strain has a different tolerance for low temperatures, and knowing how your strain reacts is crucial. The better you understand your strain’s cold tolerance, the faster you can respond with protective measures and avoid serious damage.
- Strain Sensitivity Varies: Indicas tend to be more resilient in colder climates, while sativas can struggle. Hybrids land somewhere in the middle. Before panic sets in, research how your specific strain handles cooler temperatures. If you're growing multiple strains, note how each one behaves during chilly nights.
- The 12°C Threshold: Once the temperature dips below 12°C, you’re in danger zone territory. At this point, a plant’s cellular processes slow dramatically. This doesn’t just stunt growth—it also weakens the immune system, making your crop more vulnerable to pests and disease. If you're growing outdoors and seeing nighttime lows consistently under this mark, it’s time to consider supplemental heat or early harvest.
- Nutrient Uptake Disruption: Cold affects root activity. As the soil or medium cools, roots struggle to absorb essential nutrients like nitrogen, phosphorus, and potassium. This can lead to visible symptoms like yellowing leaves, purple stems, and overall sluggish growth. If left unchecked, the plant will enter a stress spiral where weakened growth leads to more absorption issues.
- Risks of Prolonged Exposure: The longer your plants stay cold, the worse it gets. Beyond nutrient deficiencies, you risk root damage, poor flower development, and in extreme cases, plant death. Cold shock can also lead to reduced potency and diminished terpene profiles.
- Condensation and Moisture Stress: Cold air tends to carry less moisture, but sudden temperature shifts—like cold nights after warmer days—can lead to condensation. That moisture can settle on buds and leaves, opening the door to mold and mildew.
- Impact on Soil Microbes: Cold temperatures can also slow down microbial activity if you're using living soil or organic practices. The beneficial organisms that help break down nutrients and support root health become sluggish, reducing overall plant performance.
Understanding the science behind cold damage gives you a clearer picture of what’s at stake. Catching the signs early and acting fast can make the difference between a solid harvest and a lost season.
Prepping For Cold Weather Harvest
When colder days start rolling in, your drying setup becomes just as important as your grow space. Here’s how to get it ready:
- Clean and Sanitize Everything: Before you bring in a single plant, scrub down your drying area. Cold conditions can slow evaporation and promote mold if there’s even a trace of contamination. Disinfect walls, racks, scissors, and containers. Mold thrives in neglected corners so don’t give it a head start. Don’t forget to clean hard-to-reach areas like ceiling fans and dehumidifier filters. Mold spores can settle anywhere.
- Control the Climate: Set up your fans and dehumidifiers early so you’re not rushing once harvest hits. Cold air holds less moisture, but ironically, your drying space can still become too damp if it’s not ventilated properly. That extra moisture can build up on surfaces and buds, increasing the risk of mold. Consider using a timer or humidity controller to automate climate adjustments.
- Dial In Your Humidity: Your target is around 50 percent relative humidity. This sweet spot allows for a slow, controlled dry that protects terpenes and prevents mold. If it’s too dry, you’ll lose the aroma and flavor. It's too humid, and you invite rot. A hygrometer is best here, so keep one at the bud level. If your space fluctuates, a humidistat-controlled dehumidifier can help you stay in the zone.
- Monitor Temperatures Closely: Don’t let your drying room get too cold. Temperatures that drop below 15°C can slow down drying to the point where buds become spongy and prone to mold. Use a small space heater if necessary, but avoid placing it too close to the plants. Try insulating the room or using blackout curtains to stabilize the temperatures.
- Keep Airflow Moving: Air should move gently through the space without blasting the buds. Oscillating fans are great for keeping air circulating evenly. Avoid direct air on hanging plants since too much airflow can overdry one side while leaving the other moist. Clean fans weekly to prevent dust buildup, which can also carry spores.
- Check for Light Leaks: Even small amounts of light can degrade cannabinoids during drying. Do a quick light test in the room before you hang your plants. Use blackout covers or seal gaps around doors and windows. Keeping it dark helps you lock in potency and flavor.
- Have a Backup Power Plan: Cold seasons often bring power outages. A sudden loss of heat or airflow can ruin your drying process overnight. Consider using a generator or battery backup for essential systems like fans and dehumidifiers. Ensure your backup setup runs long enough to get you through unexpected blackouts.
- Stay on a Cleaning Schedule: Keep your space clean once drying begins. Sweep floors, empty catch trays, and wipe down surfaces daily. Mold doesn't need much to spread. Consistent maintenance during the drying phase can save your harvest from a late-stage surprise.
Tools like PlanaCan can support this effort by providing a clear visual timeline for planning and tracking tasks. You can manage day-to-day activities while monitoring the bigger picture and adjusting tasks as needed. With everything centralized on a shared calendar, it's easier to stay on top of cleaning routines and ensure no detail gets missed.
Now, let us discuss some harvesting techniques that you can use for your cannabis yield in cold conditions.
Adapting Harvesting Techniques For Cold Conditions
When cold temps hit, your harvesting strategy needs to adapt. Low temperatures change how your plants behave post-cut, and how you handle them now can make or break the final product.
- Choose Your Harvest Style: You can either hang whole plants or cut them down by individual branches. In cold conditions, individual branches tend to dry more evenly because they expose more surface area to airflow. This method also allows you to adjust placement and spacing more easily, which helps avoid mold and overdrying.
Tip: Whole plant drying can still work if your space is well-insulated and your airflow is dialed in, but it requires tighter monitoring.
- Watch the Drying Space Closely: Cold rooms slow the drying process, which might sound like a good thing, but if it gets too slow, moisture lingers and mold can take over. Keep a thermometer and hygrometer in place, and check them regularly. If the temperature drops too low, add gentle heat using a ceramic heater or space heater set to low.
Tip: Avoid heating the room too fast and never let hot air hit the buds directly. The goal is consistency.
- Stay Ahead of Fungal Issues: Cold, damp conditions are a breeding ground for botrytis and powdery mildew. Inspect buds and stems daily during the drying phase. If you spot any signs of fungus, act immediately. Remove affected areas and isolate surrounding material. Use gloves and disinfect tools between cuts to prevent cross-contamination.
Tip: Consider running a small HEPA filter or UV-C light unit in the room to reduce airborne spores.
- Manage Space and Airflow Strategically: In colder weather, avoiding overcrowding is even more important. Give each branch enough space so air can move freely between them. Elevate drying racks off the floor to prevent cold zones from settling near your product.
Tip: Position oscillating fans to keep air circulating gently. You want to mimic a calm breeze, not a wind tunnel.
- Use Harvest Nets or Racks for Smaller Cuts: Drying nets or mesh racks offer flexibility if you’re doing a staggered harvest or working with smaller colas. They let you spread out buds in thinner layers, helping moisture escape more evenly in a cold room. Just make sure to rotate and inspect them daily to catch any cold spots or moisture pockets.
Tip: Line the area under the racks with plastic or trays to catch fallen plant matter and keep the floor clean.
- Track Dryness Carefully: In cool conditions, buds may feel dry on the outside while still holding moisture inside. Snap tests on stems aren’t always reliable here. Use your senses—check for even texture, consistent weight, and smell.
Tip: A moisture meter can be a helpful tool to confirm internal dryness before moving buds into cure jars or long-term storage.
Cold weather changes harvest rules, but it doesn’t have to ruin the game. You can still pull in a clean, quality crop with a few adjustments even when the temperature isn’t on your side. Planning ahead with tools like PlanaCan helps you adapt by letting you map out each step of the process, make quick changes as conditions shift, and keep your team aligned, no matter the weather.
Now, let us discuss some of the strategies to protect your plants from the cold temperatures.
Strategies For Protecting Plants From the Cold
Protecting your plants is all about layering, insulation, and quick response. As temperatures drop, indoor and outdoor growers must be proactive to avoid crop loss.
- Keep Indoor Spaces Warm: For indoor grows, portable electric heaters or oil-filled radiators can maintain a steady, safe temperature. Place them in a way that distributes warmth evenly without blowing hot air directly on your plants. Consider adding insulation to the grow tent or room.
Tip: Foam panels, thermal curtains, or reflective insulation can help trap heat and reduce energy costs.
- Use Heat Mats and Insulated Platforms: Root zone temperature matters. Placing pots on heat mats or insulated risers keeps roots warm even if the room gets chilly. This is especially helpful in unheated basements or garages where floors get cold.
Tip: Make sure mats are rated for horticultural use and don’t overheat.
- Add Layers Outdoors: If you're growing outside, start by covering the soil. A thick layer of mulch or straw around the base of each plant helps retain warmth in the root zone. Use frost blankets, old bedsheets, or thermal garden covers to trap heat overnight. Secure the edges to prevent wind from lifting them.
Tip: You can also add a second layer at night for added protection.
- Build Temporary Structures: Simple cold frames or plastic hoop houses can create a buffer between your plants and the cold. Even basic PVC frames with clear plastic sheeting can trap enough heat during the day to keep your crop alive at night.
Tip: Add a second layer of plastic with an air gap between for extra insulation. Make sure the structure allows for ventilation to prevent moisture buildup.
- Use Heat Sinks: Barrels or jugs of water placed near your plants can act as heat sinks. They absorb warmth during the day and release it slowly at night. Paint them black to increase heat absorption.
Tip: Placing them near the root zone or within your hoop house can significantly buffer overnight lows.
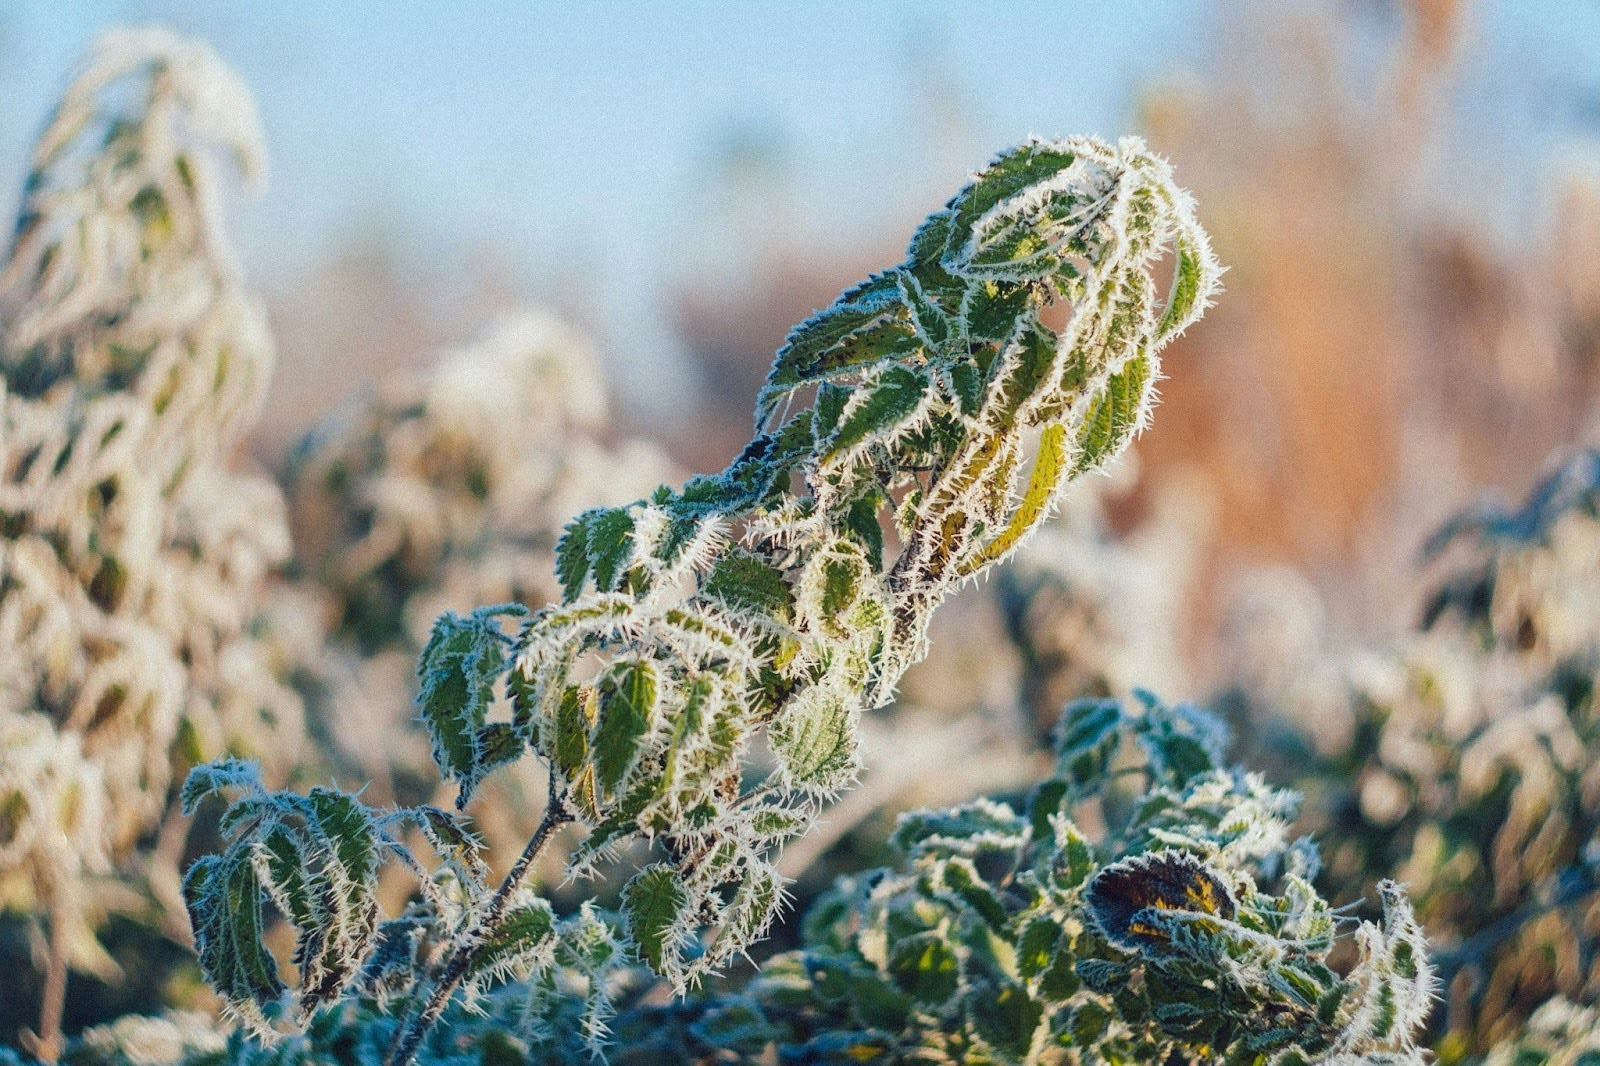
- Plan for Cold Snaps: Always keep an eye on the forecast. If a hard freeze is predicted and you don’t have a way to protect the plants, it may be time to harvest earlier than planned. Pulling slightly early is better than waking up to frost-damaged buds.
Tip: Have harvest supplies on standby so you can act quickly.
- Automate Where Possible: Use timers and thermostats to manage heaters and fans. Automation can reduce stress and ensure your setup reacts to changes in temperature even if you're not there to adjust it manually.
Tip: Smart plugs or Wi-Fi-connected devices can let you monitor and control conditions remotely.
- Monitor Continuously: Place thermometers and humidity monitors at plant level, both at the canopy and near the base. Cold settles near the ground first, and that's often where damage starts.
Tip: Use digital sensors with alerts to notify you of temperature drops before damage occurs. Pairing this with a planning tool like PlanaCan helps you stay ahead of the curve. You can adjust your schedule quickly, keep track of changes, and make sure your team is ready to act so cold weather doesn’t catch you off guard.
- Use Windbreaks for Outdoor Plants: If you're growing cannabis plants outdoors, consider adding physical barriers around your plants to block wind. Wind accelerates heat loss and can cause additional stress.
Tip: Fencing, hay bales, or even stacked firewood can help create a more stable microclimate.
So, how can you use cold conditions to ensure the enhanced quality of your cannabis plant? Let us understand.
Using Cold For Enhanced Cannabis Quality
Cooler temperatures signal plants to go into mild defense mode, which can trigger a boost in resin, color, and flavor. Instead of just protecting your plants from the cold, you can also use it to your advantage if you do it right.
Why Cold Stress Works (When Controlled)
- Increased Resin Production: Cold temperatures can act as a mild stressor that encourages cannabis plants to produce more trichomes. These tiny, crystal-like structures carry the plant’s cannabinoids and terpenes, meaning more potency, better aroma, and stickier, denser buds. This effect is especially noticeable when temperatures drop gently during the final weeks of flowering.
- Preservation of Terpenes: Cooler conditions help prevent volatile terpenes from evaporating too quickly. This means your buds retain their full flavor and aroma profiles. For terpene-rich strains, this can be the difference between a muted harvest and one bursting with scent and taste.
- Enhanced Color Expression: Many strains contain anthocyanins, pigments that react to cooler temperatures. When temps drop at night, especially below 15°C, these pigments can activate, leading to eye-catching purple, blue, or even pink hues. It boosts bag appeal without any additives or tricks.
- Tighter Bud Formation: In some cases, colder temperatures during late flowering can result in more compact, firm buds. This denser structure looks great and can translate to smoother trims and better curing results.
- Improved Pest and Mold Resistance: Cooler temps in a well-controlled environment can make it harder for pests and mold to thrive. While you still need to monitor closely, a slight dip in temperature may help reduce common late-season problems.
How to Use Cold Strategically
- Time It Right: The best window to apply cold stress is during the last 7 to 14 days of flowering. This is when the plant has nearly finished growing and is focused on ripening its buds.
- Lower Nighttime Temps Gradually: Reduce night temperatures by 1 to 2°C each evening. Aim for lows between 10 and 15°C, depending on your strain’s tolerance. Sudden drops can shock the plant and cause damage instead of enhancement.
- Monitor Daily: Watch how your plants respond to colder nights. Look for positive signs like increased trichome density or color change. Avoid leaf curling, darkening, or wilting. These are signs you’ve pushed too far.
PlanaCan lets you generate detailed reports for each harvest, capturing data on decisions and their impact on yield. This centralized information makes it easier to analyze trends, helping you pinpoint successful methods and refine your processes for higher yields and better profitability.
- Know Your Strain: Not every strain reacts the same way. Some will be purple beautifully, while others may stay green but boost their aroma. Keep detailed notes for future growth so you can dial in what works best for your genetics.
- Keep Daytime Temps Steady: You don’t need to drop daytime temperatures drastically. Keeping days in the 20 to 24°C range helps the plant maintain normal functions while responding to nighttime colds.
- Use Infrared Thermometers or Probes: To avoid under or over-stressing your plants, use tools like infrared thermometers or root zone probes to track exact temperatures around the canopy and root area.
- Pair Cold With Light Tweaks: Some growers enhance the cold effects by adjusting the light spectrum toward the blue end during the final phase. This can complement color development and preserve certain terpenes.
So, how can you manage labor and resources optimally to ensure a healthy yield of your cannabis plant? Let us discuss this in detail.
Managing Labor and Resources
Cold harvests aren’t just tough on plants. They’re hard on people and planning, too. Getting the right support and tools in place makes a big difference when temperatures drop and time is tight.
- Secure Enough Labor: Cold conditions can force you to move fast. Ensure you have enough hands on deck for harvesting, trimming, and moving plants into drying spaces.
- Break tasks into shifts: This prevents burnout and keeps energy levels high.
- Assign a point person: Designate someone to track progress and flag real-time issues. PlanaCan makes teamwork easier by centralizing tasks and communication. With the mobile app for Android and iOS, your team can update tasks, mark them as complete, and add notes on the go, keeping everyone in sync and reducing confusion.
- Have floaters ready: Extra crew members who can jump in where needed help cover gaps when things move faster than expected.
- Gear Up for the Cold: Depending on your setup, you may need to invest in or rent:
- Portable heaters for indoor drying rooms or trim spaces
- Extra gloves, insulated clothing, and headlamps for working in low light
- Tarps or thermal blankets to transport plants without shock
- Extra racks or trays to keep up with accelerated harvests due to weather
- Waterproof boots and mats to reduce slips in wet or frosty conditions
- Build in Flexibility: Cold snaps can mess with your timeline. Keep an eye on short-term forecasts and stay ready to pivot.
- Be prepared to pull plants a day or two early
- Rearrange processing schedules if one area gets too cold
- Stagger your harvest based on microclimates around your grow
- Plan for Equipment Needs: Freezing temperatures can slow down machines and tools, too.
- Test trimmers, buckers, or ventilation systems before harvest begins
- Store equipment in a warm area to keep it ready to go
- Have backup tools available in case of malfunctions
- Keep extension cords, power strips, and outlets dry and protected from condensation
- Create a Communication Plan: If you're working with a crew, communication is everything.
- Use group chats or radios to coordinate movement across zones
- Set daily check-ins to review progress and plan next steps
- Assign clear roles and responsibilities
- Keep emergency contacts and backup plans handy in case someone can't make a shift.
PlanaCan makes it easier by centralizing task information and communication. With mobile apps for Android and iOS, your team can check, update, and mark tasks as complete directly from their phones. You can add notes to each task, helping avoid confusion and saving time. This way, everyone stays on the same page, even on the go.
Conclusion
Managing your harvest in cold conditions takes planning, quick thinking, and the right tools. You need to monitor your environment constantly and stay flexible with your approach. From protecting your plants and dialing in your drying space to managing your labor efficiently, success in the cold comes down to preparation and timely action.
That’s where PlanaCan can help. It simplifies task scheduling by allowing you to define and automate cultivation processes using customizable templates. You can outline each step of the process, from planting to harvest, for specific strains or cycles. Once you’ve created your templates, it only takes a few clicks to schedule tasks on the calendar and keep your workflow consistent.
It also gives you a clear timeline for planning and tracking tasks. You can organize work months in advance and stay on top of daily needs. It’s easy to adjust ongoing tasks as your situation changes, and everyone involved can see exactly what needs to be done. Nothing gets missed.
With PlanaCan, you can stay organized, respond fast, and make confident decisions, even in tough conditions. Maximize your yields, easily manage your crop, and take the stress out of harvest season. Schedule a free call today.