Are you struggling with your indoor cannabis grow? If you're dealing with cramped spaces, high energy costs, or underwhelming results, it may be time to take your cultivation outdoors.. Perhaps your grow tent lacks sufficient airflow, or your lighting setup is running too hot. Maybe you're tired of the constant maintenance and still not getting the results you want.
Outdoor cannabis growing gives you a break from artificial systems. You get to work with real sunlight, natural soil, and the rhythms of the season. No buzzing fans, no flickering bulbs, no equipment breakdowns. Just plants, earth, and time.
But outdoor growing brings its own set of challenges. Sun exposure, pests, and weather can all derail your progress if you aren't ready. You need a game plan, not guesswork.
Here’s how to grow cannabis outside without wasting a full season.
TL;DR
- Outdoor grows are cheaper, eco-friendly, and often more productive with full-spectrum sunlight and less maintenance.
- 10-step guide: site selection, strain choice, soil prep, transplanting, watering, feeding, pest prevention, training, tracking seasons, and harvesting.
- Advice on choosing climate-suitable strains, improving soil, smart watering, proper feeding, pest prevention, and timing harvest.
- Solutions for pest infestations, mold, nutrient deficiencies, wildlife damage, weather stress, and light limitations, with tips to manage each.
- Outdoor growing can be rewarding with proper environmental management. Tools like Planacan help streamline growth with scheduling, tracking, and planning.
Why Should You Grow Cannabis Outdoors?
If you're considering growing cannabis, you might be wondering whether outdoor cultivation is worth the effort. The truth is, growing cannabis outdoors offers several compelling benefits that indoor setups often can't match. Here's why you should consider taking your grow to the great outdoors:
- Lower Costs, Higher Yields: Growing outdoors means you don’t need to invest in expensive grow lights, ventilation systems, or climate control equipment. The sun provides all the light your plants need, free of charge. This can drastically reduce your startup and ongoing costs.
Plus, with more space and natural resources, your plants have the potential to grow much larger and produce higher yields than they typically would indoors.
- Better for the Environment: Outdoor cultivation is a greener option. You’re not relying on electricity-hungry equipment, which reduces your carbon footprint. If you care about sustainability, this is a major advantage.
- Natural Sunlight Equals Healthier Plants: Sunlight is the most comprehensive light spectrum available, and cannabis plants thrive in it. When you grow outdoors, your plants benefit from full-spectrum light that promotes stronger stems, better terpene profiles, and more potent buds.
- Less Maintenance in Some Ways: While you still need to check on pests, water levels, and weather conditions, outdoor plants can often take care of themselves more than indoor ones. Natural wind strengthens stems. Rain can help with watering. Beneficial insects can reduce pest problems.
- Legal in More Places Now: In many regions, outdoor cannabis cultivation is now legal, often with fewer restrictions than indoor grows. If you live in a cannabis-friendly area, growing outdoors can be a simple and compliant way to start your grow journey.
- Connects You with Nature: There’s something deeply satisfying about nurturing a plant under the open sky. If you enjoy gardening or want a more hands-on, seasonal experience, outdoor growing offers a rewarding and therapeutic process that indoor setups can’t replicate.
- Ideal for Organic Cultivation: If you're aiming for organic cannabis, outdoor cultivation is often the best approach. With access to natural soil, compost, and beneficial insects, you can avoid synthetic fertilizers and pesticides more easily than you would indoors.
So, what are the tips you can use for growing your cannabis outdoors? Let us discuss those in detail below.
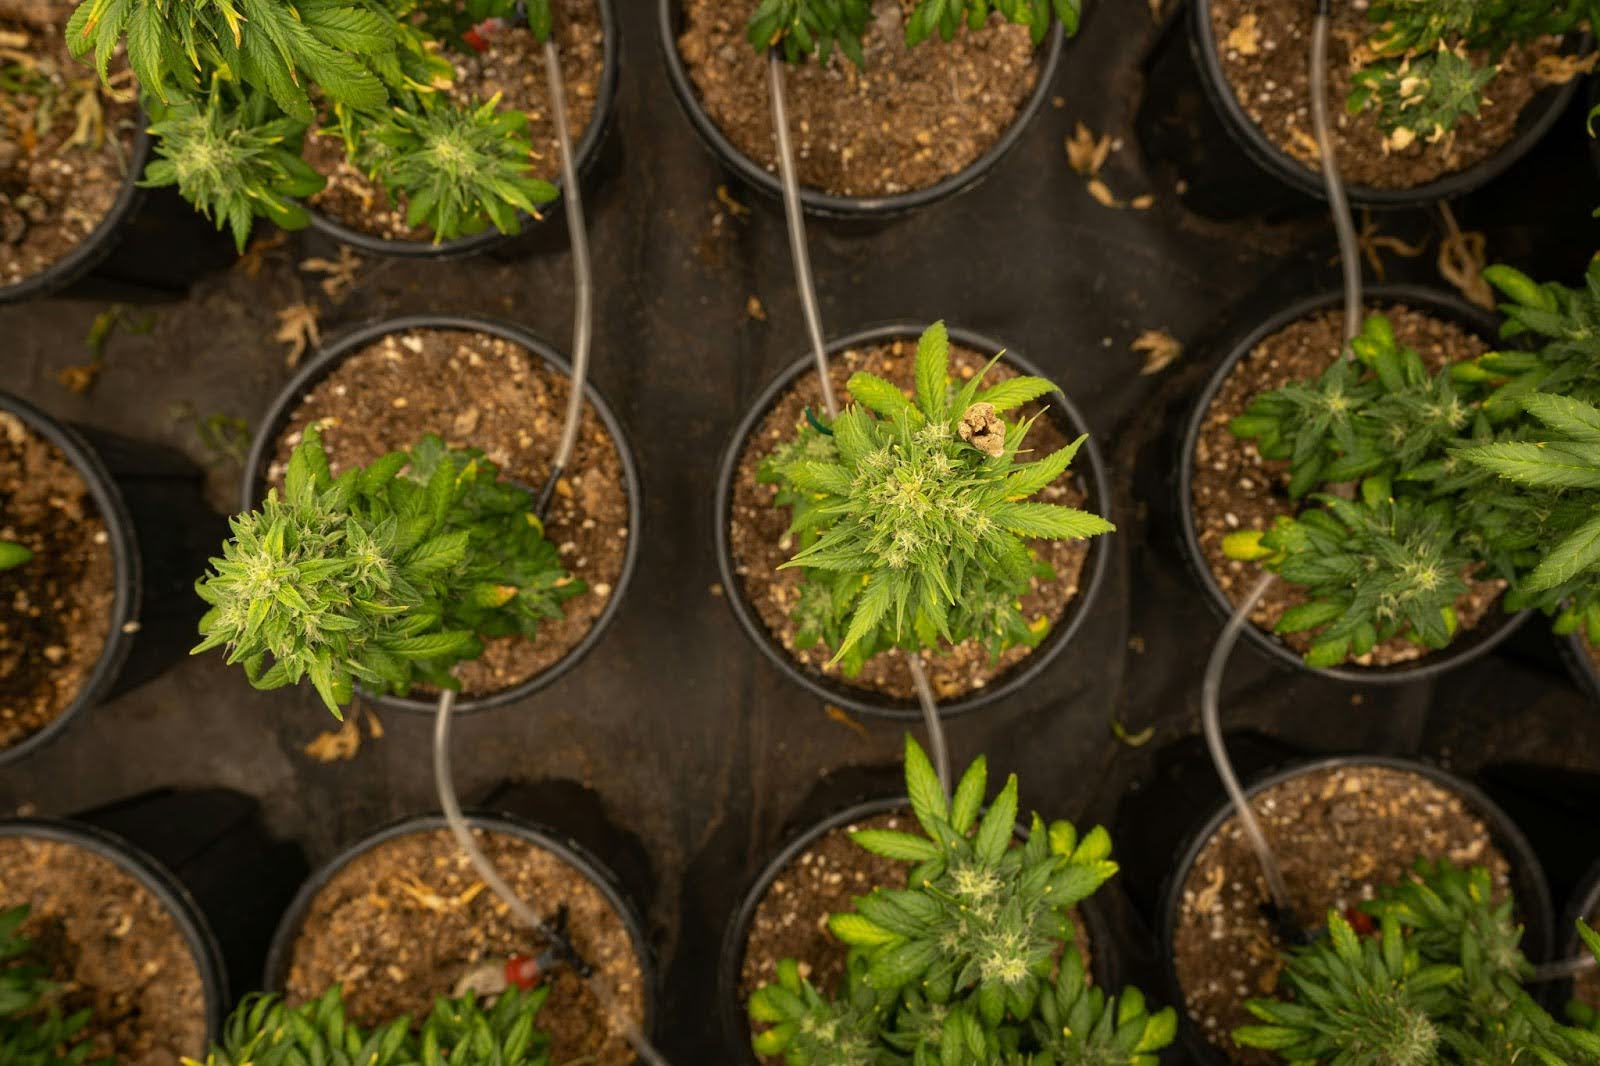
Steps to Grow Cannabis Outdoors
Growing cannabis outdoors can be one of the most rewarding experiences if you do it right. You’re working with natural sunlight, fresh air, and the full power of the environment. But to get a healthy, high-yielding crop, you need a solid plan. Here’s how to grow cannabis outdoors, step by step:
1. Choose the Right Location
Start by picking a grow spot that gets at least 6 to 8 hours of direct sunlight each day. Cannabis thrives in full sun. Look for a place with wind protection and good airflow. Privacy also matters. You don’t want your plants exposed to curious neighbors or passersby.
Tip: South-facing areas get the most sunlight. Use fences, hedges, or green netting to shield your plants from wind and prying eyes without blocking light.
2. Pick the Right Strain
Not all strains perform well outdoors. Choose a strain that fits your local climate. Cooler areas tend to perform better with fast-flowering or autoflowering strains. Warmer regions can handle photoperiod strains that take longer to mature.
Tip: Research strains bred for outdoor use in your region. Look for genetics that mention mold resistance if you live in a humid area.
3. Prep the Soil
Test your soil’s pH (ideal: 6.0 to 7.0) and texture. Cannabis needs rich, well-draining soil. If your natural soil is too clay-heavy or sandy, consider amending it with organic matter or using raised beds or pots.
Tip: Mix compost, worm castings, and perlite into your soil to enhance drainage and increase nutrient availability. Avoid synthetic fertilizers early on.
4. Germinate and Transplant Your Seeds
Start seeds indoors in a warm, moist environment to give them a strong start. Once seedlings have 3 to 4 sets of true leaves, harden them off for about a week before transplanting outdoors.
Tip: Use peat pellets or starter plugs for easy transplanting. Place seedlings outside for a few hours daily, increasing time gradually so they adjust to outdoor conditions.
5. Set Up a Watering Routine
Cannabis plants require consistent watering, especially during the vegetative stage. Water deeply to encourage root development, but avoid waterlogging.
Tip: Stick your finger 2 inches into the soil. If it’s dry, it’s time to water. Mulching around your plants helps retain moisture and suppress weeds.
6. Feed Your Plants
Cannabis requires different nutrients at various stages of its life cycle. Use nitrogen-rich feed in veg, then switch to phosphorus and potassium-rich feed in flowers. Avoid overfeeding.
Tip: Start feeding lightly and increase based on plant response. Organic compost teas or liquid kelp are great natural options for nutrient support.
7. Watch for Pests and Mold
Outdoor plants are exposed to more pests and diseases. Regularly inspect leaves, stems, and buds for bugs, spots, or webbing. Mold often starts in dense, wet buds.
Tip: Use neem oil or insecticidal soap every 7 to 10 days during the vegetative stage. Avoid spraying during the flowering period to protect bud flavor and safety.
8. Prune and Train Your Plants
Remove lower leaves and small branches that won’t get light. This improves airflow and helps focus energy on bigger bud sites. Use low-stress training or topping to manage height and shape.
Tip: Prune in the early morning when plants are hydrated. Never remove more than 20 percent of foliage at once to avoid shock.
9. Track the Seasons
Cannabis flowers as days get shorter. In most areas, this means flowering starts around late summer. Watch local weather forecasts closely.
Tip: Use a journal or app to track sunlight hours, temperature, and rainfall. If frost or storms are expected during flowering, create a basic shelter or harvest your crop early to protect it.
Over time, keeping this kind of data helps you make better decisions, and that’s where PlanaCan comes in. It records every step of your grow, from weather conditions to cultivation choices, and shows how each one affects your final yield. With all your info in one place, you can spot what worked, avoid past mistakes, and improve your results season after season.
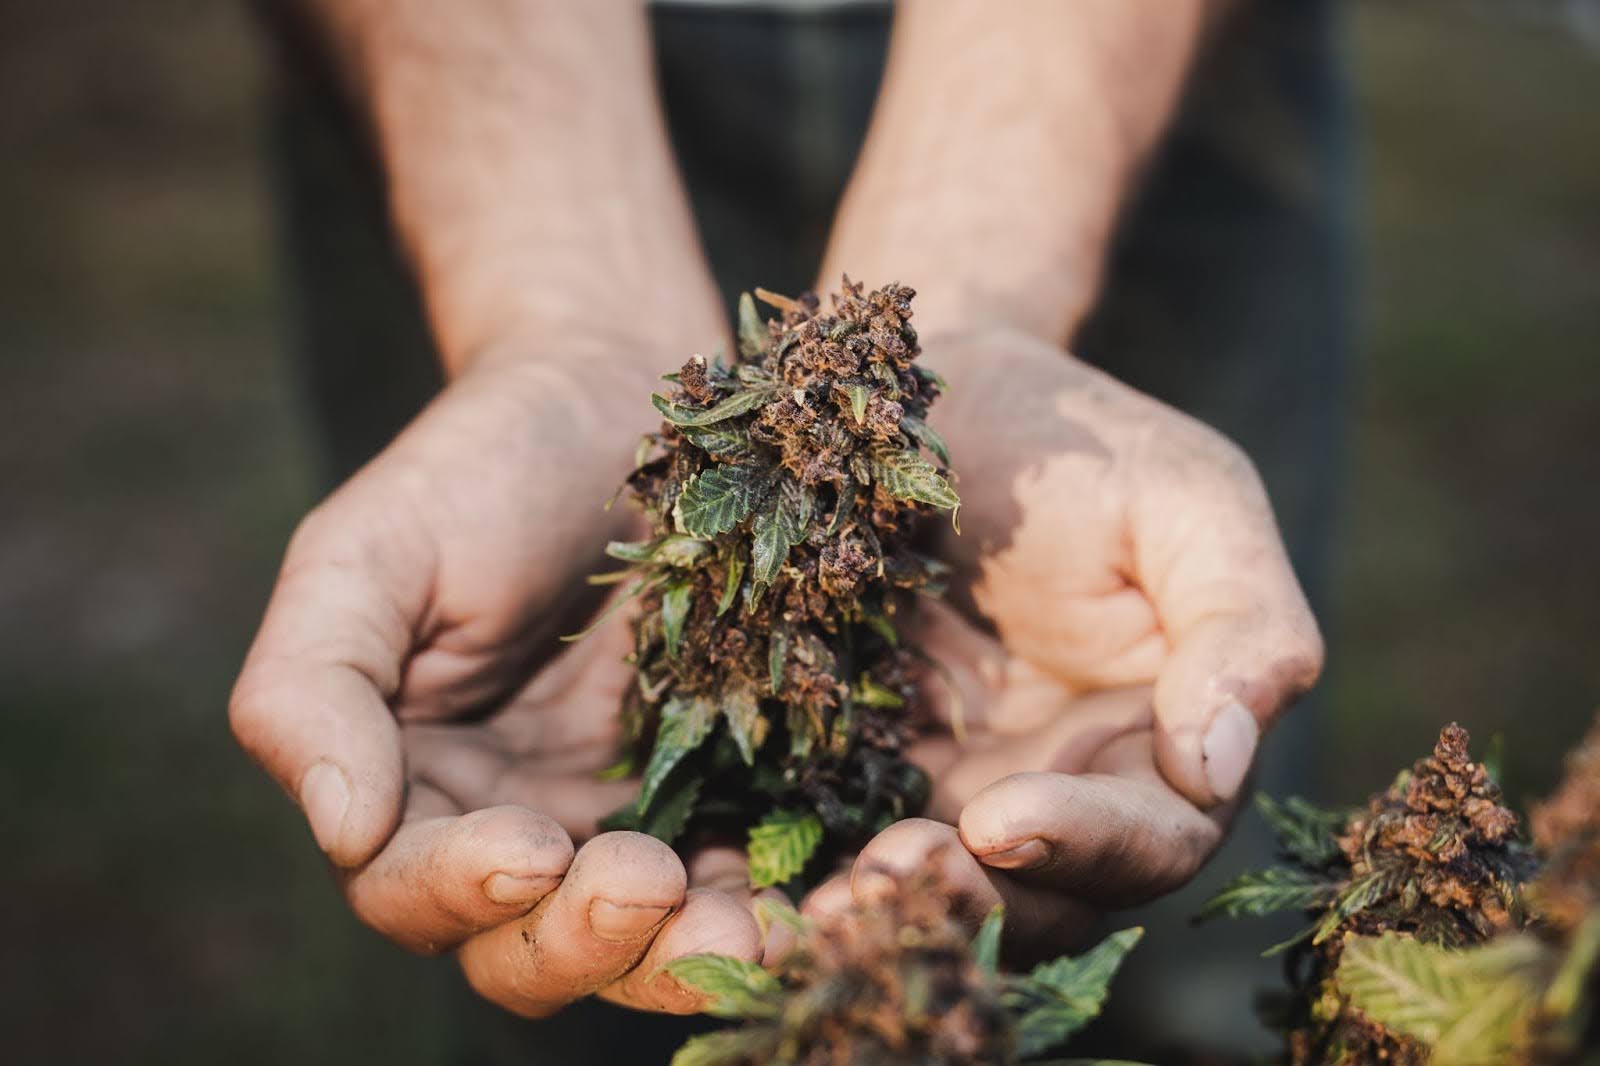
10. Harvest at the Right Time
Trichomes should be milky white with some turning amber for peak potency. Harvest too early, and the potency is low. Too late, and THC starts degrading.
Tip: Use a jeweler’s loupe or macro phone lens to examine trichomes. After harvest, dry buds slowly in a dark, ventilated space, then cure them in airtight jars for 2 to 4 weeks.
Tips for Growing Cannabis Outdoors
Whether you’re planting one pot in the backyard or managing a full garden, here’s how you can set yourself up for success:
1. Choose the Right Strain for Your Climate
You can’t grow just any strain anywhere. You need to match your plant to your environment. If you're in a cooler U.S. region with a short summer, such as the Pacific Northwest, parts of New England, or Northern Michigan, opt for strains like Northern Lights, Durban Poison, or Early Skunk. These strains are resilient, mold-resistant, and finish relatively early.
In warmer, sunnier regions of the U.S., such as California, Arizona, Nevada, or Southern Florida, you can grow longer-flowering sativas like Blue Dream, Amnesia Haze, or Super Silver Haze. These strains can take full advantage of extended sunlight and a longer growing season.
If you're new to growing or want something easy and fast, autoflowering strains are a solid choice. They don't depend on the light cycle to start flowering, which makes them ideal for unpredictable climates or quick harvests. Good options include White Widow Auto, Gorilla Glue Auto, Easy Bud Auto, or Zkittlez Auto. These are compact, quick, and beginner-friendly.
Pro Tip: Purchase seeds from reputable breeders that offer climate-specific guidance. Also, consider starting your seeds indoors 2-4 weeks before transplanting outdoors to give your plants a strong head start.
2. Find a Sunny, Private Spot
Cannabis loves sunlight. Aim for at least 6 to 8 hours of direct sun each day. Morning sun is especially helpful because it dries off dew and prevents mold. Look for a location with good airflow and some shelter from strong winds. If privacy is an issue, consider tucking your plants behind tall companion plants, such as sunflowers or corn, or use trellises and fencing.
Pro Tip: Avoid low spots where cold air can settle and increase frost risk. Additionally, consider installing a simple windbreak if your area is prone to strong gusts that can damage branches.
With PlanaCan, it’s easy to plan around these challenges. You can lay out your entire grow, from planting to harvest, using templates that match your strains or cycles. Once they're set, adding tasks to your calendar takes just a few clicks, keeping things organized and on track.
3. Prep Your Soil Like a Pro
Your plants will only be as good as the soil in which they grow. If you’re planting directly in the ground, test the soil first. It should be loose, rich in organic matter, and well-draining. Amend it with compost, worm castings, or a pre-mixed super soil. Maintain a pH level between 6.0 and 7.0 to ensure your plants can absorb nutrients effectively.
Pro Tip: Conduct a soil nutrient test before planting, and add amendments like lime or sulfur to adjust pH if needed. Incorporate beneficial microbes, such as mycorrhizae, to enhance root health and increase nutrient uptake.
4. Water Deep, Not Constant
Outdoors, your plants depend on you and the weather for water. In hot weather, you may need to water daily. During rainy spells, you might not need to water at all. The trick is to water deeply and allow the topsoil to dry a bit before watering again. Early mornings are ideal for watering so your plants drink it up before the heat hits.
Pro Tip: Use drip irrigation or soaker hoses to deliver water slowly and efficiently. Mulch around your plants to retain moisture and regulate soil temperature.
5. Feed According to Growth Stage
Cannabis has different nutrient requirements during the vegetative and flowering stages. In the vegetative stage, focus on nitrogen. Once your plants start flowering, switch to higher levels of phosphorus and potassium. Use organic nutrients if possible. Fish emulsion, bat guano, or kelp work well outdoors. Watch your plants closely for signs of overfeeding, such as burnt leaf tips or leaf curling.
Pro Tip: Flush your plants with clean water a week before harvest to remove excess nutrients and improve taste and burn quality. Also, foliar feeding in early veg can boost growth, but avoid it during flowering to prevent mold.
6. Prevent Pests and Mold Naturally
Outdoors, you’ll have to deal with pests like aphids, spider mites, caterpillars, and even deer. Use natural deterrents like neem oil, insecticidal soap, or diatomaceous earth. Companion plants such as basil, marigold, or lavender can also help keep bugs away. Always check under leaves and around the base of the plant for signs of trouble.
Pro Tip: Introduce beneficial insects like ladybugs and predatory mites to your garden as natural pest control. Inspect plants daily during peak pest seasons to catch infestations early.
7. Train and Prune for Better Yields
Don’t let your plants grow wild. Techniques like topping, low-stress training (LST), or SCROG help you shape your plants, promote even canopy growth, and increase bud sites. Prune away lower branches and inner leaves to improve airflow and reduce the chance of mold, especially in humid climates.
Pro Tip: Start training early when the plants have 4–6 nodes. Use soft ties instead of wire to avoid damaging stems. Keep records of your training methods and results to improve your technique each season.
8. Monitor Trichomes for Harvest Time
Forget the calendar. Your trichomes tell the real story. Get a jeweler’s loupe or magnifier. When most trichomes turn milky and some start going amber, it’s time. Harvesting too early gives you a weaker, speedy high. Too late, and you get a heavier, couch-lock effect. If you’re unsure, harvest a bit from different spots and test the effects.
Pro Tip: Check trichomes on different parts of the plant. Upper buds usually mature faster than lower ones. Stagger your harvest for a balanced effect and better overall quality.
PlanaCan helps you stay on top of it all with a simple visual timeline. Plan months ahead, manage daily tasks like trichome checks, and adjust as you go. Everyone sees what needs to be done, so nothing gets missed, even if plans change.
9. Be Ready for Weather Changes
Outdoor grows mean exposure. Keep an eye on the forecast. Heavy rain just before harvest can cause bud rot. Early frosts can kill your plant. Set up support stakes for strong winds and keep tarps or frost cloths nearby just in case. If a storm’s coming, it’s better to harvest early than lose everything.
Pro Tip: Build a simple, removable canopy or greenhouse frame around your plants for added protection. It protects them from unexpected weather without blocking too much sunlight.
10. Know the Laws and Keep It Secure
Before you plant a single seed, make sure it’s legal to grow where you live. Follow plant limits, keep your garden discreet, and invest in basic security if needed. Fencing, cameras, or even just keeping plants out of plain sight can save you a lot of hassle.
Pro Tip: Use motion-sensor lights and alarms to deter intruders. Also, keep your grow equipment and seeds stored securely and out of sight to avoid drawing attention.
With the right care and attention, growing cannabis outdoors can be rewarding and yield a healthy, abundant harvest.
Common Problems in Outdoor Cannabis Growing and How to Solve Them
Growing cannabis outdoors can be incredibly rewarding, but it's not without its challenges. From unpredictable weather to hungry pests, a lot can go wrong if you're not prepared. Most outdoor growing problems have simple solutions if you catch them early and take prompt action.
Here’s what you might run into and how to handle it:
- Pest Infestations: You walk into your garden and find holes in your leaves or tiny bugs crawling all over your plants. Aphids, spider mites, whiteflies, and caterpillars are some of the most common outdoor cannabis pests.
The Fix: Start with prevention. Companion planting (like basil, marigold, or dill) can naturally repel pests. Neem oil or insecticidal soap works well for early-stage infestations. Just make sure you apply it in the evening to avoid burning your leaves. Inspect the undersides of leaves regularly since that’s where most bugs like to hide.
- Mold and Mildew: White powdery spots or fuzzy grey mold suddenly appear, especially during humid or rainy spells. If left unchecked, mold can ruin your buds before harvest.
The Fix: Good airflow is key. Space out your plants, prune extra foliage, and avoid watering in the late afternoon. If you expect several days of rain during flowering, consider setting up a temporary shelter or harvesting early to protect your crop. Use organic fungicides, such as potassium bicarbonate or a diluted milk spray, to treat early signs of mildew.
- Nutrient Deficiencies: Yellowing leaves, purpling stems, or slow growth can all point to a nutrient imbalance in the soil.
The Fix: Test your soil before planting and again during the growing cycle. This helps you understand what’s lacking and what’s already present. Use organic amendments, such as compost, worm castings, or kelp meal, to naturally adjust nutrient levels. When in doubt, apply less rather than more. Overfeeding can cause nutrient lockout and stunt growth.
- Animals and Wildlife: Birds, rabbits, and deer can treat your garden like a buffet. You might notice snapped stems, missing leaves, or entire plants disappearing overnight.
The Fix: Install fencing around your grow area and try natural deterrents, such as garlic spray or predator urine, which can be found at garden centers. Motion-activated sprinklers are another option to startle animals without harming them. For burrowing pests like gophers, line the ground with mesh before planting.
- Weather Damage: Unexpected frost, strong winds, or heavy rainfall can damage or kill plants, especially during key growth stages.
The Fix: Monitor local weather reports every day. For wind protection, use natural windbreaks like tall grass or build a low barrier using shade cloth. If frost is possible, cover your plants at night with lightweight fabric or plastic to protect them. During prolonged rainy periods, ensure your soil drains well and consider using raised beds to prevent root rot.
- Light Stress: Unlike indoor grows, you can’t control the sun. If your plants aren't getting enough light due to shade or cloud cover, they’ll stretch and produce smaller yields.
The Fix: Choose a growing spot with at least 8 hours of direct sunlight. If trees or buildings cast shadows mid-season, move your containers or prune nearby vegetation. In low-light areas, opt for fast-flowering or auto-flowering strains that require less sunlight to thrive.
The more you document, the more you'll improve with each growth. Take notes on rainfall, sunlight, pest issues, and feeding schedules. Over time, you’ll start to spot patterns and make smarter decisions before small issues become big problems.
Tools like PlanaCan make this even easier. It provides a clear calendar view of your entire growth cycle, allowing you to plan months ahead while still keeping track of daily tasks. You can tweak things as needed and keep everything in one place, making sure nothing gets missed and everyone stays on the same page.
Conclusion
Growing weed outdoors transforms your cultivation experience. You gain more space, reduce costs, and build a direct connection with your plants. By staying aware of your environment, choosing quality genetics, and steering clear of common pitfalls, you can cultivate healthy, potent cannabis without an indoor setup.
Managing outdoor grows requires consistent attention to weather, watering, and pest control. These tasks can quickly become overwhelming. That is where PlanaCan comes in. This platform helps you streamline your outdoor cultivation by automating schedules, monitoring environmental conditions, and tracking plant health in real time. With features like task reminders and collaboration tools, PlanaCan ensures you never miss a critical step.
Ready to simplify your outdoor grow and maximize your harvest? Schedule a free call today to see how PlanaCan can support your cultivation journey.


