Are your cannabis plants ready to start producing buds, but you are not sure what to expect next? The cannabis flowering stage is one of the most exciting and crucial cultivation phases. This is when your plants shift from growing leaves to developing the dense, resin-coated buds you have been waiting for. Managing this stage properly can distinguish between a small, weak harvest and a heavy yield of high-quality flowers.
Growing cannabis is not just about planting seeds and waiting for buds to appear. Each stage of development requires specific adjustments to light, nutrients, and environmental conditions. Understanding these factors will help you confidently navigate the flowering stage, ensuring your plants produce the best possible results.
In this article, you will learn everything you need to know about the cannabis flowering phase. We will break down each stage, from the initial transition to the final harvest, covering critical details like light schedules, nutrient adjustments, bud formation, and the best time to harvest.
Let us begin by understanding the various stages of cannabis growth in brief.
Cannabis Growth Stages
Understanding the different growth stages of cannabis is essential for cultivating healthy plants and achieving high-quality yields. Each phase brings unique changes as the plant progresses from a tiny seed to a fully matured, harvest-ready crop. Here’s a quick look at the key transformations that occur in each stage:
- Germination (3-10 Days): The seed cracks open, and the taproot emerges, eventually sprouting into a seedling.
- Seedling Stage (2-3 Weeks): The plant develops its first leaves, starting with cotyledons and followed by true fan leaves.
- Vegetative Stage (3-8 Weeks): Rapid growth occurs as branches and leaves expand, and the plant strengthens its root system.
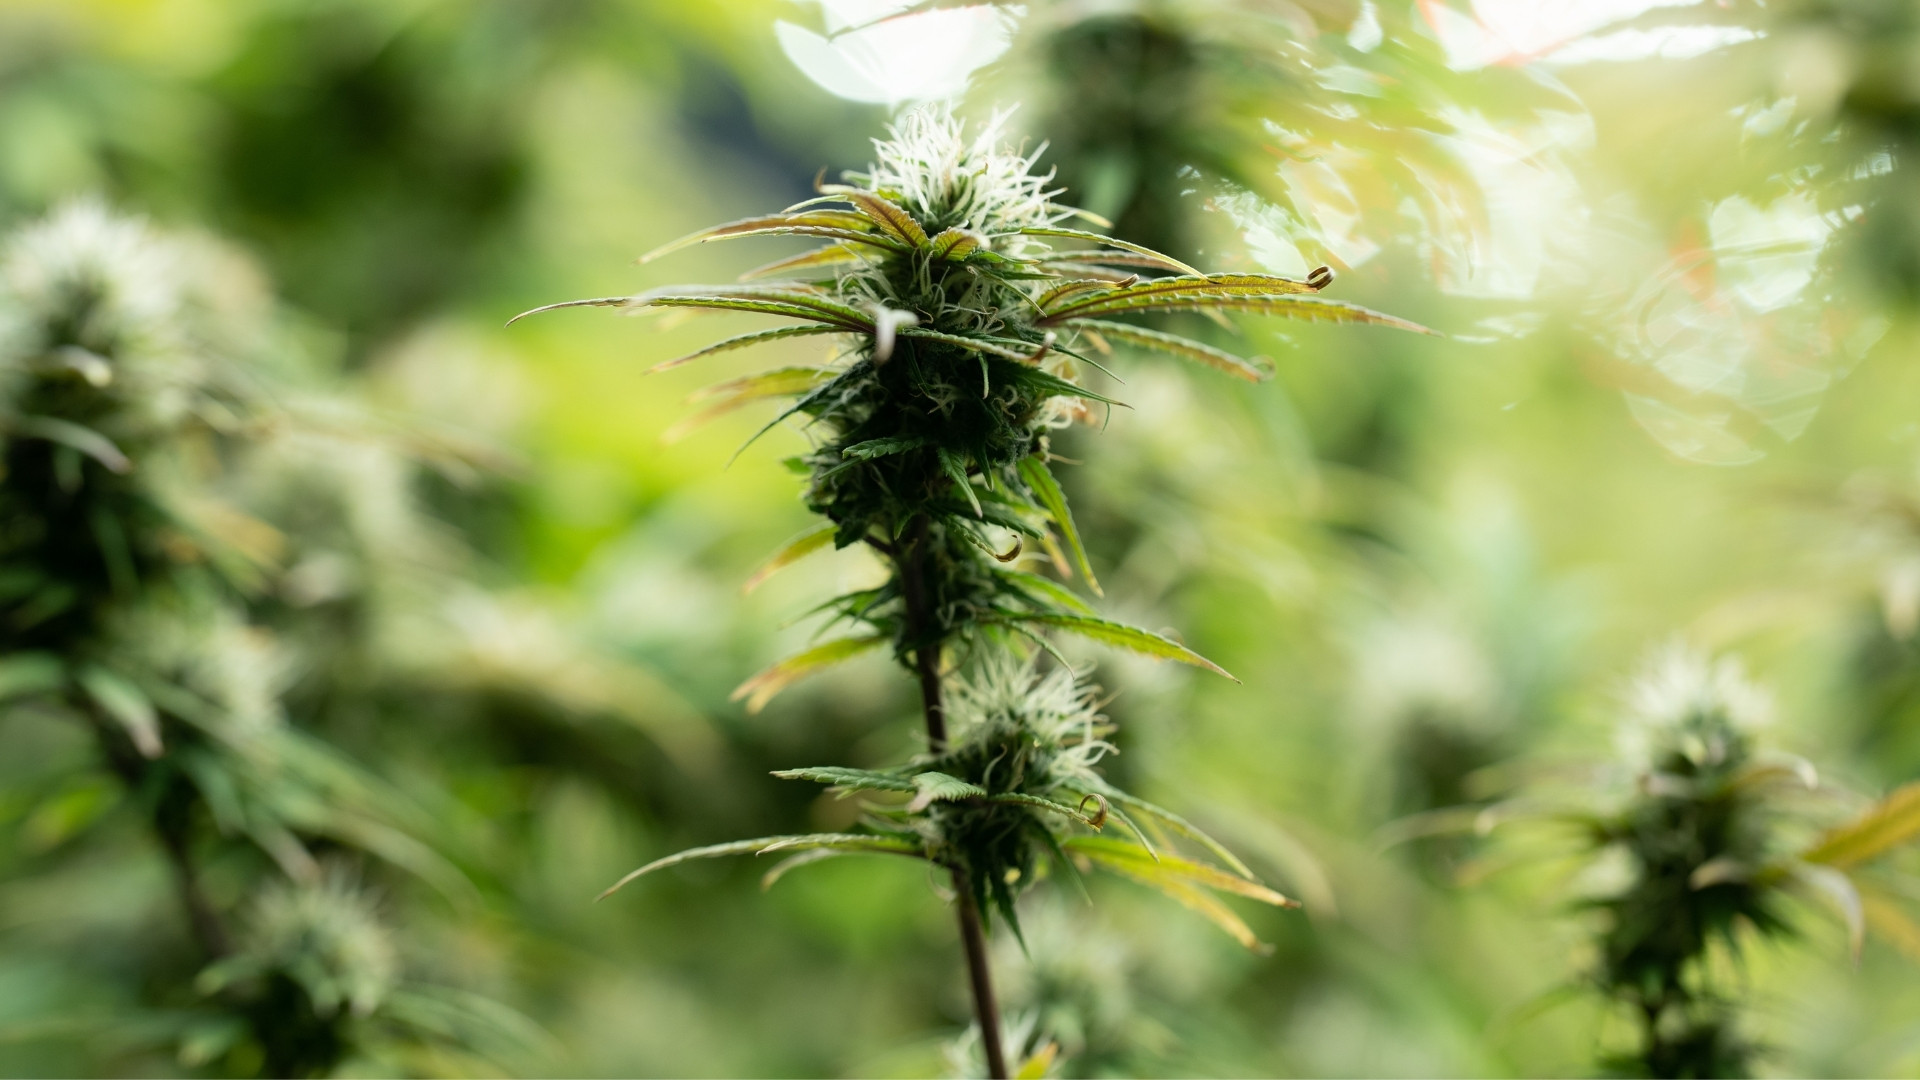
- Flowering Stage (6-12 Weeks): Buds start forming, trichome production increases, and the plant stops vertical growth.
- Harvesting & Curing (2+ Weeks: Trichomes change color, buds reach peak potency, and drying and curing enhance their quality.
Now, let us understand why the cannabis flowering stage is important.
The Importance of the Cannabis Flowering Stage
The flowering stage weed plants go through is when they start producing the buds you will eventually harvest. This is the most critical phase in cannabis cultivation because it directly impacts yield, potency, and overall bud quality. If you want strong, potent flowers, this phase requires close attention. Here’s why the flowering stage matters:
- Maximizing Yield: Properly managing the flowering phase ensures your plants produce the largest, densest buds possible.
- Enhancing Potency: This is when cannabinoids like THC and CBD develop. Poor management can lead to lower potency.
- Preventing Issues: Bud rot, nutrient deficiencies, and mold are common problems that can ruin a harvest if not controlled.
- Determining Harvest Quality: How well you manage lighting, nutrients, and environmental factors during flowering affects the final aroma, flavor, and smoothness of your buds.
- Encouraging Resin Production: Proper care during flowering boosts trichome development, leading to more resinous and sticky buds.
- Strain Expression: The flowering phase determines how well a strain’s genetic potential is expressed regarding aroma, flavor, and cannabinoid profile.
Now, let us discuss each step of the cannabis flowering stage week-by-week in detail.
Cannabis Flowering Stage Week-by-Week
Once your cannabis plants enter the flowering stage, it’s a countdown to harvest. Each week brings changes that need your attention, from feeding adjustments to spotting early issues. Here’s what to expect and how to keep your plants thriving.
Week 1: Transition and Early Stretch
Once you adjust the light cycle, your plants will experience a major change in growth. Their hormones shift, triggering the weed flowering stage. At this point, you will notice rapid upward growth, often called the "stretch." Your plants may double in size within days as they redirect energy into bud sites rather than foliage. This sudden burst of growth is normal, but it requires some adjustments to ensure healthy development.
Key Adjustments in Week 1:
- Light Schedule Change: Transitioning to a 12/12 light cycle triggers flowering hormones, signaling to your plants that it is time to start budding.
- Nutrient Shift: Switching from nitrogen-heavy vegetative nutrients to bloom-focused fertilizers helps support bud production. Look for formulas rich in phosphorus and potassium.
- Early Sexing of Plants: If growing from regular seeds, it is time to identify male plants and remove them to prevent accidental pollination.
- Stretch Control: Some strains stretch more than others, so use low-stress training (LST) techniques to manage height and improve light penetration.
- Environmental Adjustments: Maintaining optimal temperature and humidity is crucial to preventing stress. Keep temperatures between 68-78°F and moisture between 50 and 60%. PlanaCan provides a visual timeline for planning and adjusting tasks. Schedule work in advance, manage daily activities, and keep everyone aligned to ensure nothing is overlooked.
- Proper Air Circulation: Good airflow helps prevent mold and strengthens plant structure, ensuring even bud development.
- Monitoring pH Levels: Ensuring your water and nutrient solution have the correct pH range (between 6.0 and 6.5) improves nutrient absorption and prevents deficiencies.
- Preventative Pest Management: As your plants stretch, they become more susceptible to pests like spider mites and aphids. Inspect regularly and use organic solutions if needed.
Week 2: Pistil Development
During the second week of the cannabis flowering phase, the first white pistils start appearing at the nodes. These tiny hairs signal that bud production is beginning. Your plants still need strong light intensity, and increasing CO2 levels can help maximize growth. Ensuring proper airflow is essential to prevent humidity buildup, which can lead to mold or mildew.
Key Adjustments in Week 2:
- Light Intensity Maintenance: Keep your grow lights at optimal distances to encourage steady bud growth without causing a light burn.
- Nutrient Optimization: Transitioning to bloom-focused nutrients ensures plants receive adequate phosphorus and potassium to support flower development.
- CO2 Enhancement: Elevated CO2 levels can boost plant metabolism and improve bud formation.
- Humidity and Airflow Control: Maintaining a humidity of 45-55% and ensuring good air circulation helps prevent mold issues as bud sites begin forming.
- Monitoring Growth Progress: Regularly checking plant structure and early bud sites helps you adjust environmental conditions as needed. PlanaCan makes this even more effective by generating detailed reports for each harvest, tracking cultivation decisions and their impact on yield. With all data in one place, you can analyze trends, refine methods, and continuously improve results for higher yields and better profitability.
- Structural Support: As buds begin forming, weaker branches may need staking or other support to handle the added weight.
- Pest and Disease Checks: Early flowering is a vulnerable stage. Check for pests and fungal infections regularly to avoid complications later in the bloom stage.
Weeks 3-4: Bud Formation and Growth
By weeks three and four, you will see significant bud development as your plants enter a crucial stage of the cannabis flowering phase. The buds start swelling, and resin production increases, leading to the formation of trichomes that enhance potency and aroma. Your plants will continue to stretch slightly, but most energy is now directed toward flower formation.
Key Adjustments in Weeks 3-4:
- Maintaining Airflow and Humidity: Proper ventilation and humidity control (around 45-55%) prevent mold and mildew, which can ruin developing buds.
- Structural Support: As the buds gain weight, branches may need staking, trellising, or other support to prevent breakage.
- Optimizing Nutrient Intake: Transitioning fully to bloom nutrients ensures phosphorus and potassium levels support bud development while minimizing excess nitrogen.
- Monitoring Trichome Development: The first trichomes appear early, signaling increased resin production.
- Pest and Disease Prevention: Increased bud density makes plants more susceptible to pests like spider mites and issues like powdery mildew. Regular inspections help catch problems early.
- Microbial Inoculants: Adding beneficial microbes to the soil enhances nutrient uptake and root health, leading to stronger plants.
- Carbohydrate Supplements: Some growers use carbohydrate-based additives to boost terpene production and increase bud density.
- Airflow Optimization: Adjusting fan placement helps ensure even air distribution, reducing the risk of microclimates that could encourage mold or pests.
Managing these factors will set the stage for the next phase, where buds will continue to bulk up and develop even more resin.
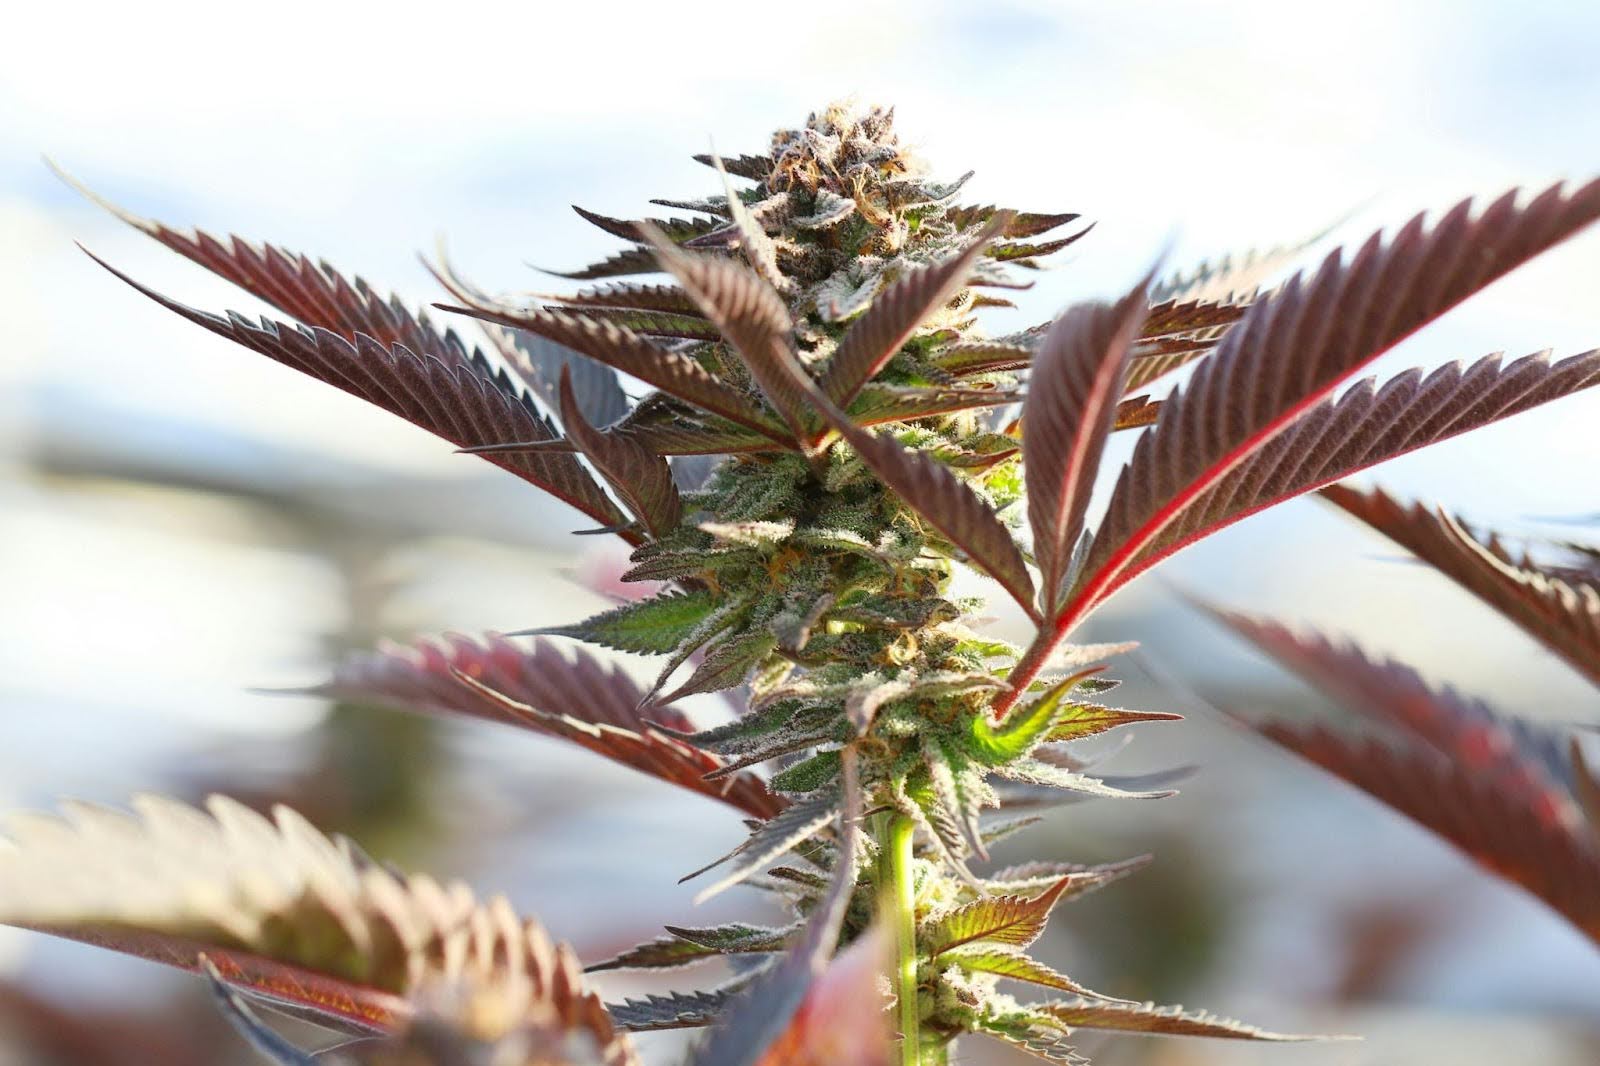
Weeks 5-6: Bud Fattening
By this stage, you will notice a significant increase in bud density. The flowers are thickening, and resin production is ramping up. Some pistils will start turning from white to amber, signaling that your plants are moving toward maturity. Proper temperature and humidity control are essential to prevent bud rot, which can quickly ruin a crop if conditions are too damp.
Key Adjustments in Weeks 5-6:
- Humidity and Temperature Management: Maintaining humidity levels between 40% and 50% and temperatures between 65-75°F helps prevent mold while maintaining optimal bud growth.
- Light Defoliation: Carefully removing some fan leaves improves airflow and light penetration to lower bud sites, promoting even development.
Note: Focus on older, larger leaves that block light to lower bud sites or touch other leaves, creating humidity pockets. Avoid removing too many at once to prevent stress.
- Low-Stress Training (LST): Gently bending branches to create better light exposure helps maximize bud sites and overall yield.
- Final Nutrient Adjustments: This is a crucial phosphorus and potassium intake period to support bud fattening. Be cautious of nitrogen at this stage, as too much can negatively affect bud quality.
- Checking for Nutrient Deficiencies: Watch for signs of nutrient imbalances, such as yellowing leaves or burnt tips, and adjust feeding schedules accordingly. Staying ahead of these issues is easier with a clear visual timeline. PlanaCan provides a structured calendar for planning and tracking cultivation tasks, helping growers schedule work months in advance while managing daily activities. The ability to adjust ongoing tasks ensures that feeding schedules stay on track and no critical step is overlooked.
- Trichome Inspection Begins: As buds mature, monitor trichomes under a magnifier to determine how close your plants are to harvest.
Managing these factors properly will ensure your buds continue to develop to their fullest potential, setting the stage for final ripening in the coming weeks.
Week 7: Ripening and Final Preparations
As your cannabis plants approach peak maturity, the final steps you take will determine the quality of your harvest. At this stage, monitoring trichomes is crucial. Using a jeweler’s loupe or microscope, examine the trichomes closely. Clear trichomes indicate it is too early, cloudy trichomes signal peak potency, and amber trichomes suggest a more relaxing sedative effect.
Key Adjustments in Week 7:
- Trichome Monitoring: Assess resin gland maturity to determine the best harvest time.
- Flushing for Purity: Many growers start flushing by feeding only water to remove excess nutrients, enhancing the smoothness and taste of the final product.
- Nutrient Adjustments: Reducing nitrogen intake at this stage helps prevent harsh flavors in the final buds.
- Branch Support: As buds reach their maximum weight, securing branches with stakes or netting prevents breakage.
- Light Adjustments: Slightly reducing light hours or dimming intensity to mimic natural seasonal shifts can enhance terpene and cannabinoid production.
- Environmental Stability: Keeping temperatures stable and humidity levels around 40-50% prevents mold and bud rot, protecting your harvest.
Week 8+: Harvest Readiness
The weed flowering timeline varies, but most strains reach full maturity around week eight or later. At this stage, your plants have reached their peak resin production, and it is crucial to assess trichome development to determine the perfect harvest time. Flushing techniques help remove excess nutrients, improving the smoothness and overall quality of the final product.
Key Adjustments in Week 8+:
- Trichome Inspection: Use a jeweler’s loupe or microscope to check for cloudy trichomes with a few amber ones for peak potency.
- Final Flushing: Watering with only pure water for the last week can enhance the smoothness and flavor of the buds. This process forces the plant to use stored nutrients, producing smoother smoke and better taste. However, flushing too early can deprive the plant of essential nutrients during critical final development, potentially reducing yield and potency.
- Environmental Adjustments: Lowering humidity to around 40% reduces the risk of mold and enhances resin preservation.
- Light Timing: Some growers reduce light hours slightly to mimic seasonal changes and encourage final resin production.
- Harvest Timing: Cutting your plants immediately ensures the best potency, flavor, and effect combination. With PlanaCan, you can stay on top of every cultivation task with a clear visual timeline. Plan months ahead while managing daily work and easily adjust tasks as needed. The centralized calendar keeps everything organized so you and your team always know what needs to be done, ensuring nothing slips through the cracks, especially harvest timing.
- Trimming Considerations: Some growers prefer wet trimming immediately after harvest, while others opt for dry trimming once buds have dried slightly.
- Curing for Maximum Quality: Placing dried buds in airtight jars and burping them daily helps enhance flavor, aroma, and smoothness.
- Storage Conditions: Harvested buds should be kept in a cool, dark place with stable humidity to prevent degradation and preserve potency.
Week
Key Developments
Key Adjustments
Week 1 (Stretch)
Rapid upward growth flowering begins.
Switch to 12/12 light, adjust nutrients, remove males, manage stretch, optimize airflow & humidity.
Week 2 (Pistils)
White pistils appear, and early bud formation.
Maintain light & CO2, optimize bloom nutrients, support branches, control humidity (45-55%), check for pests.
Weeks 3-4 (Bud Growth)
Buds swell, resin & trichomes develop.
Maintain airflow, support branches, optimize nutrients, monitor trichomes, and prevent mold/pests.
Weeks 5-6 (Fattening)
Buds gain density, and pistils darken.
Control humidity (40-50%), light defoliation, finalize nutrients, inspect trichomes, prevent rot.
Week 7 (Ripening)
At peak maturity, trichomes shift color.
Monitor trichomes, start flushing, reduce nitrogen, and adjust the light cycle.
Week 8+ (Harvest)
Max resin production, time to cut.
Final flush, maintain humidity (40%), adjust light, harvest, trim, cure, and store properly.
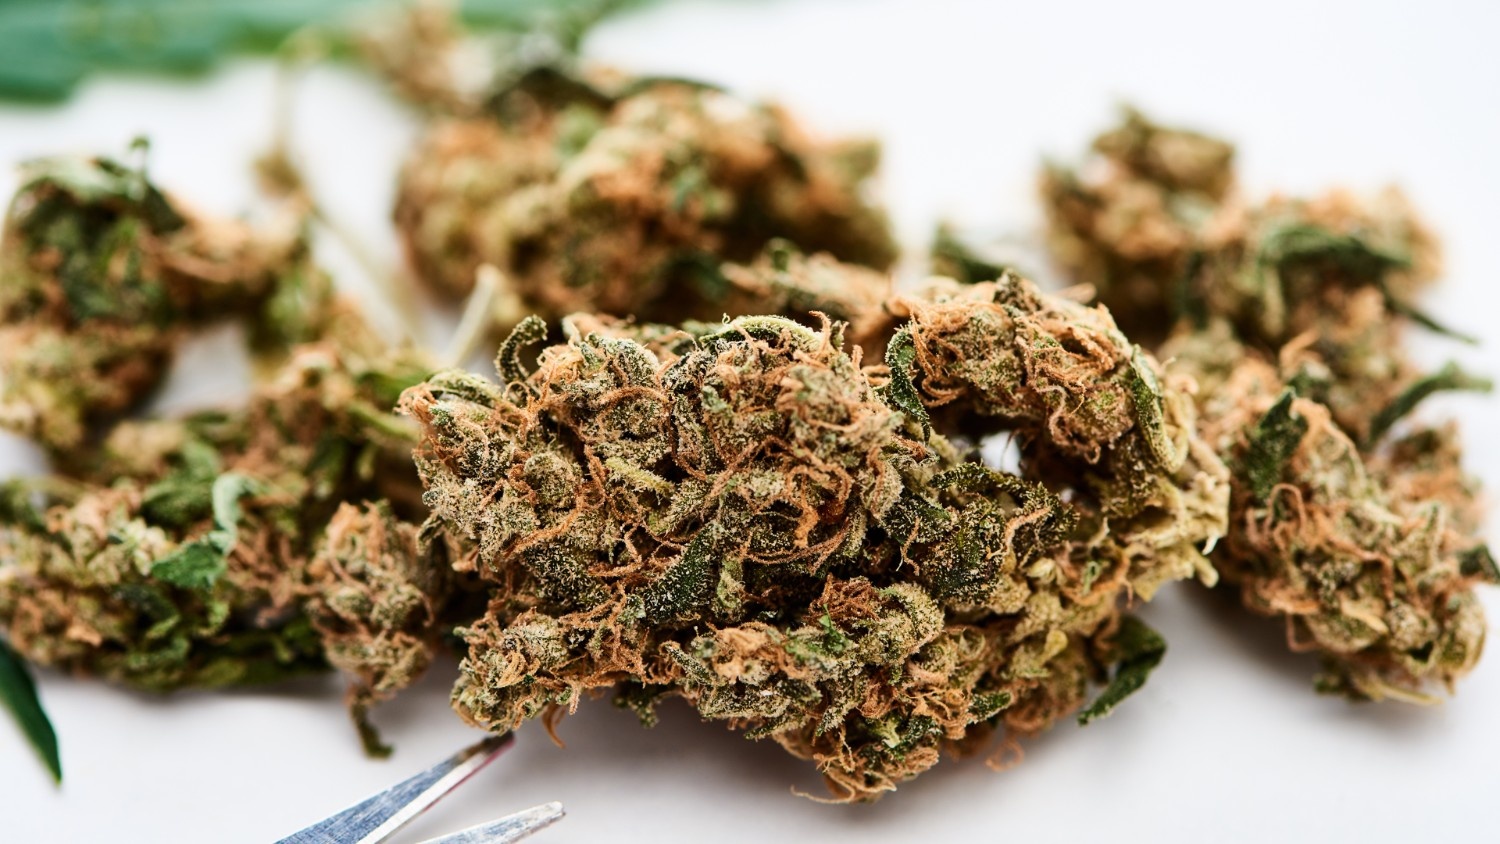
What Happens After the Cannabis Flowering Stage?
Once the flowering stage is complete, your cannabis plants are ready for harvest. However, the work isn’t over yet! Proper harvesting, drying, curing, and storage are crucial for preserving potency, aroma, and smoothness. Here’s what happens next:
- Harvesting (Week 8+): When most trichomes turn cloudy with some amber, it’s time to harvest. You can cut your plants branch by branch or, as a whole, trimming excess leaves to improve airflow.
- Drying (7-14 Days): Hang your buds upside down or place them on drying racks in a dark, ventilated space at 60-70°F with 50-60% humidity to preserve terpenes.
- Final Trimming: Once dried, trim off any excess sugar leaves to improve the appearance and smoothness of your buds.
- Curing (2+ Weeks): Store your dried buds in airtight jars, opening them daily to release moisture. A longer cure (up to six months) enhances flavor and potency.
- Humidity Control Packs: Use humidity control packs inside your jars to maintain 58-62% humidity and prevent buds from becoming too dry or moist.
- Storage: Store your cured buds in airtight glass jars or vacuum-sealed bags in a cool, dark place. You can freeze them for long-term storage but handle them carefully to avoid damaging the trichomes.
- Testing and Processing: If you’re a commercial grower, lab testing ensures quality and potency. You can also process part of your harvest into concentrates, edibles, or infused products.
Conclusion
Mastering the flowering phase is key to achieving bigger, more potent cannabis buds. Every aspect, from light cycle adjustments to trichome monitoring, is crucial in ensuring a successful harvest. The duration of this phase depends on the strain and your desired effects, but with proper care and attention, your plants will reward you with top-quality yields.
To take your cannabis cultivation to the next level, PlanaCan provides powerful tools to help you manage your crops efficiently. It lets you define and streamline cultivation tasks using customizable templates, ensuring a structured and consistent workflow from planting to harvest. It also gives you a clear visual timeline to manage daily and long-term activities, allowing real-time adjustments to adapt to changing needs. These tools centralize your workflow, enhance organization, and ensure no task is overlooked, helping you easily maximize your yields.
Schedule a free call today to see how PlanaCan can help you optimize your cannabis cultivation and achieve superior harvests.