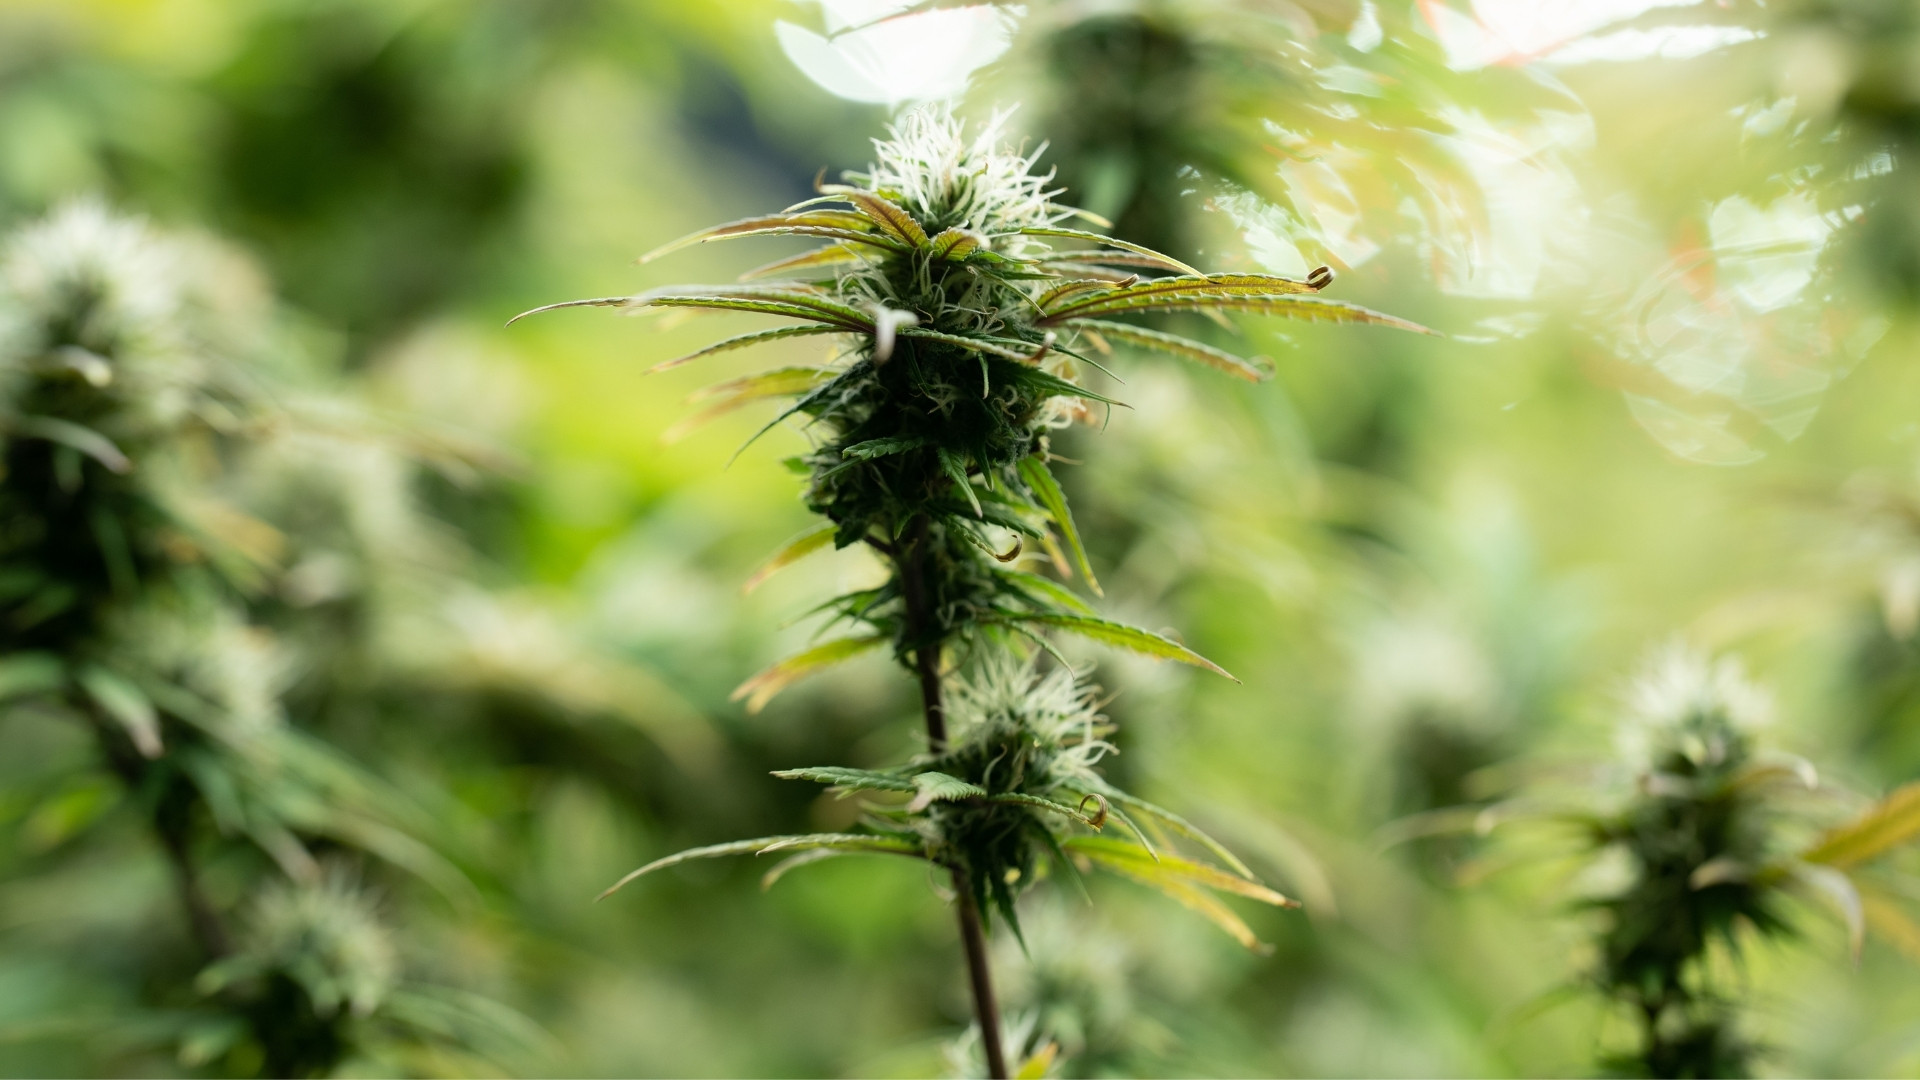
Are you tired of the constant guesswork involved in watering your cannabis plants? Overwatering can lead to root rot and nutrient lockout, while underwatering can cause stress, slow growth, and reduced yields. Even if you stick to a schedule, factors like temperature, humidity, and soil composition can throw things off, making it difficult to maintain consistent moisture levels.
An automatic watering system for cannabis simplifies hydration by delivering precise amounts of water at scheduled intervals. Instead of manually checking soil moisture or worrying about uneven watering, you can ensure your plants get what they need to thrive.
These systems save time and improve plant health by optimizing water and nutrient absorption. Whether you're growing in a small tent or managing a larger setup, an automatic watering system provides consistency, reduces waste, and promotes stronger, more productive plants.
This article explores the different types of automatic watering systems, how to set one up, and the best ways to maintain it. Whether you’re a beginner looking for a simple solution or an experienced grower aiming for efficiency, you’ll find everything you need to keep your indoor cannabis grow thriving.
Introduction to Automatic Watering Systems for Indoor Cannabis
Automatic watering systems eliminate the guesswork of irrigation by delivering precise amounts of water directly to your plants. These systems improve efficiency by preventing overwatering, underwatering, and inconsistent moisture levels. With the right setup, you can maintain healthy plants while saving time and reducing water waste.
Benefits of Automatic Watering Systems
- Consistency: Provides even and accurate watering, reducing plant stress.
- Time-saving: Eliminates the need for daily manual watering.
- Water efficiency: Reduces waste and promotes better nutrient absorption.
- Improved plant health: Prevents dry spells and overwatering-related issues.
- Better nutrient management: Ensures plants receive the right nutrient concentrations at the right time.
- Scalability: Easily expandable for larger growth operations.
- Reduced labor costs: Less time spent on manual watering allows growers to focus on other tasks.
Potential Challenges
While these systems offer many advantages, improper setup or neglect can lead to problems:
- Nutrient burn: Over-fertilization due to excessive water delivery.
- Bacterial growth: Stagnant water in reservoirs can harbor pathogens.
- Clogs and leaks: Drippers and tubing may become blocked or damaged over time.
- Initial setup complexity: Proper installation and calibration require time and effort.
- Equipment failure: Pumps, timers, or tubing can malfunction, requiring regular checks.
Now, let us dive in and understand the different types of automatic watering systems used in cannabis cultivation.
Types of Automatic Watering Systems For Cannabis
There are several cannabis watering systems, each with its advantages and best-use cases depending on your grow setup, plant size, and preferred level of automation. Here are the main types:
1. Top-feed Systems:
These deliver water from above using drippers or Hydro Halos. They provide consistent moisture and are great for soil and coco coir growth. These systems are commonly used in drip irrigation setups and are ideal for growers who want precise control over nutrient delivery. However, they require regular maintenance to prevent clogs in the drippers.
2. Bottom-feed Systems:
They allow plants to absorb water from below, reducing evaporation and promoting strong root growth. These systems are ideal for deep water culture and ebb-and-flow setups and encourage healthier root development. They work well in hydroponic environments and are particularly useful for growers looking to minimize manual intervention. However, they require careful monitoring of water levels to prevent root rot.
3. Wicking Systems:
They use capillary action to pull water into the growing medium. Capillary action is the process by which liquid moves through narrow spaces or porous materials without external force, driven by cohesion, adhesion, and surface tension.
They are lower maintenance but may not provide enough hydration for larger plants. They are best suited for smaller grow setups or low-maintenance grows where precision watering is not a primary concern. However, simple, reliable wicking systems do not allow as much control over nutrient delivery as other methods.
System Type
How It Works
Best For
Pros
Cons
Top-Feed
Water is delivered from above via drippers or Hydro Halos
Soil, coco coir, precise nutrient control
Consistent moisture, great control
Requires regular maintenance to prevent clogs
Bottom-
Feed
Plants absorb water from below
Deep water culture, ebb-and-flow, hydroponics
Reduces evaporation, promotes strong roots
Needs careful water level monitoring to prevent root rot
Wicking
Uses capillary action to pull water into medium
Small, low-maintenance grows
Simple, low-maintenance
Limited hydration, less nutrient control
Recirculation vs. Drain-to-Waste Systems
In addition to selecting a watering method, you also need to decide between a recirculation system or a drain-to-waste system:
System Type
Pros
Cons
Recirculation
Maximizes water & nutrient efficiency, cost-effective
Requires strict water quality management, risk of contamination
Drain-to-Waste
Prevents nutrient buildup, reduces disease risk, and is easier to manage
Uses more water, and needs reliable drainage
So, what are the components of an automatic watering system? Let us understand.
Components of an Automatic Watering System
A well-designed grow tent watering system includes several key components to ensure efficient and consistent hydration for your plants. Each part is crucial for maintaining a balanced moisture level and preventing common watering issues, such as overwatering, underwatering, and nutrient imbalances.
- Drippers and Hydro Halos: These deliver water evenly across the root zone, ensuring each plant receives the right amount of moisture. Drippers allow for precise control over water distribution, while Hydro Halos provide a circular distribution pattern that ensures consistent hydration across a larger area.
- Water pumps: These move water from the reservoir to the plants, providing steady and controlled irrigation. Choosing the right pump size and flow rate is essential to maintain adequate pressure and prevent uneven watering.
- Tubing and connectors: These distribute water efficiently throughout the grow tent, preventing leaks and ensuring even coverage. High-quality tubing reduces the risk of clogs and helps maintain optimal water flow.
- Water reservoirs: These store the nutrient solution and should be covered to prevent contamination, algae growth, and evaporation. The reservoir should be large enough to support multiple watering cycles without frequent refilling.
- Containers: These affect water retention and root development. Choose the right size, shape, and material to support plant growth and avoid issues like waterlogging or dehydration. Fabric pots promote better aeration, while plastic or ceramic containers retain more moisture.
Now, let us understand the process of setting up automatic watering for your cannabis step-by-step.
Step-by-Step Setup Instructions For Cannabis Auto-Watering
Setting up an auto-watering system for cannabis requires careful planning to ensure efficient and effective plant hydration. A well-designed system reduces labor, minimizes errors, and optimizes plant health. Follow these steps to get started and create a system tailored to your grow space and plant needs:
1. Choose and Prepare Your Water Reservoir
The water reservoir is the heart of your automatic watering system, so selecting the right one and placing it correctly are crucial for smooth operation.
- Size of the Reservoir: The size of your reservoir should be determined by the number of plants you are growing and their water requirements. Larger plants or a higher number of plants will naturally require a bigger reservoir.
Tip: A good rule of thumb is to have about 1 gallon of water per plant per day, depending on the plant's size and the growth stage. If you have a larger grow setup, consider a reservoir that holds 20+ gallons.
- Location: Choose a reservoir location that is easy to access for maintenance and close to your plants. The closer the water source is to your plants, the less effort it will take to pump the water efficiently through the system.
Tip: Ideally, place the reservoir at a higher elevation than the plants, as gravity can assist in water distribution, especially in passive systems like wicking or bottom-feed setups.
- Maintenance Considerations: The reservoir should be placed somewhere easy to clean, as debris or algae buildup can clog it and reduce water quality. Ensure you have clear access to the reservoir for regular checks, such as monitoring water levels, cleaning, and adding nutrients.
Tip: Consider installing a lid to prevent dust, debris, or pests from contaminating the water.
2. Connect the Water Pump
The water pump circulates water from the reservoir to the plants. Proper installation ensures consistent and even watering throughout your grow setup.
- Selecting the Right Pump: Choose a water pump that matches your system's flow rate and pressure. Pumps are typically rated by the Gallons Per Hour (GPH), so check your system's requirements.
For example, if you’re using a drip irrigation system, you’ll want a pump with a moderate flow rate that can provide consistent pressure without flooding the plants.
- Placement of the Pump: To ensure it can effectively draw water, place the pump at the bottom of the reservoir. Ensure it is submerged below the water line and not resting on the bottom, which can cause debris to clog it. Some pumps come with pre-installed filters to prevent this, but it’s a good practice to clean your pump regularly.
- Connecting Tubing: Connect the tubing system to its outlet once your pump is in place. The tubing should be long enough to reach all your plants, ensuring that every plant has equal water distribution.
Tip: If you're using a large grow tent or space, consider using a distribution manifold to direct the water evenly to each plant. Secure the tubing with clamps or zip ties to prevent it from moving or detaching.
3. Program and Test the Timer
The timer is your key tool for controlling when and how often the system waters your plants. Proper timer programming ensures your plants receive water at the ideal times, maintaining optimal growth conditions.
- Choosing a Timer: Most automatic watering systems have built-in timers, but you can purchase a separate one. Digital timers offer more precision and the ability to schedule multiple watering sessions daily.
Tip: Ensure the timer is compatible with your water pump and capable of handling the electrical load.
- Programming the Timer: Set the timer to water your plants at the appropriate intervals. Cannabis plants generally need water every 1-3 days, depending on their size, the type of growing medium, and environmental conditions like temperature and humidity.
Note: Cannabis plants require more frequent watering during the vegetative stage than the flowering stage, so adjust the schedule accordingly.
- Testing the System: Before you let the system run independently, it’s crucial to test it to ensure that everything is functioning properly. Turn on the pump via the timer and observe the system for a few cycles to check for issues. Look out for clogged drippers, leaks in the tubing, or uneven water distribution. Check the tubing connections and pump power if the flow isn’t reaching all plants.
- Fine-tuning the Settings: After testing, you may need to fine-tune the watering schedule. Adjust the frequency and duration of watering based on how quickly the growing medium dries out and how the plants respond. PlanaCan gives you a clear visual timeline to track these adjustments, plan months ahead, and manage daily tasks. Its dynamic calendar keeps you organized, ensuring nothing gets overlooked as your plants' needs evolve.
Note: If the soil or medium stays too wet for too long, reduce the watering frequency. Conversely, if it dries out too quickly, increase the duration of each watering cycle.
Now, let us understand how to manage and maintain the automatic watering system for your cannabis plant.
Managing and Maintaining the Automatic Watering System
An automatic watering system offers convenience and consistency, but neglecting maintenance can still cause issues. Here’s how to keep everything running smoothly:
1. Hand-Watering: Supplementing Automatic Systems
Although automatic systems are designed to handle most of the watering, there are times when it’s necessary to hand-water your plants. Periodic hand-watering serves multiple purposes:
- Ensure moisture consistency: Even the most advanced systems can occasionally miss a spot or not deliver the exact amount of moisture needed. Hand-watering ensures water reaches all areas, including corners missed by automatic systems.
- Prevent uneven watering: While automatic systems work well, they are imperfect. Hand-watering lets you spot areas that might need more water, helping to avoid problems like over- or under-watering in certain parts of your grow setup.
- Prevent nutrient imbalances: Over time, salts and minerals from fertilizers can accumulate in the growing medium. Hand-watering with plain water helps dilute these residues, washing them out and preventing nutrient imbalances that could stress your plants.
2. Avoid Salt Build-up: Flushing the System
Salts from fertilizers and water additives can accumulate in your growing medium and irrigation system, leading to nutrient lockout, poor plant health, and clogged tubing. To prevent these issues:
- Flush the growing medium: Every couple of weeks, use pH-balanced water to remove excess salts.
- Clean the watering system: Run fresh water through the tubing and pump to prevent blockages and ensure smooth water flow.
3. Regular Checks: Preventing Failures with Proactive Monitoring
An automatic system isn’t entirely hands-free. Regular checks help prevent failures and ensure efficient operation:
- Inspect the water pump: Check for wear, reduced flow, or unusual noises, as these may indicate a need for cleaning or maintenance.
- Examine the tubing: Look for cracks, kinks, or clogs, especially if exposed to light or extreme temperatures.
- Check the drippers: Ensure even water distribution and clean them regularly to prevent blockages.
- Monitor system pressure: Fluctuations could signal leaks, pump issues, or tubing problems affecting watering consistency. PlanaCan eliminates the guesswork by monitoring soil conditions and tracking harvest data, helping you refine methods for higher yields and bigger profits.
- Look for leaks: Inspect tubing, connections, and pumps to avoid water wastage and uneven watering.
- Verify the timer/controller settings: Ensure accurate and consistent watering schedules, adjusting them as plant needs change.
So, how do you maintain water quality in the reservoir? Let us find out.
Maintaining Water Quality in the Reservoir
Regular flushing prevents salt buildup, maintains water quality, and ensures your plants receive optimal nutrients. Follow these steps to maintain the quality of the water:
- Prepare Fresh Water: Use clean, pH-balanced water for flushing. Avoid adding nutrients during this process.
- Turn Off Nutrient Supply: If using an automatic system, disconnect any nutrient solutions before flushing.
- Flush the Growing Medium: Slowly run plain water through the medium until excess salts are washed out. Repeat if necessary.
- Clean the Watering System: Run fresh water through the tubing, drippers, and pump to remove mineral deposits and prevent clogging.
- Check for Blockages: Inspect drippers and tubing for clogs or salt buildup. Clean or replace any affected parts.
- Monitor Drainage: Ensure water flows freely and drains properly to prevent over-saturation.
- Resume Regular Feeding: Once the system is flushed, reconnect nutrient solutions and resume your usual watering schedule.
Now, let us understand how to control water quantity and timing to maintain the health of your cannabis plant.
Controlling Watering Quantity, Frequency, and Timing
Properly managing the flow rate, frequency, and duration of watering is crucial to maintaining the health of your cannabis plants. Implementing the right strategies can enhance plant resilience and maximize yields. Here’s how to optimize each factor:
1. Flow Rate
- Adjusting Flow Rate: Adjust the drippers’ flow rate to match the water requirements of your plants.
- Avoid Overwatering: Overwatering can lead to root rot and oxygen deprivation.
- Avoid Underwatering: Underwatering can stress plants, leading to stunted growth and nutrient deficiencies.
- Consistent Water Distribution: Use flow meters or pressure regulators to maintain consistent water distribution. Or use PlanaCan to streamline task scheduling with customizable templates, letting you automate each step from planting to harvest. With a few clicks, you can schedule tasks and keep your workflow running smoothly.
2. Watering Frequency and Duration
- Factors Affecting Watering Schedule: Determine the optimal schedule based on:
- Growing Medium: Type of growing medium (soil, coco coir, hydroponics, etc.).
- Plant Growth Stage: Size and growth stage of your plants.
- Environmental Conditions: Temperature, humidity, and light intensity.
- General Watering Rule: Water when the top inch of soil feels dry.
- Moisture Management: Ensure the medium remains moist but not waterlogged to promote healthy root development.
- Automation: Consider using soil moisture sensors to automate watering schedules.
3. Nutrient Solutions
- Consistency: Maintain consistency in the nutrient solution to ensure all plants receive essential nutrients.
- Monitoring: Regularly check and adjust pH and nutrients to avoid imbalances. PlanaCan eliminates the guesswork, tracking every harvest so decisions tie to real impact. With all insights in one place, you refine methods for bigger yields and profits.
- System Flushing: Flush the system periodically to prevent salt buildup, which can affect nutrient uptake.
- Nutrient Rotation: Rotate different nutrient formulations based on plant growth phases to optimize development.
Conclusion
An automatic watering system for cannabis simplifies irrigation and promotes healthier plants. You can increase efficiency and improve yields by choosing the right system, setting it up correctly, and maintaining it properly. Regular monitoring ensures that your plants receive the right amount of water without issues like nutrient buildup or root disease.
Beyond automation, managing your entire growth efficiently is key to maximizing yields. With PlanaCan, you can streamline your cultivation process using powerful tools designed for precision and ease.
PlanaCan allows you to define and automate cultivation processes with customizable templates, ensuring consistency from planting to harvest. You can outline each stage of growth and schedule tasks effortlessly, eliminating guesswork and reducing the risk of missed steps. It also provides a clear visual timeline, helping you plan months ahead while still managing daily tasks. You can adjust schedules in real-time, keeping your growth operation flexible and responsive to changing needs.
With PlanaCan, your entire team stays coordinated. The system centralizes information and ensures everyone knows what needs to be done. Integrating automation and smart scheduling allows you to fully control your cannabis grow operation and achieve consistent, high-quality harvests.
Schedule a free call today to learn how PlanaCan can help optimize your growth.